Create IPv6 Proxy
The Create IPv6 feature lets you generate IPv6 proxies directly from your local network (LAN) or VPS - a cost-effective alternative to purchasing IPv4 proxies.
To check if your network supports IPv6, visit this site.
If the page displays like this, your network has IPv6:

If the page displays like this, your network lacks IPv6:

Add
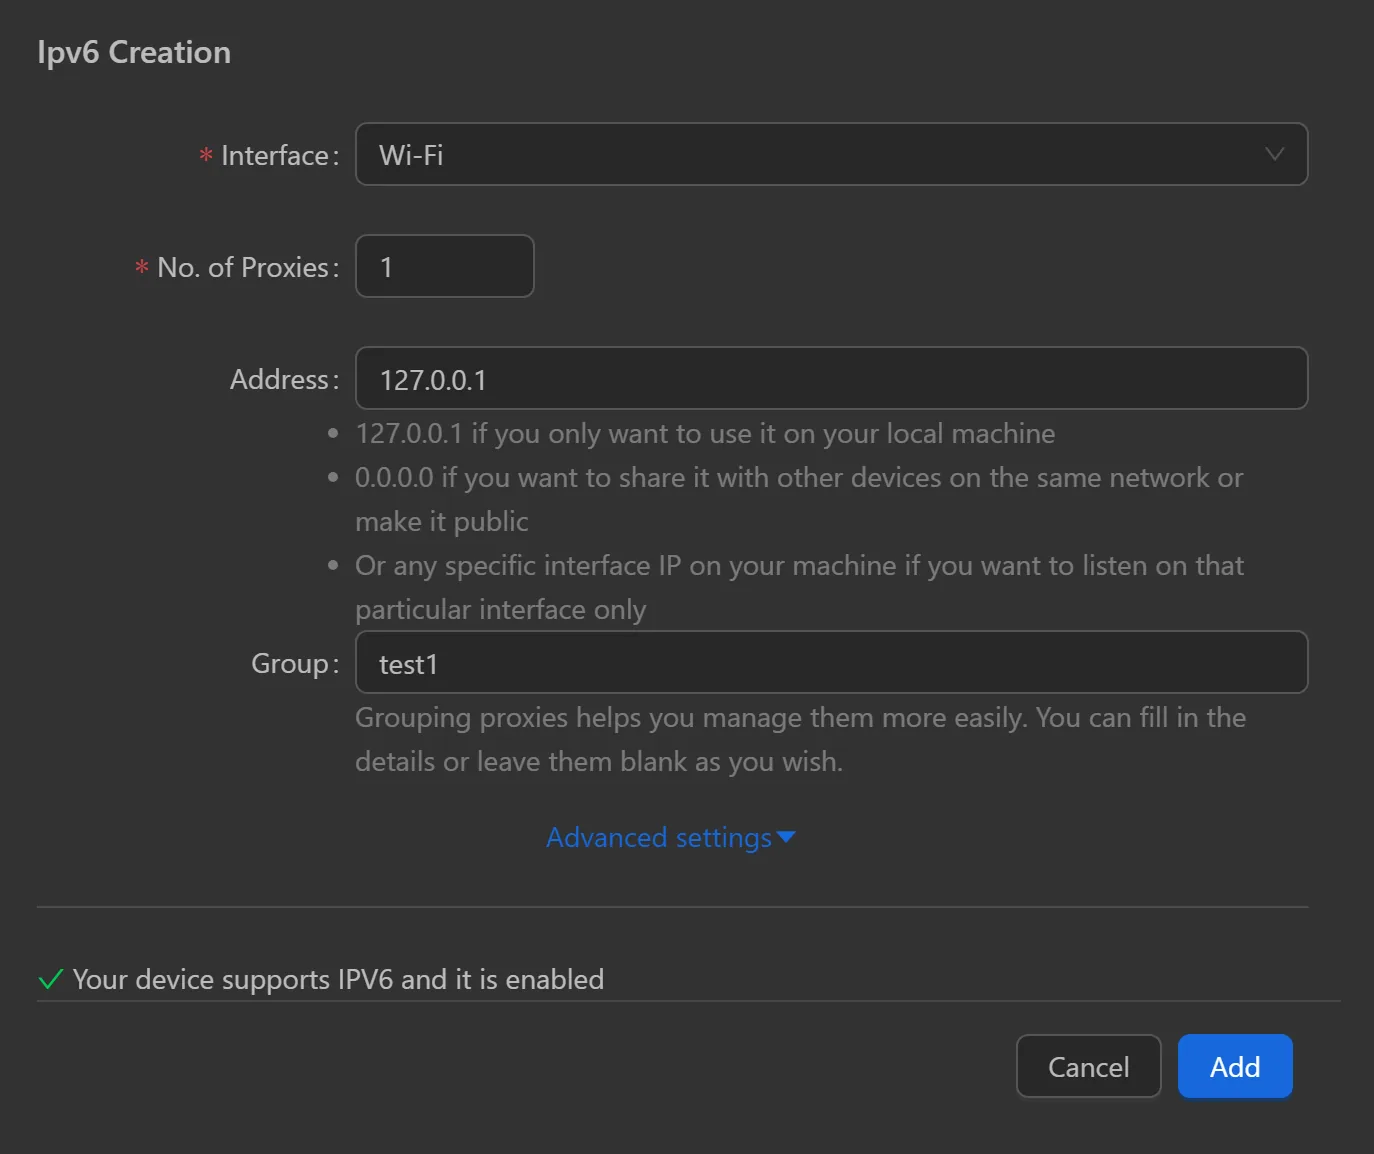
These are the settings to configure for creating an IPv6 proxy:
- Interface: The network card type on your machine.
- No of Proxies: The number of proxies to create.
- Address: Use
127.0.0.1for local use or0.0.0.0to share across devices on the same network. - Group: Group proxies for easier management. Add details or leave blank as desired.
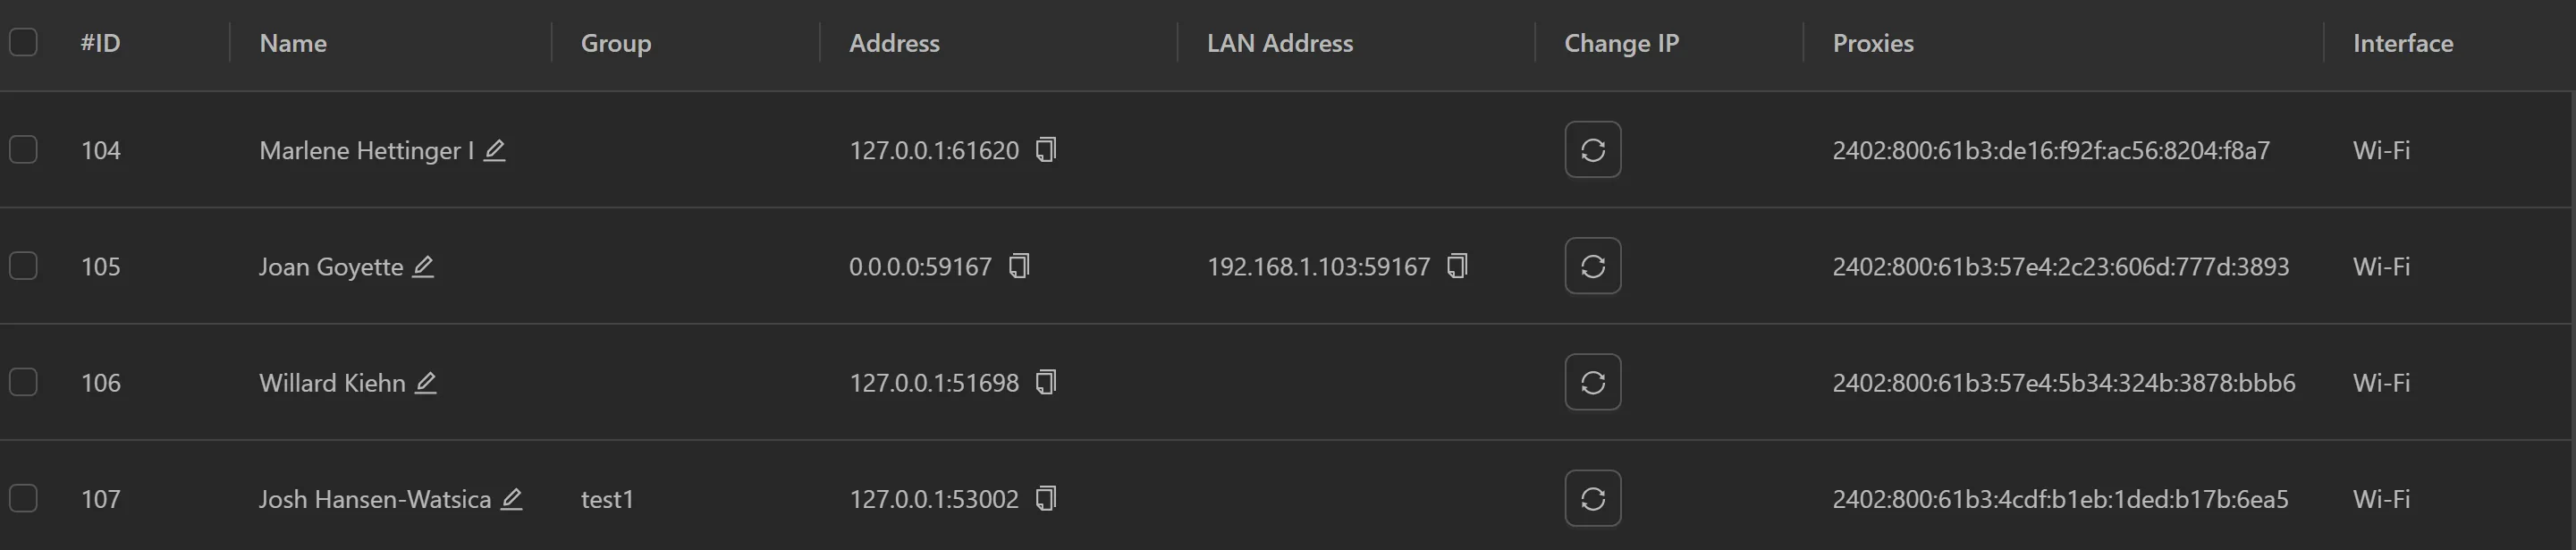
This is the proxy list before creating a new proxy

Customize and create a proxy, then click Add:
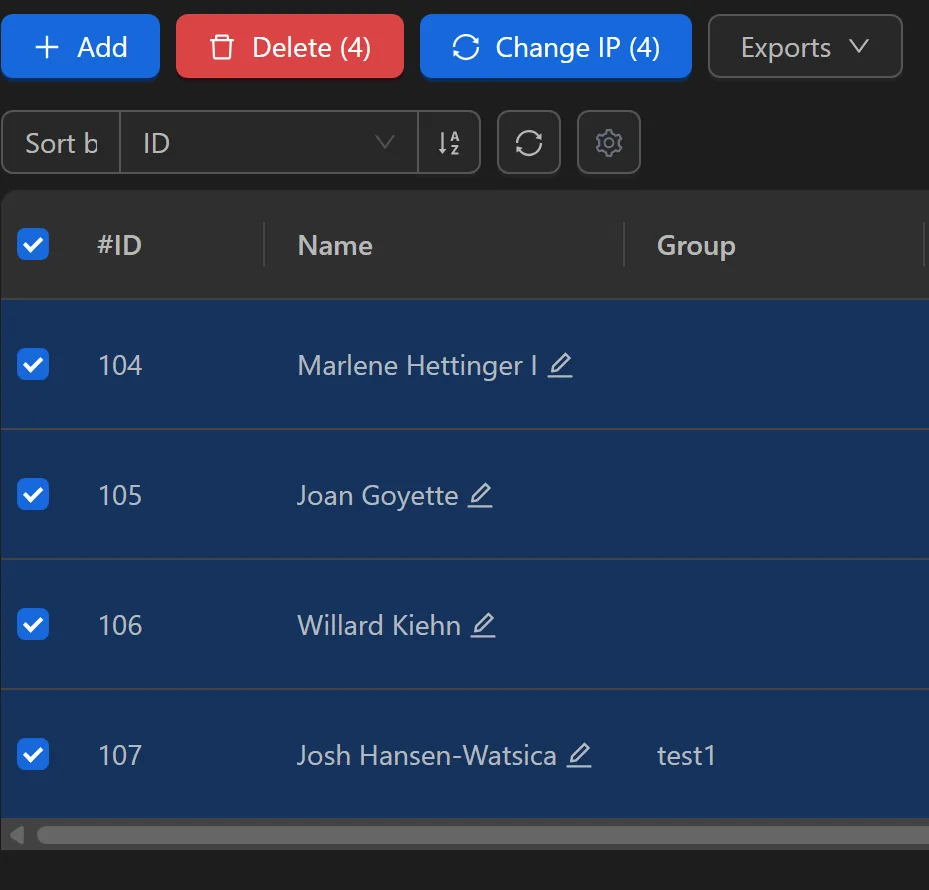
The newly created proxy will appear at the bottom:
Delete
Delete the selected proxies.
Switch IP
Switch to a different proxy, retaining the value in the Address field.

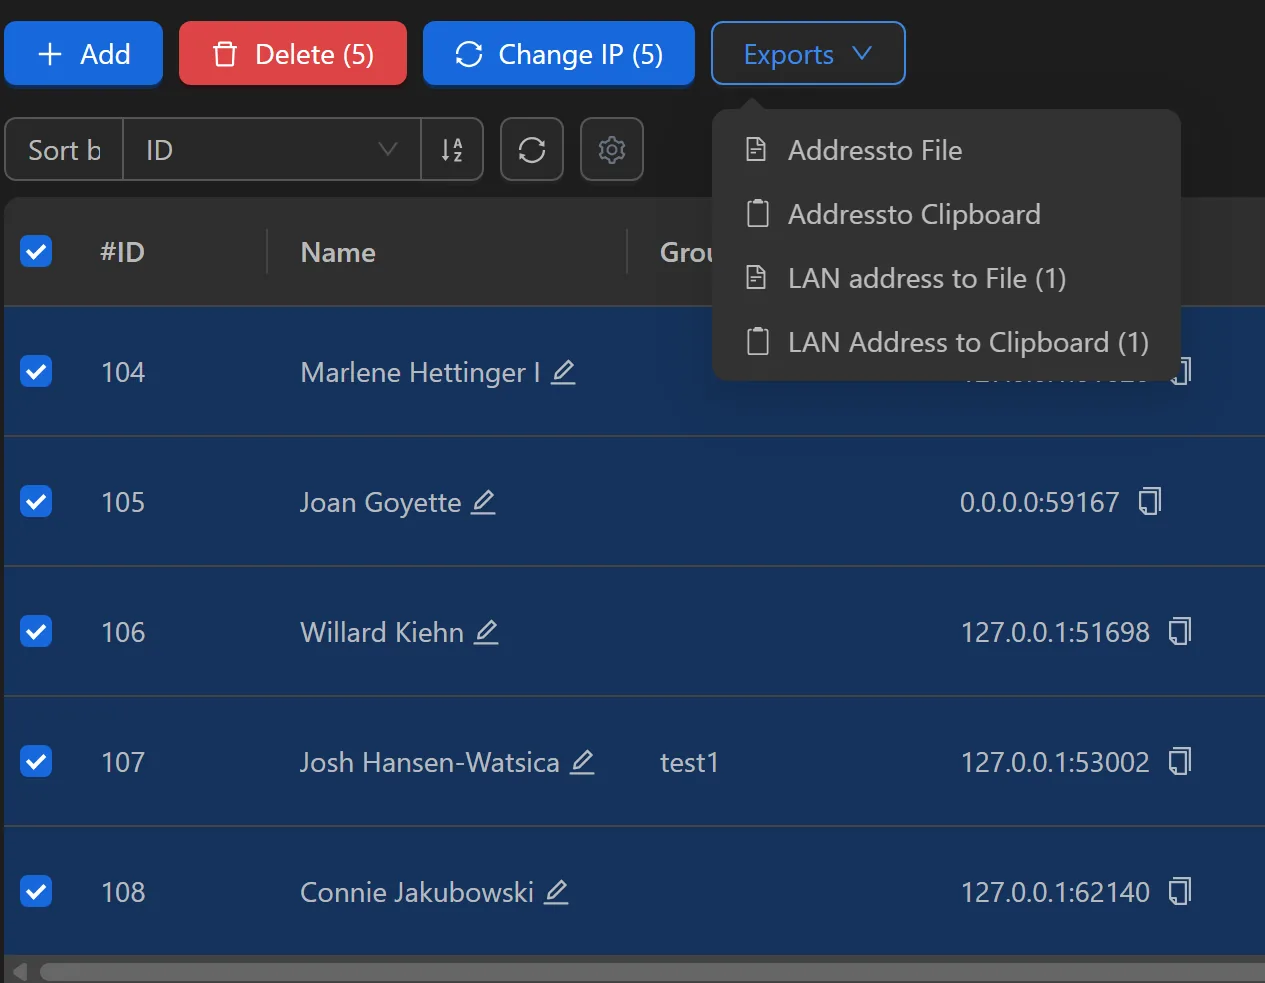
Export
Export the selected proxies to a File (text file) or Clipboard (temporary memory).
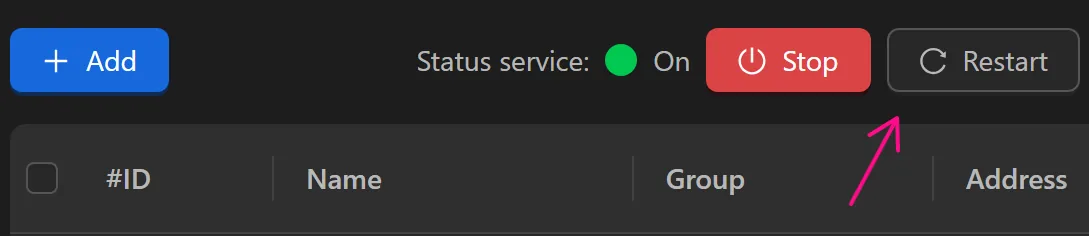
Service Status
The current status of this feature.
- Enabled: Created IPv6 can be used.
- Disabled: Created IPv6 cannot be used.
Restart
Restart this feature if any errors occur.
LAN IP
The LAN address of your machine.
Address
Copy this value for use on your machine. For use on another device on the same network, copy the LAN Address value.
LAN Address
When creating IPv6 with Address as 0.0.0.0, share this value so other devices on the same network can access the IPv6.
Note
Your machine must support and enable IPv6 to use this feature.
Note
Proxies only work on devices within the same network and are inaccessible from other networks. If the network changes, the created IPv6 becomes unusable.
Note
This proxy works only on websites that support IPv6; it won't work on unsupported sites.