Export Data Block
The Export Data block saves data from a table, variable, or Google Sheet to a file in JSON, CSV, or plain text format.
Data to Export
Data can be in the form of table, variables, or google sheet into data in the form of JSON.
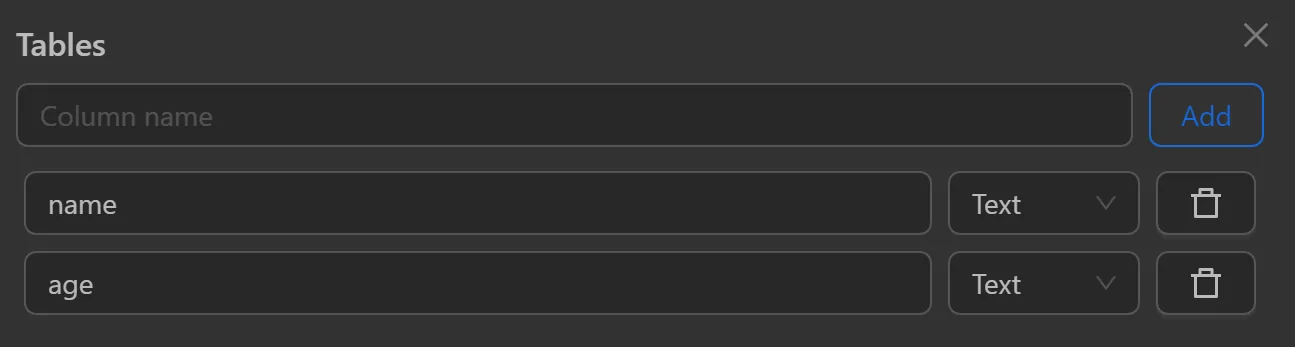
Table
When selecting this option, export all data within the table of the workflow.
For example, if a workflow has two columns, name and age, in the table, the data in these columns will be exported to a file.
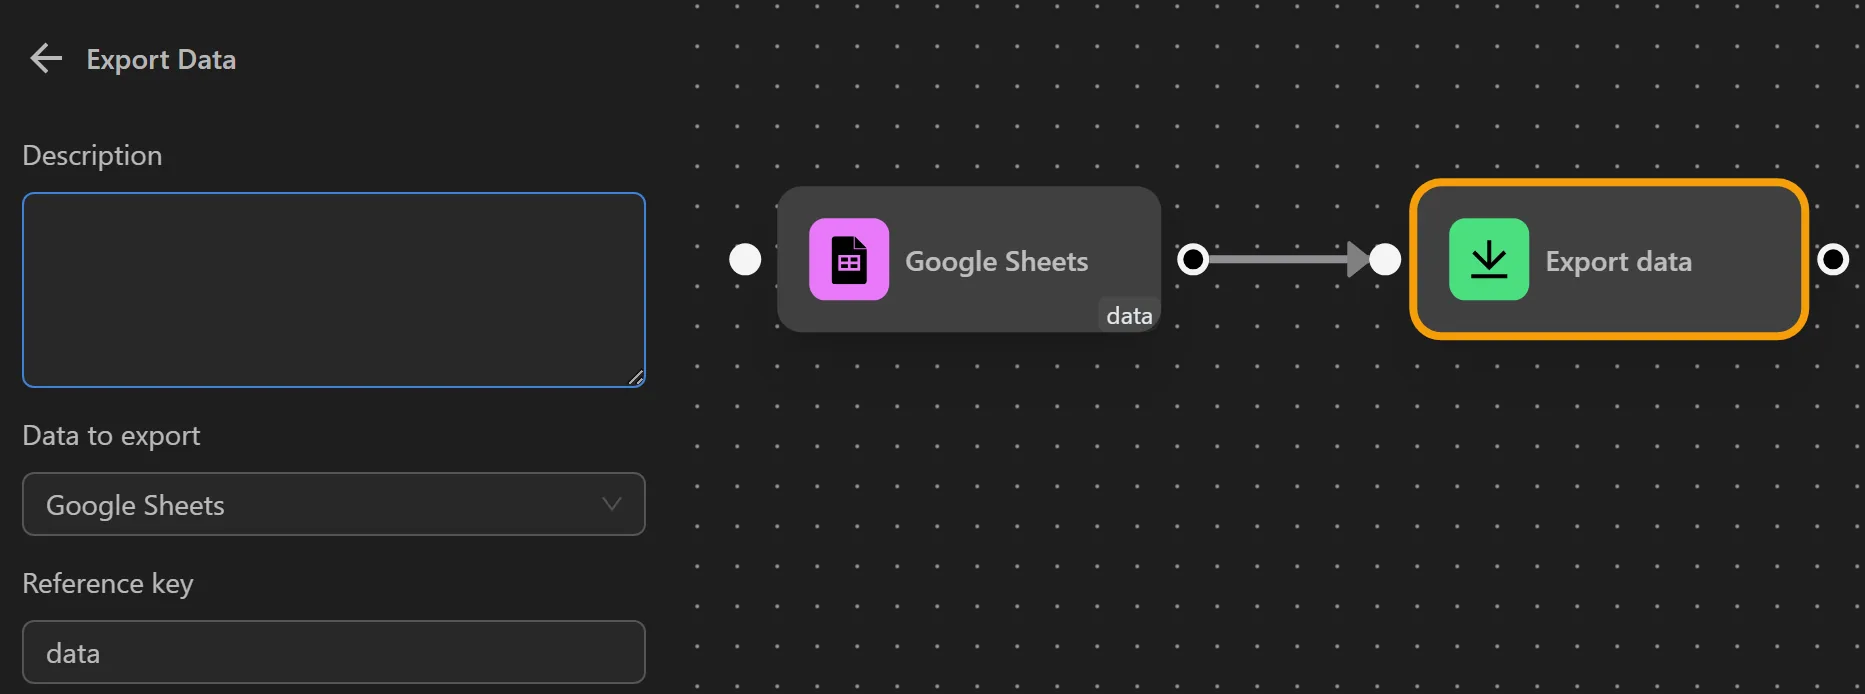
Google Sheet
When selecting this option, export all data in the Google sheets node (you need to run the Google sheets node before reaching this node).
- Reference key: the reference key corresponding to the reference key of the
Google sheetsnode from which you want to export data.
For example, if you want to export data from the Google sheets node with the reference key data, configure it as shown in the image.
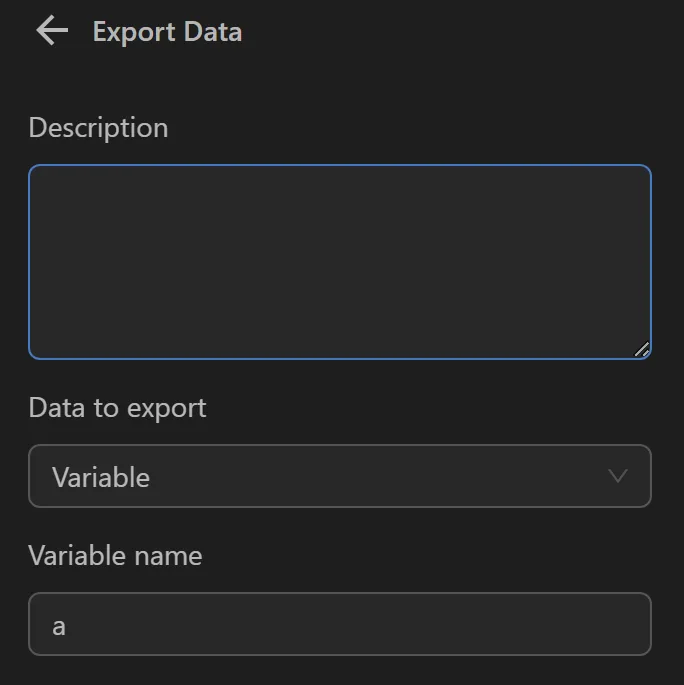
Variables
When selecting this option, export data from the desired variables.
- Variable name: enter the name of the variable, you want to export to a file.
For example, if you want to export data from the variable a, enter a here.
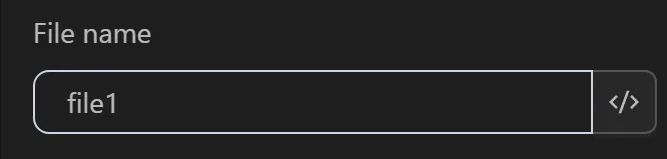
File Name
Specify a name for the exported file or leave it blank.
When Encountering an Existing File
Choose one of the options below when there is a file with the same name as the file, you want to export:
- Uniquify: Rename the file to a different name.
- Overwrite: Replace the existing file with the current file.
- Prompt: Display a window before saving to choose between renaming to a different file or overwriting an existing file.
- Append: Append to the end of the existing file; if it doesn't exist, create it, and subsequent workflow data will be appended to the end of this file.
Export File To
When selecting different formats, your data will be exported with different display styles:
JSON: Export in the form of
JSON.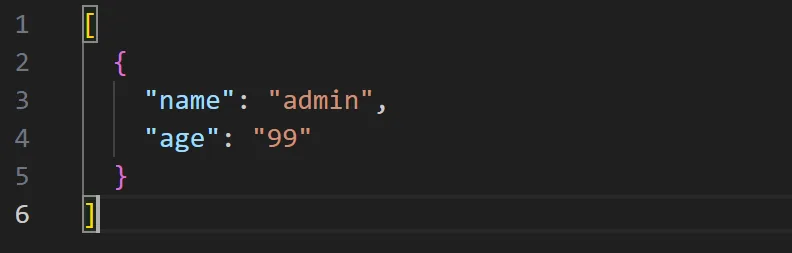
CSV: Export in the form of
CSV.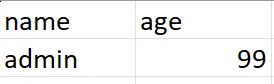
Plain text: Export in the form of
Plain text.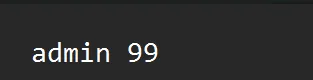
Practical Example
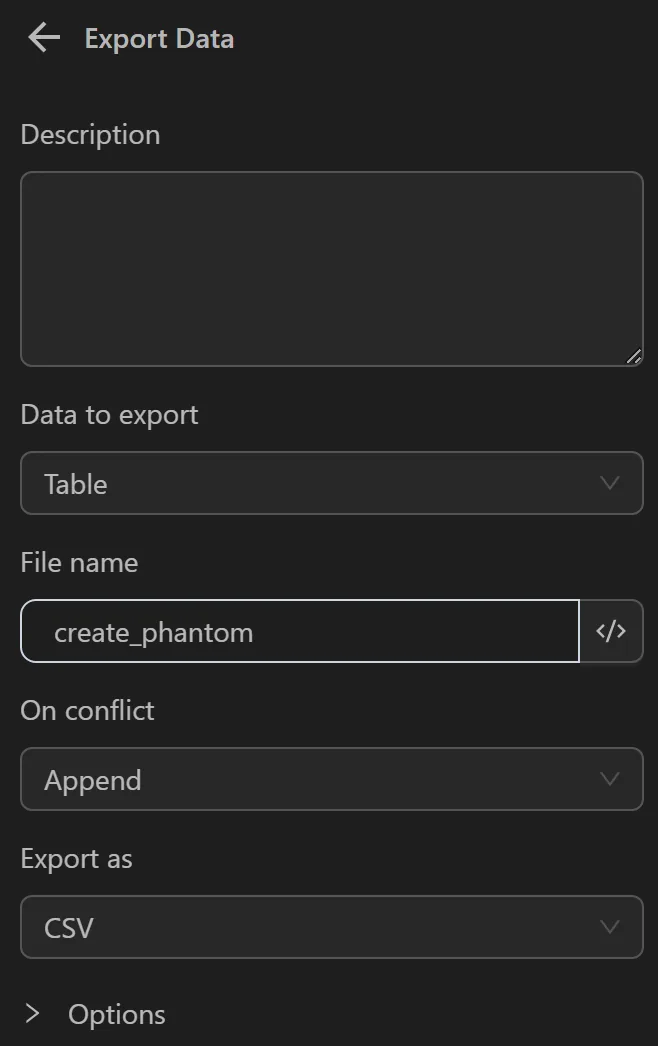
For example, in a Phantom wallet creation workflow, after successfully creating it you want to export that wallet's data, so you will configure it as follows:
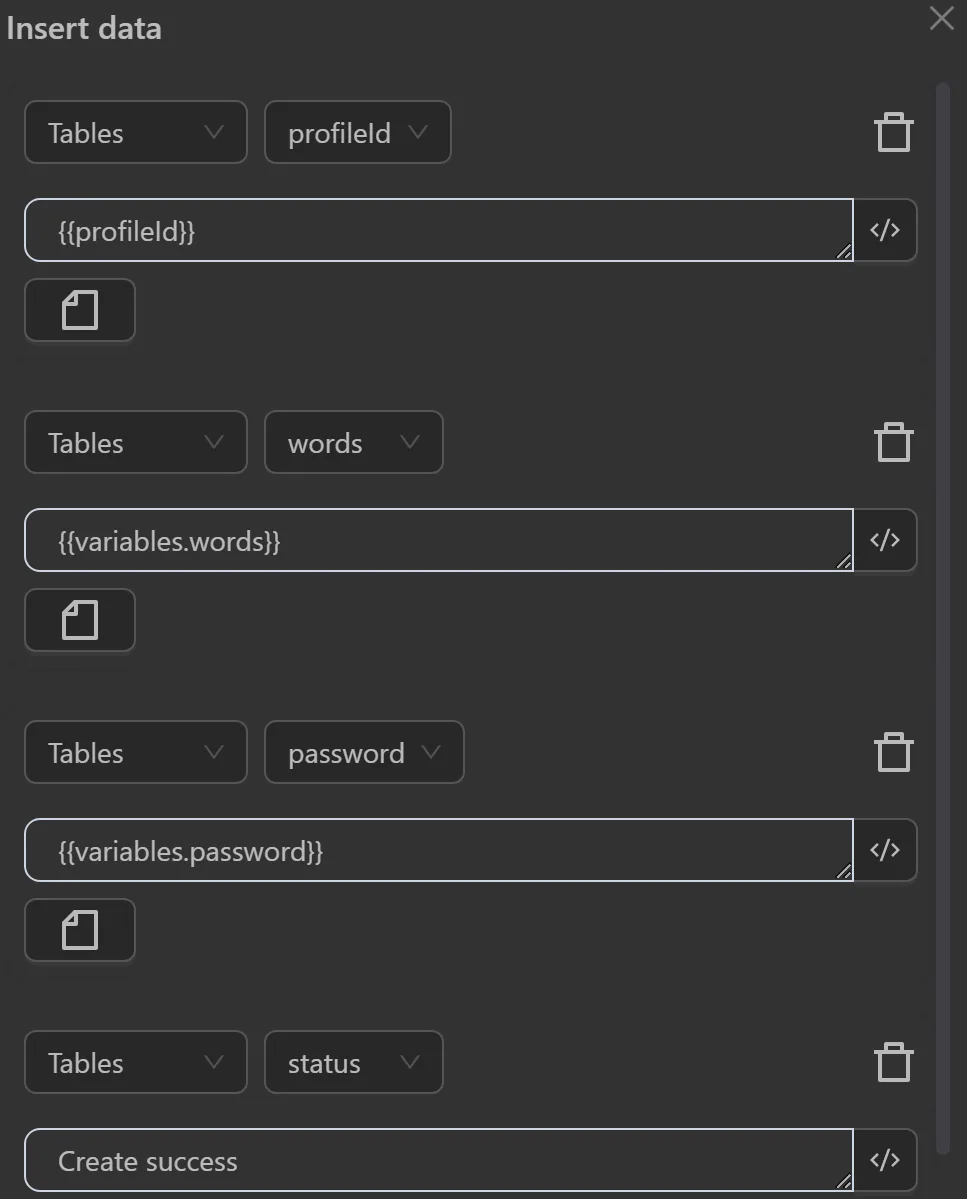
Usually you need to combine the Export Data node with the Insert Data node because, to have data to export you need to insert it first.
First you will configure the Insert Data node. As shown in the image you are inserting workflow data into the columns created in the table.
Then you will configure the export data node to export the wallet data to a file. You will choose to export data from the table because, you previously inserted data into the table. Next you name the file as desired. Then, to have wallet data from multiple profiles inserted into one file, you choose the Append to end option. When selecting this option, wallets created later will be added to the next row of the file. Finally you will choose to export the file in CSV format. When exported in this format, you can reuse the exported file in the wallet import workflow.
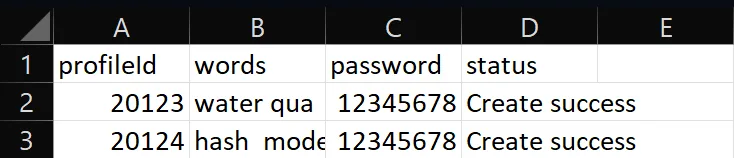
The data will then be exported and displayed as follows:
Note
The exported file will be located in the Omnilogin folder in the Downloads section of your computer.