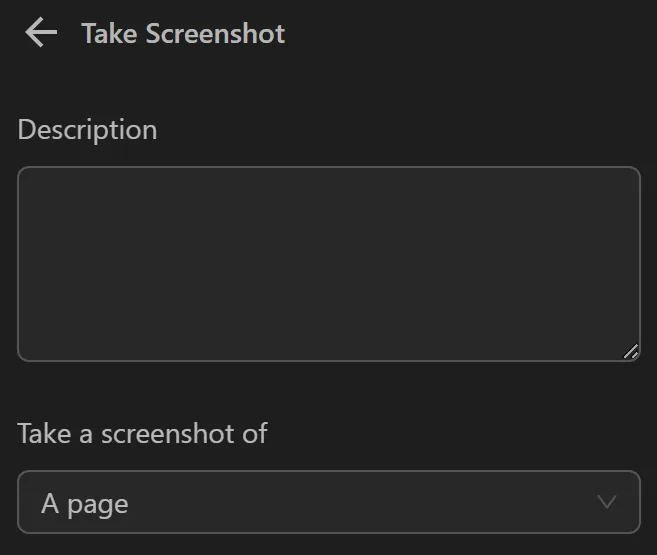
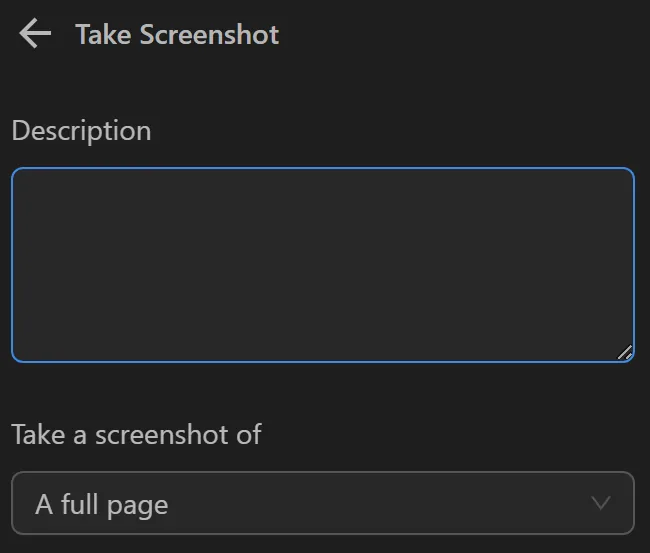
Take Screenshot Block
The Take Screenshot block captures a screenshot of the currently active page - either the full page, the visible area, or a specific element. Save the image to your computer or assign the Base64 data to a variable or table.
Take a screenshot of
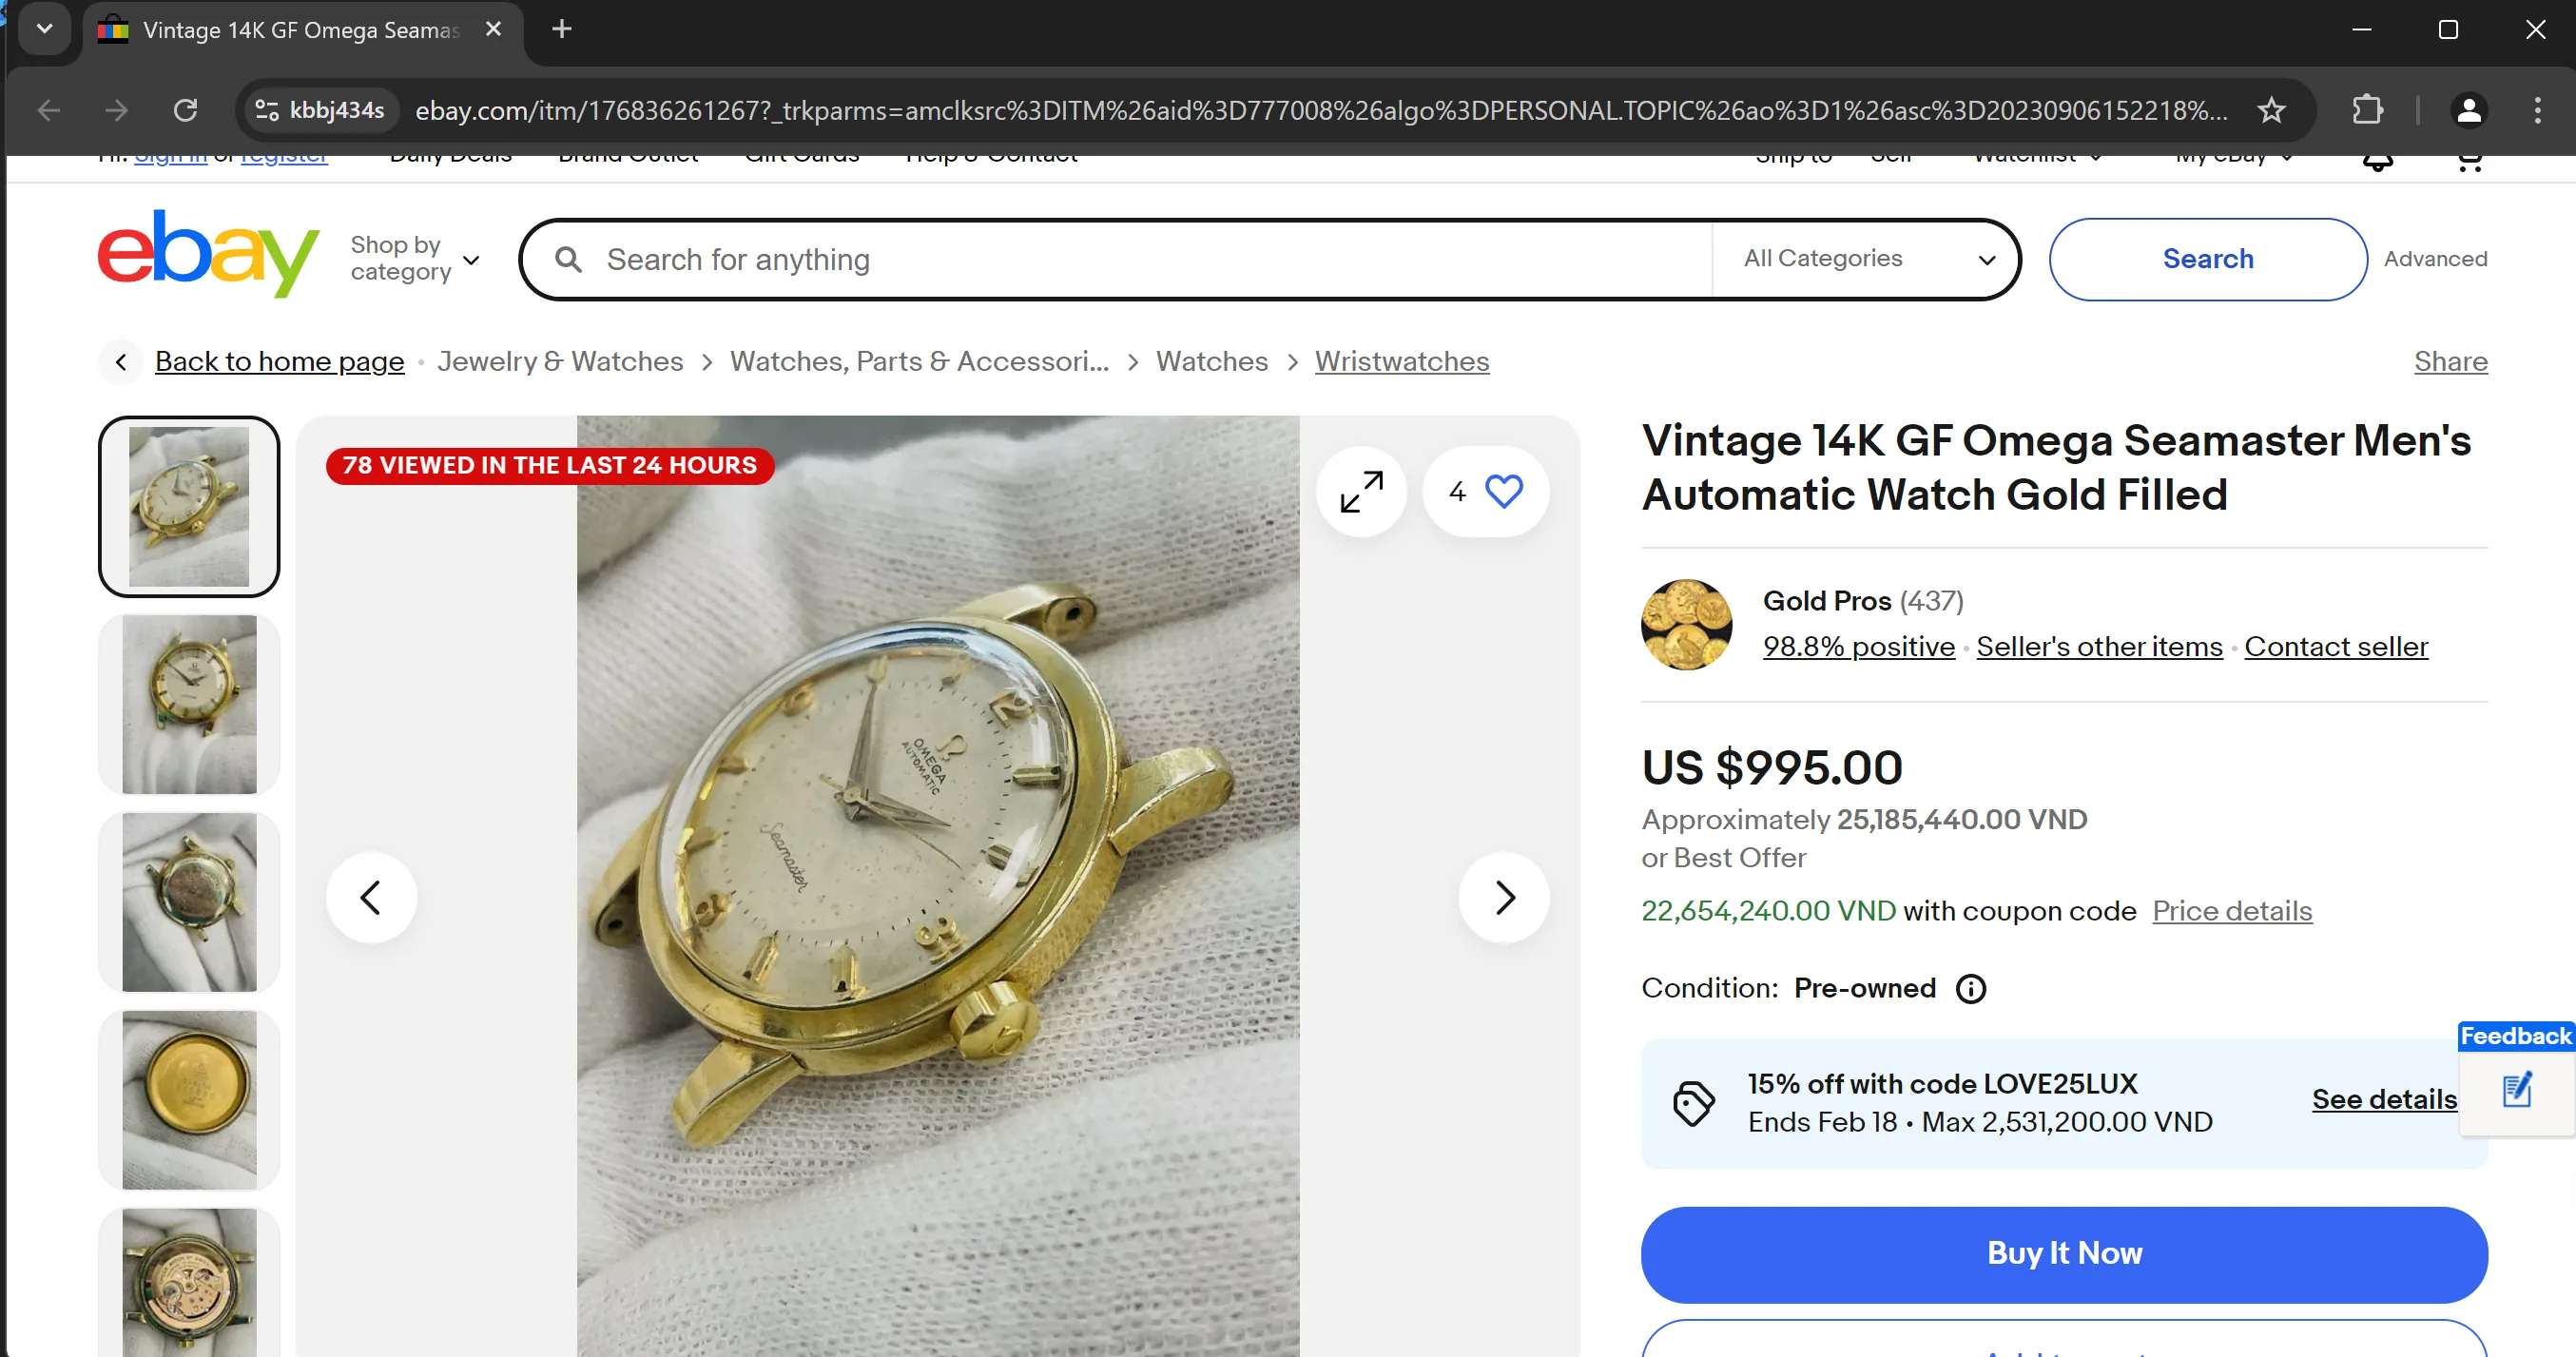
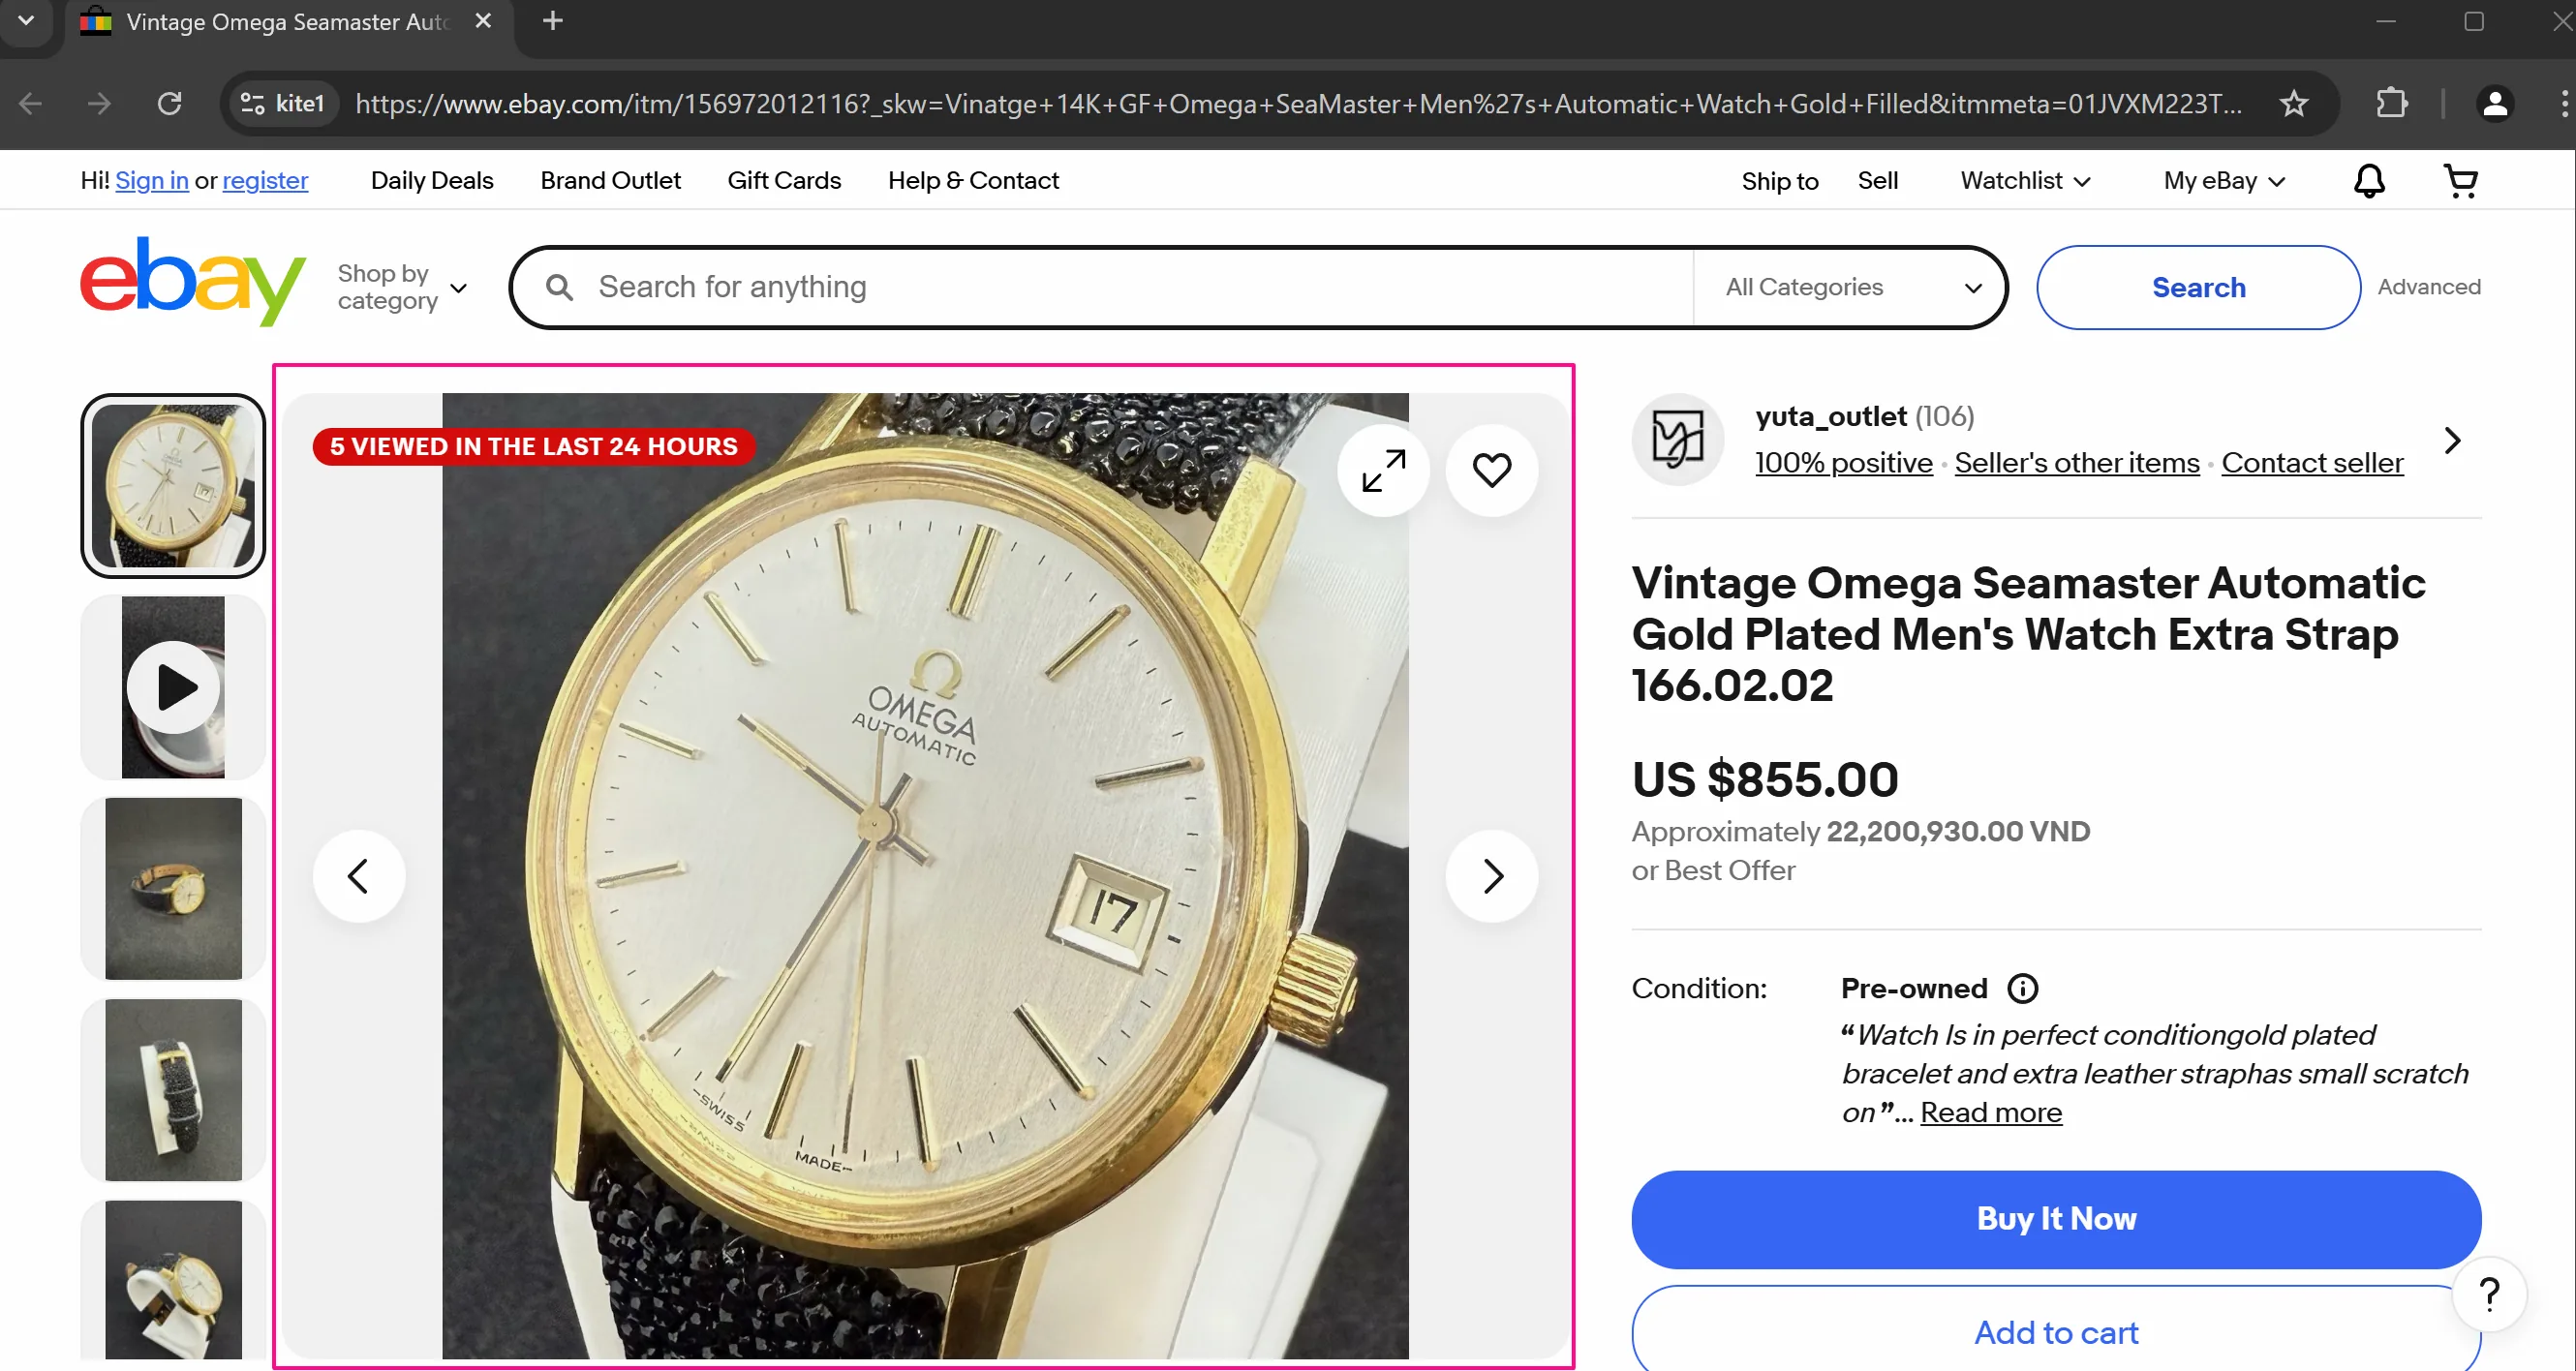
For example, you have a product page on eBay as follows:
The resulting image will vary depending on the chosen capture type.
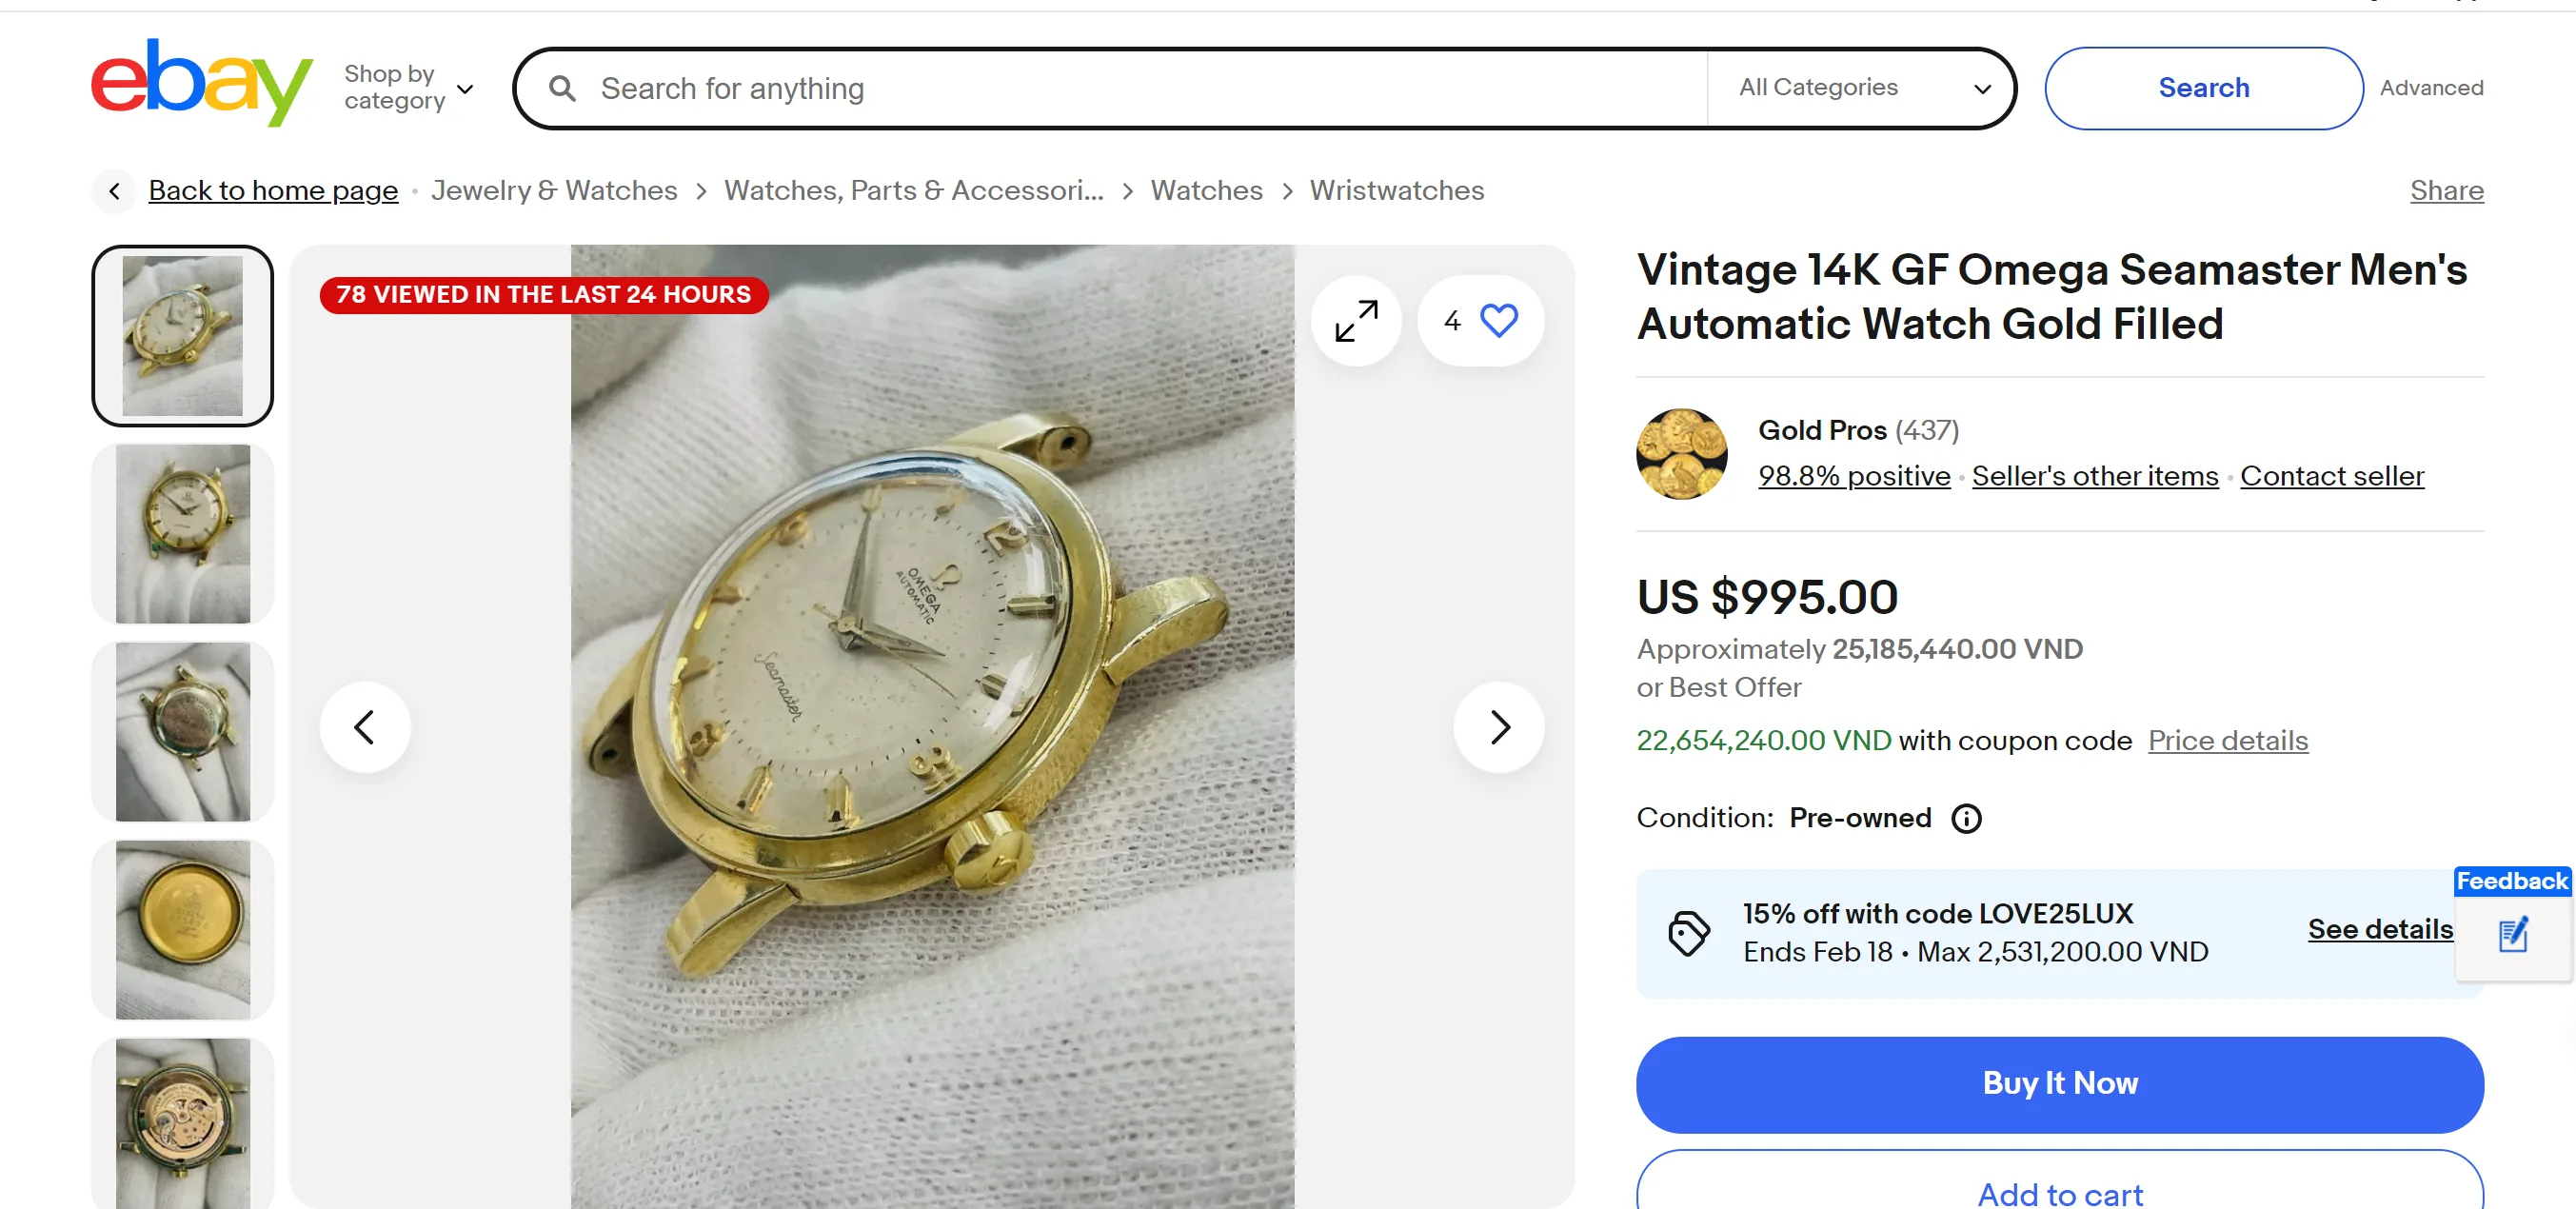
A Page
Capture a screenshot of the page displayed on your screen.
After using this capture type, your image will look like this:
A full page
Capture the A full page (including parts not yet scrolled to).
After using this capture type, your image will look like this:
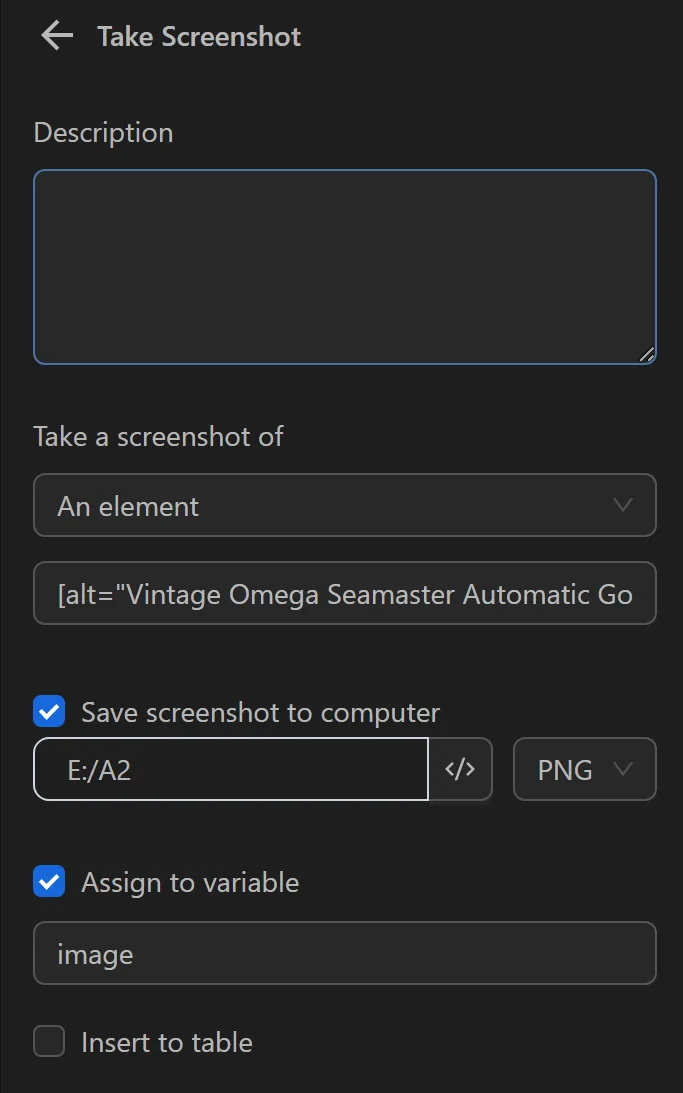
An Element
Select an element on the page to capture.
For example, you want to capture this element on the page:
First, you need to identify the CSS selector of that element, then paste it into the input field as follows:
After using this capture type, your image will look like this:
Save Screenshot to Computer
You can save the screenshot result to your computer.
File Save Location
By default, the screenshot is saved to an Omnilogin folder in the Downloads directory if the save location is left blank.
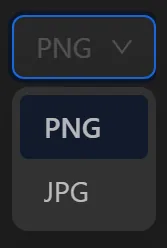
You can also save it to a different folder on another drive, for example, to folder A2 on drive E as follows:

File Type
You can also choose the file format, such as JPG or PNG.
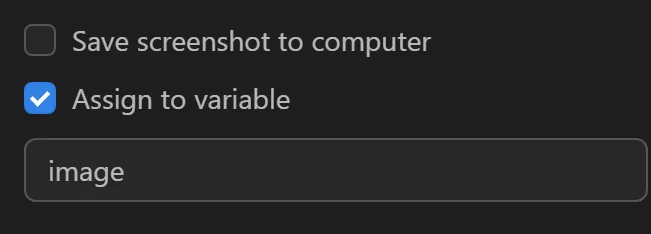
Assign to Variable
You can assign the data URL to a variable.
- Variable Name
The name of the variable containing the path of the image on the computer when you choose to save the screenshot to the computer.
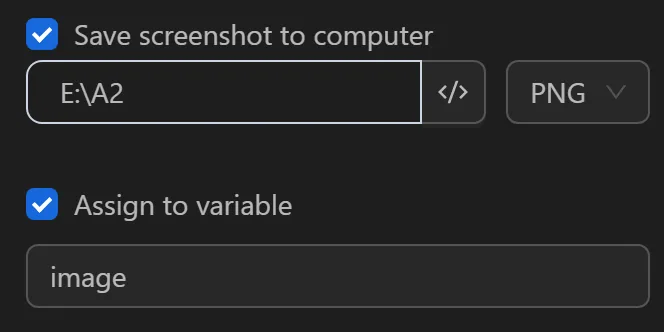

Or the Base64 format of the image when you choose not to save it to the computer.

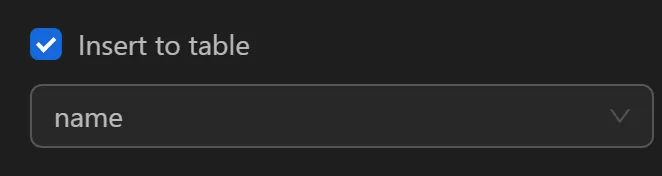
Insert into Table
You can insert the screenshot's file path into a table or not.
- Select Column
Select a column to insert the screenshot's file path into the table.
For example, if you want to insert the newly captured image path into the name column, you select as follows:
Practical Example
Here you will guide you through using the node in a practical workflow.
Ví dụ
The action you want to perform is to capture a screenshot of a product on this page and then search for that image on Google.
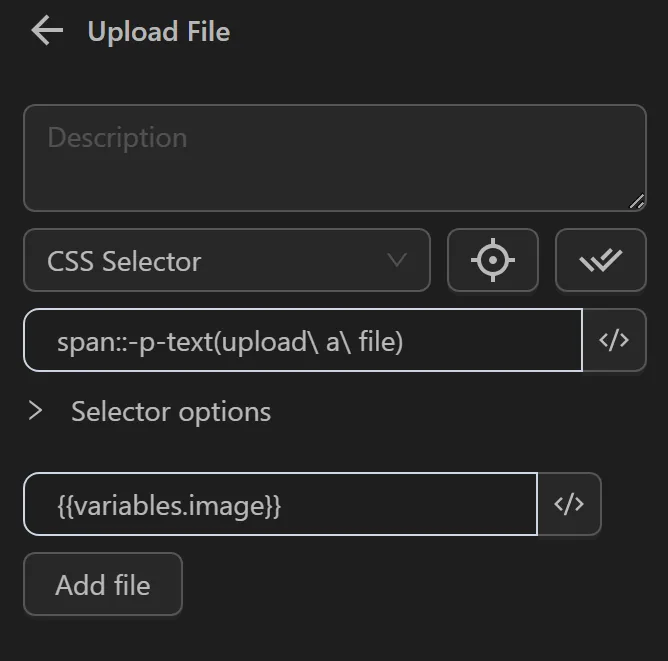
To capture the image of the desired element, you first need to obtain the CSS selector of the image. Then, select Take a screenshot of an element and paste the CSS selector of that element. Configure the option to save the image to the computer in the desired folder and assign the screenshot to the image variable containing the captured image.
Next, you will navigate to the Google page using the Open URL node.
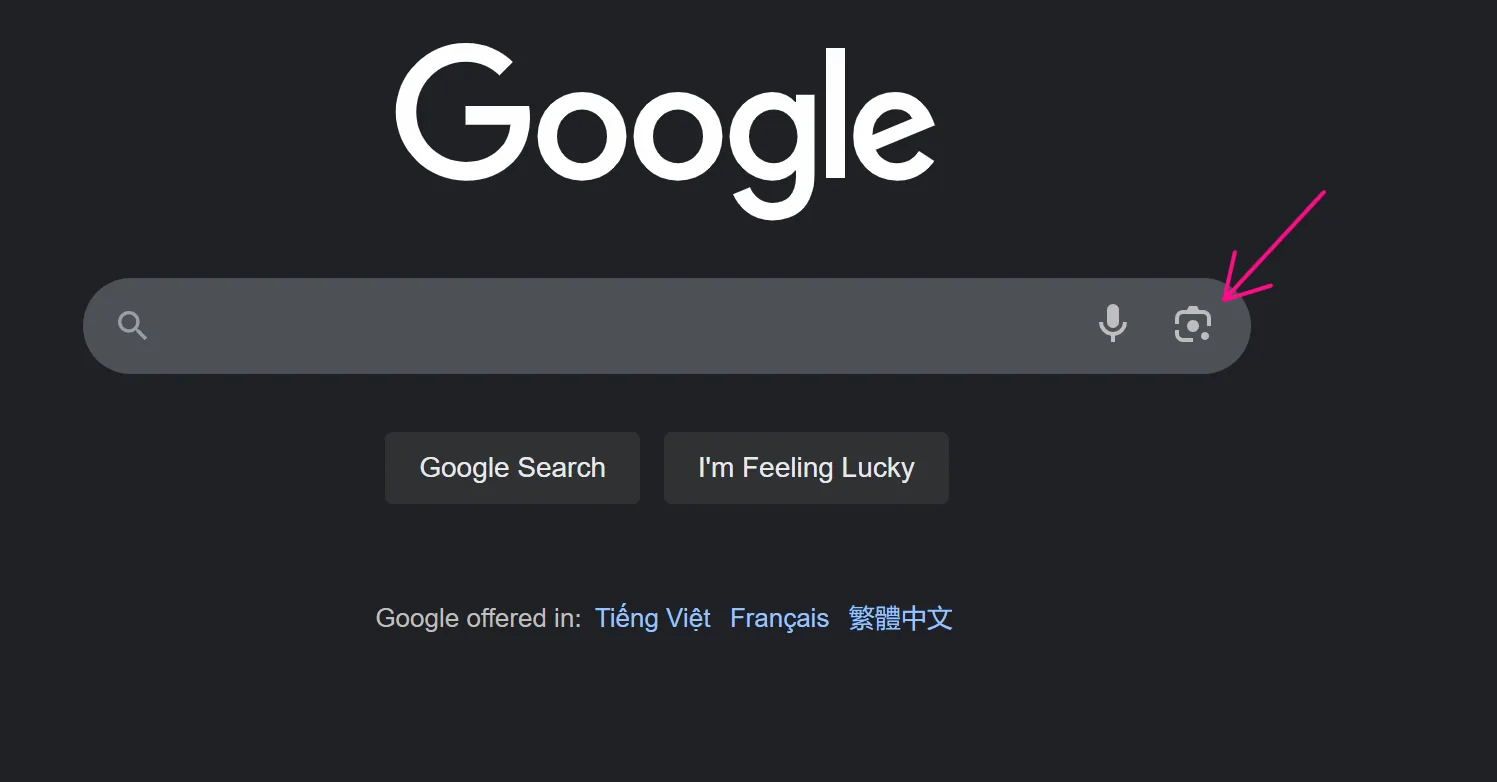
Then, click the camera icon to display the image upload area.

Next, configure the Upload (File) node to upload the screenshot just taken.
The script will then consist of the following nodes:
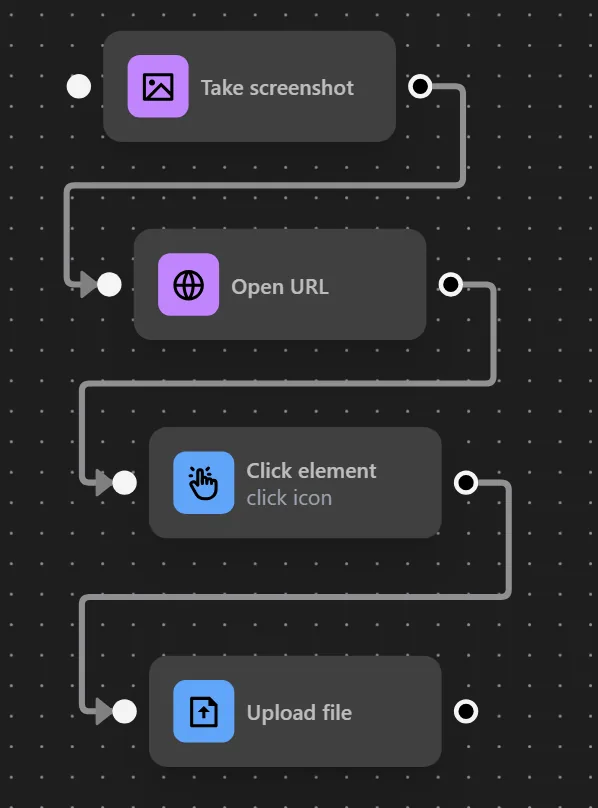
After running this workflow, you will have completed the action of capturing a screenshot and using it to search on Google.