Create MetaMask Wallet
This guide explains how to use an Omnilogin workflow to create one or more MetaMask wallets automatically. Below are the key steps you need to understand before running the workflow.
Install Extension into Profile
Before running the script, you need to install the extension in the profile before creating a wallet.
Install from Chrome Web Store
First, open the extension link: https://chromewebstore.google.com/detail/metamask/nkbihfbeogaeaoehlefnkodbefgpgknn
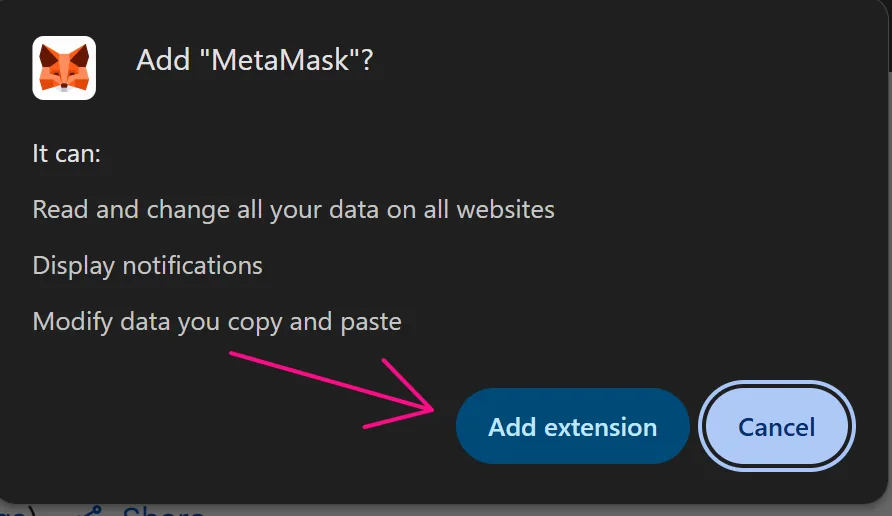
Then, click Add to Chrome and Add extension.

When the extension appears in the extensions list like this, the installation is successful:
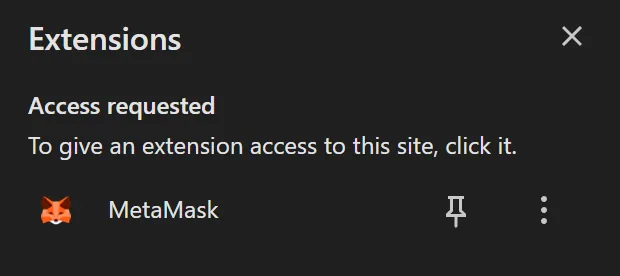
After that, you can run the process to create a wallet.
Install Older Versions
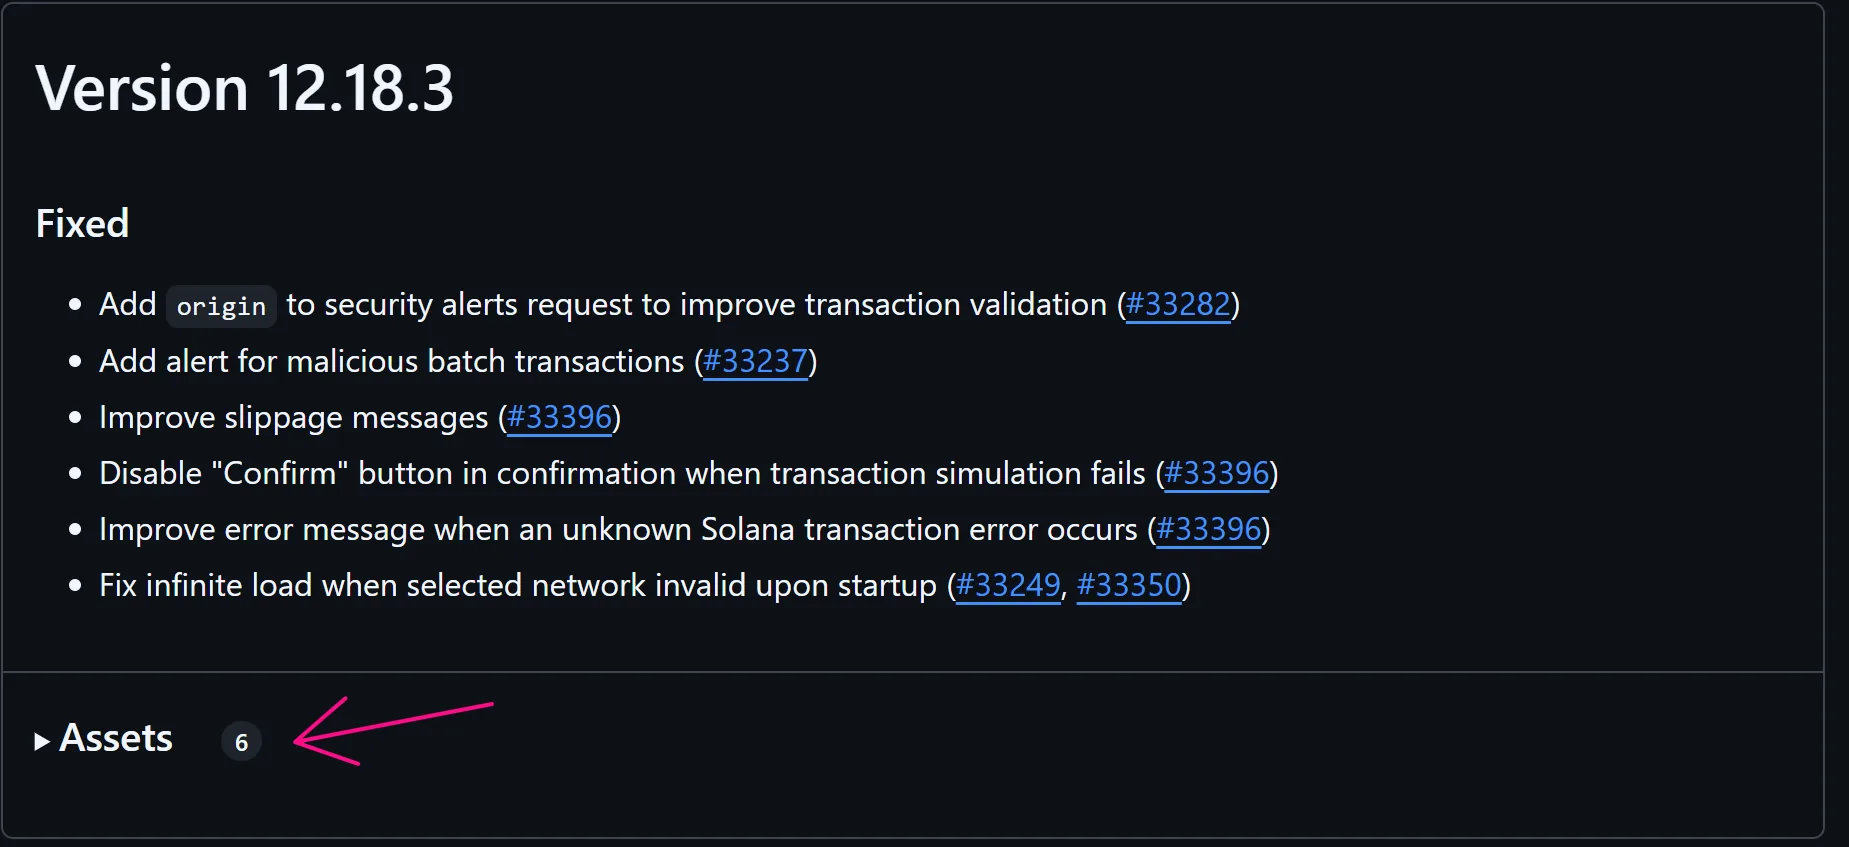
You can also install older versions by visiting the official extension page: https://github.com/MetaMask/metamask-extension/releases
Then, select a desired version and download its file:
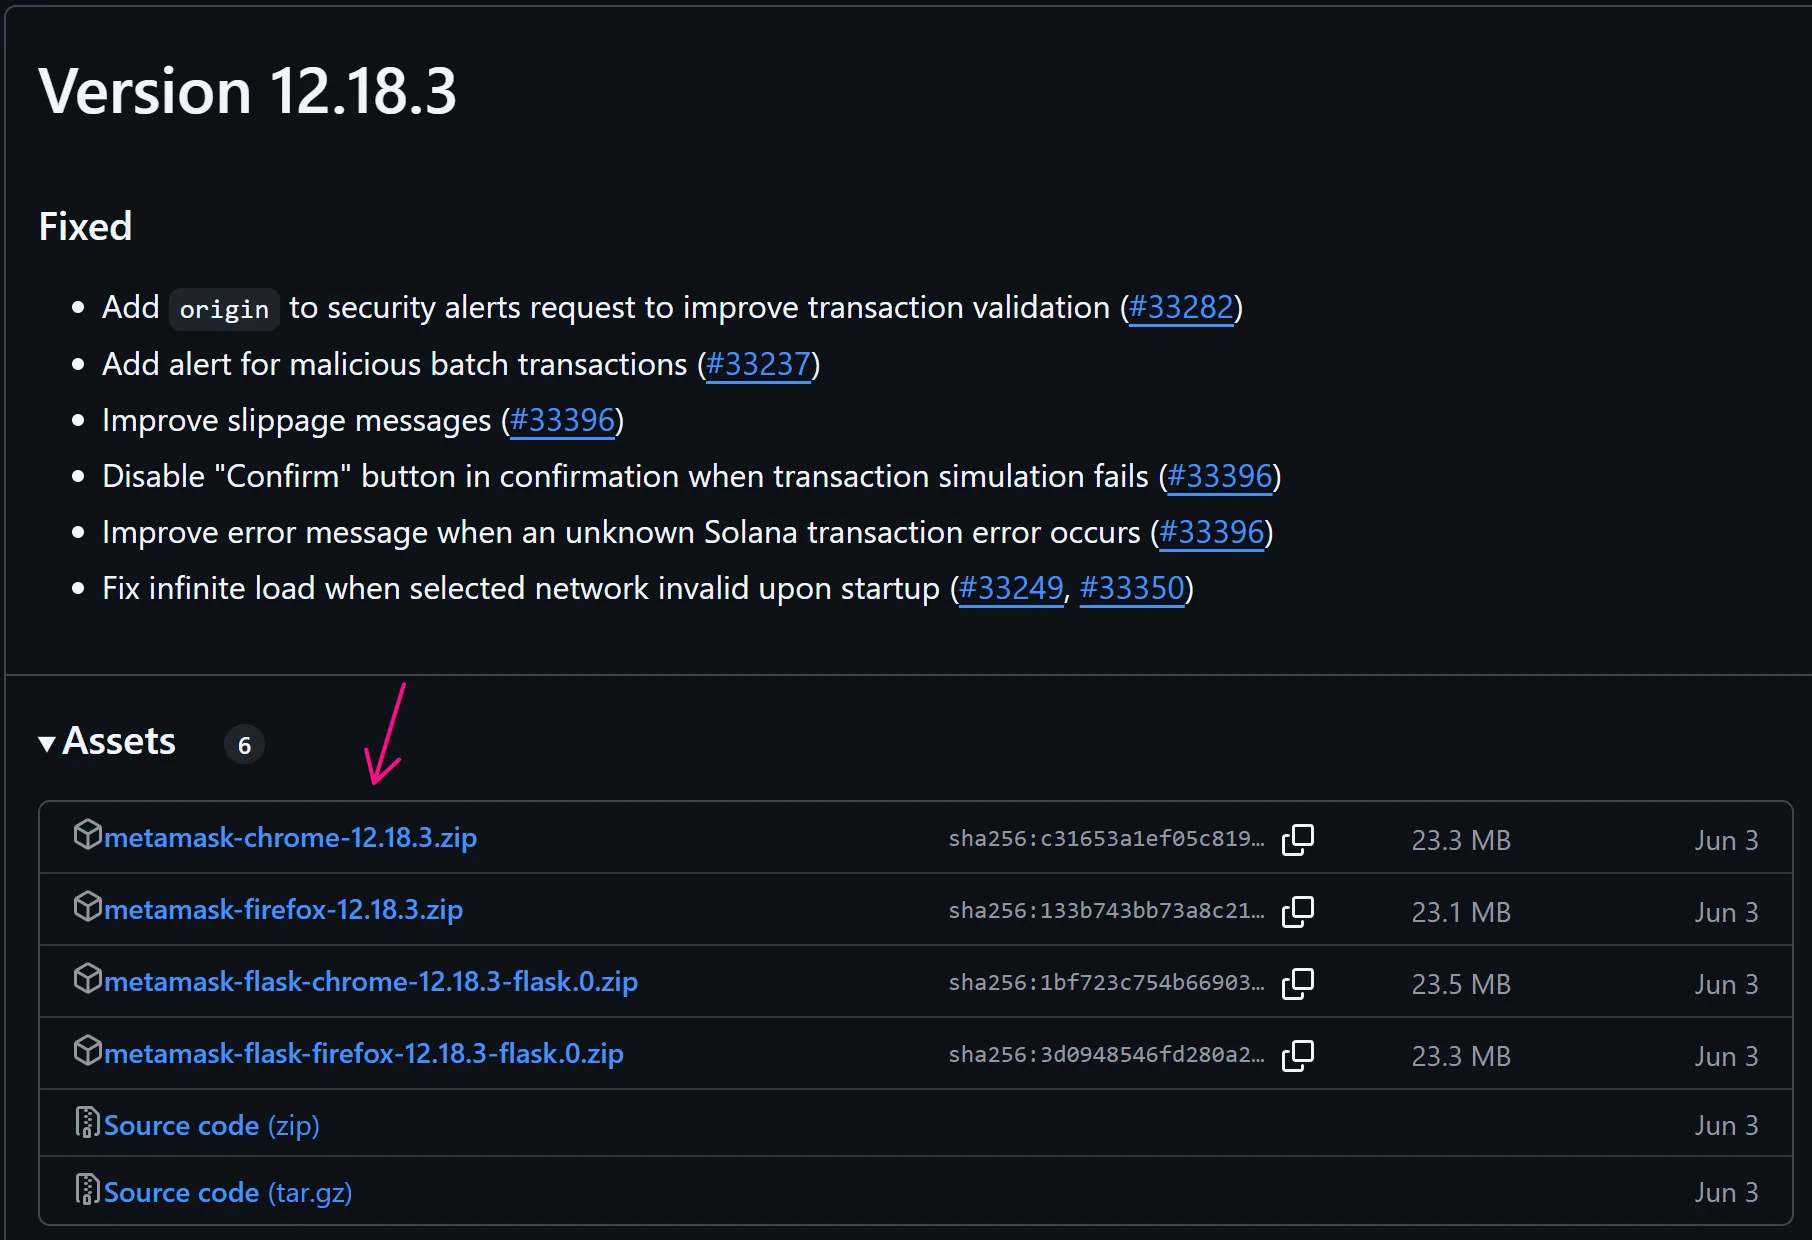
After downloading, install the extension in the Manage Extensions section as guided here.
Open Extension on Web Platform
To perform wallet creation actions, you first need to access the MetaMask wallet page using the Open URL node with the URL chrome-extension://x/home#onboarding/welcome, where x is the extension ID of the MetaMask wallet. To obtain the MetaMask extension ID, visit chrome://extensions/, enable Developer mode to display all extension IDs, copy the MetaMask ID, and replace x with it.

Create a Table for Process Data
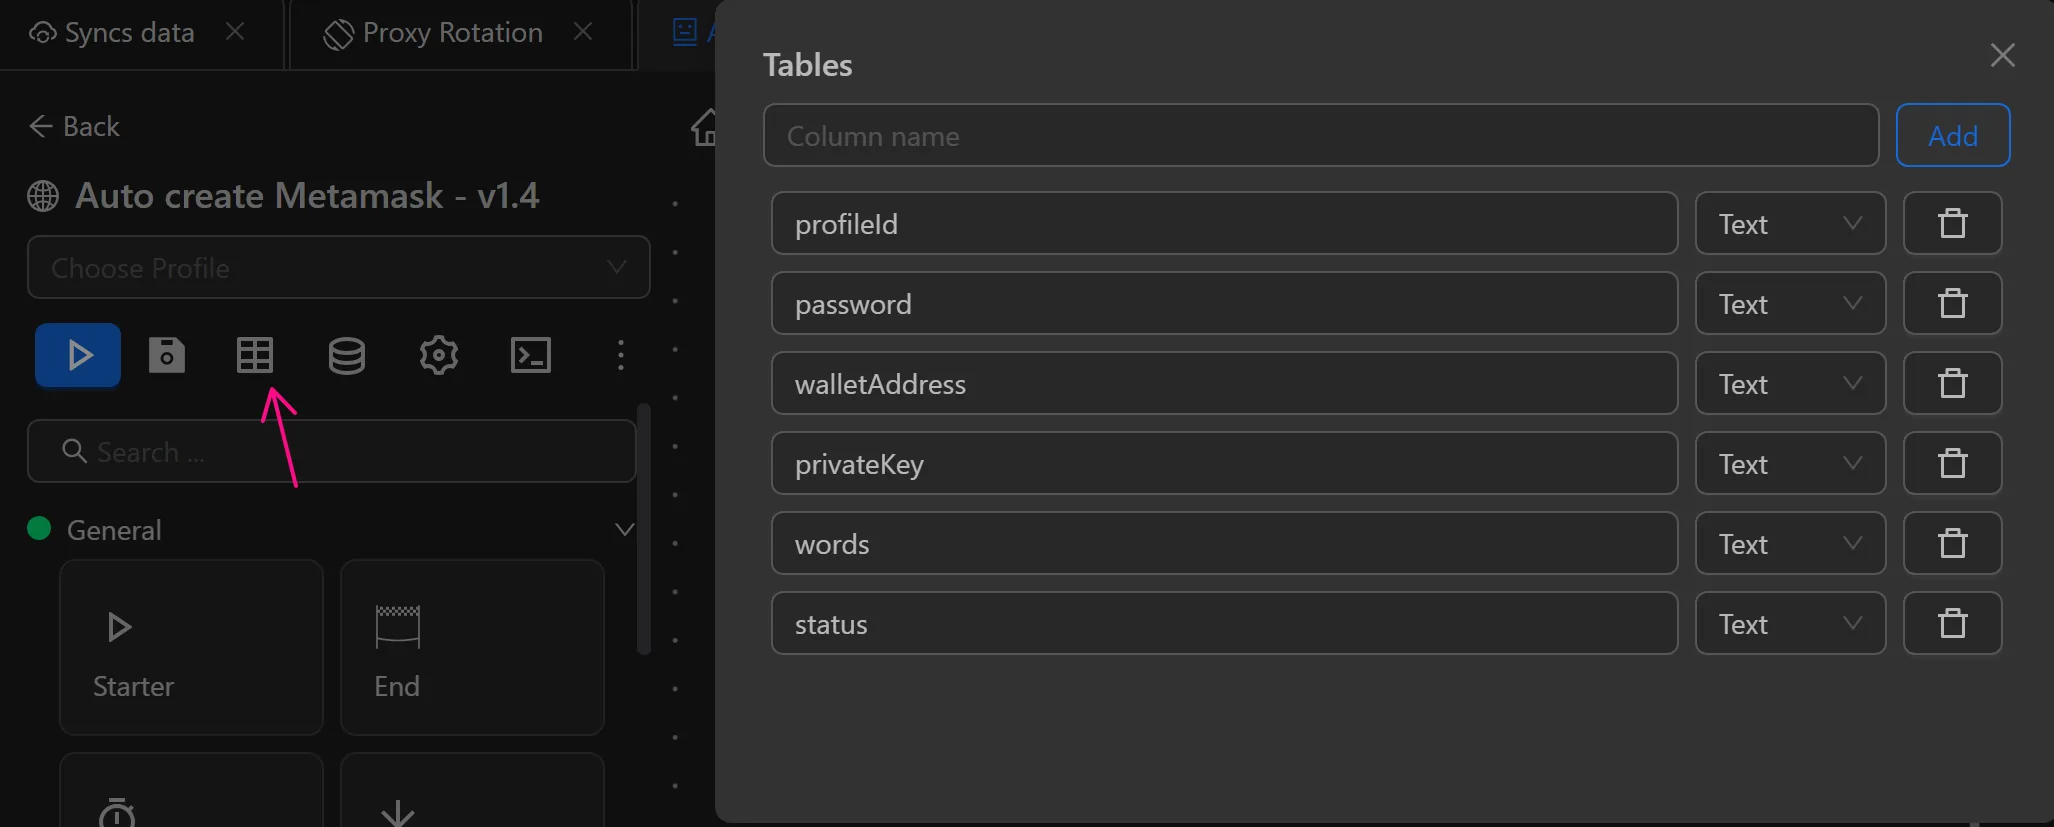
After accessing the wallet link, you need to create tables in the process to store data generated during execution. To create a table, you click the table icon and set it up in the displayed window.
Retrieve Selectors for Elements
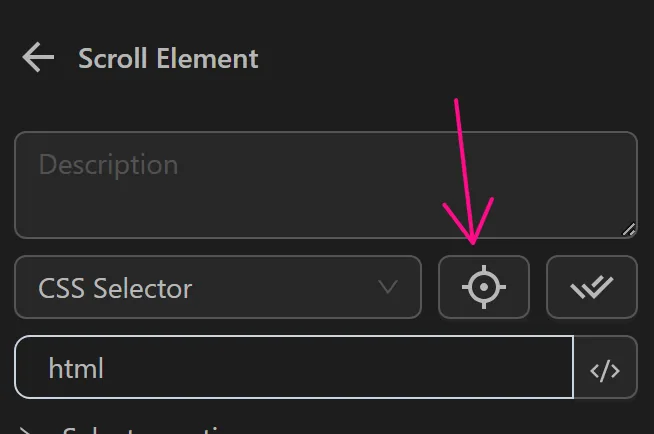
To obtain the selector for an element on a tab, click the crosshair icon in nodes that require it.
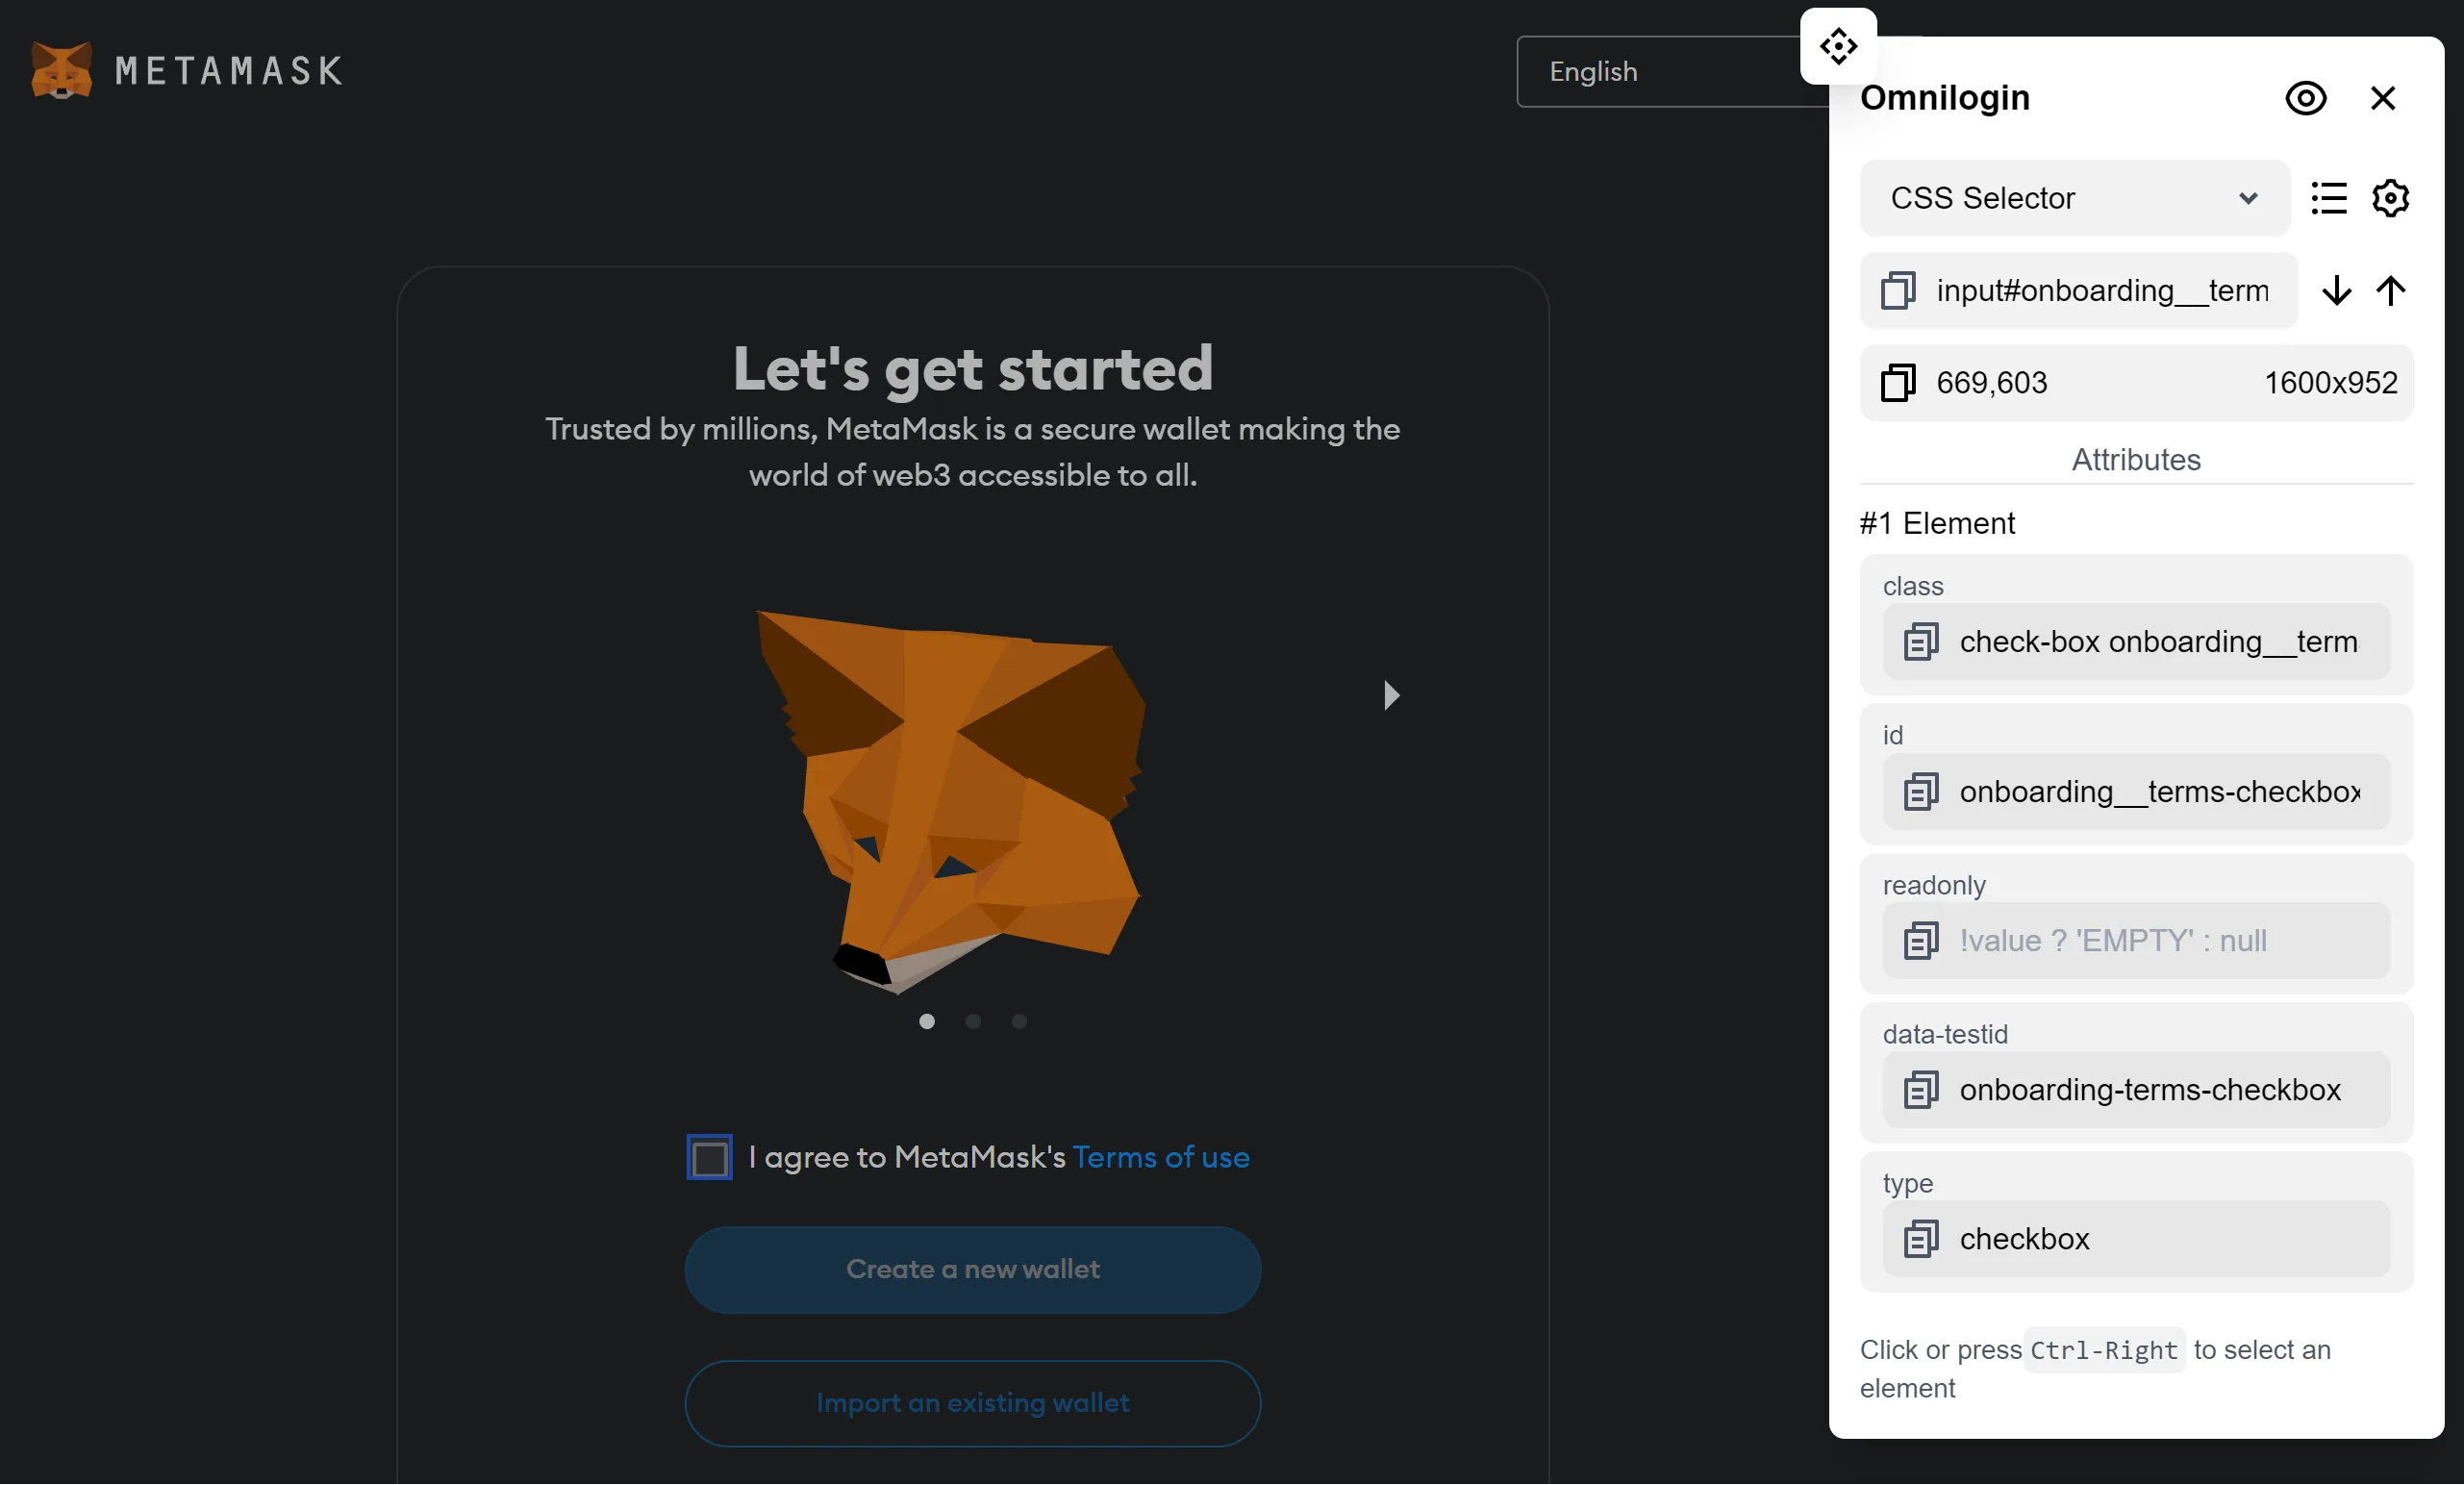
This activates the CSS Selector tool on the active tab, allowing, you to select the desired element's selector. For example, the selector for the You agree to MetaMask's Terms of use checkbox is shown below:
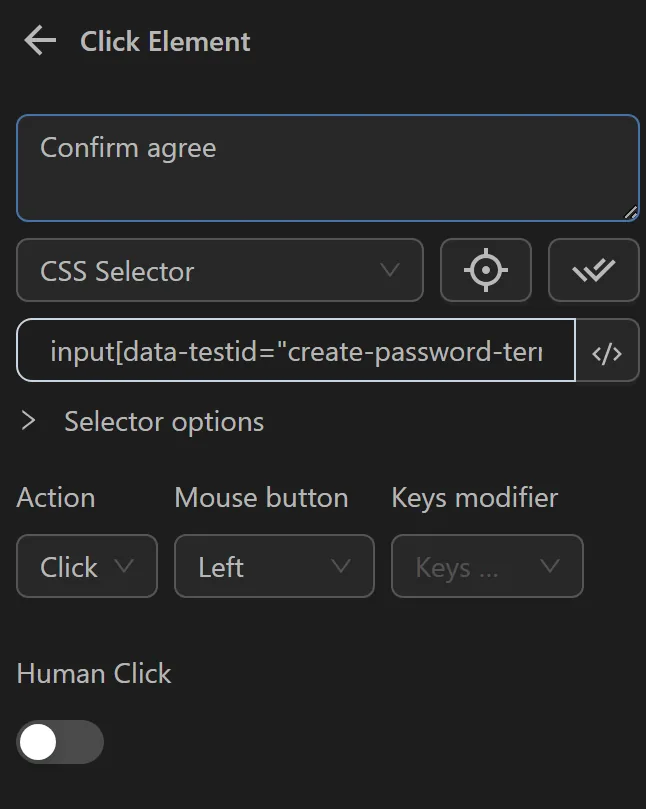
After copying the selector, you paste it into a Mouse Click node to interact with the desired element. You can use this node to click the checkbox.
Similarly, for other elements, you can retrieve selectors using the same method or refer to an alternative method in this video.
Insert Important Data
To insert data into a table, you use the Insert Data node. For example, you can generate a random password and insert it into the password column. For more details on random syntax, refer to Expressions.
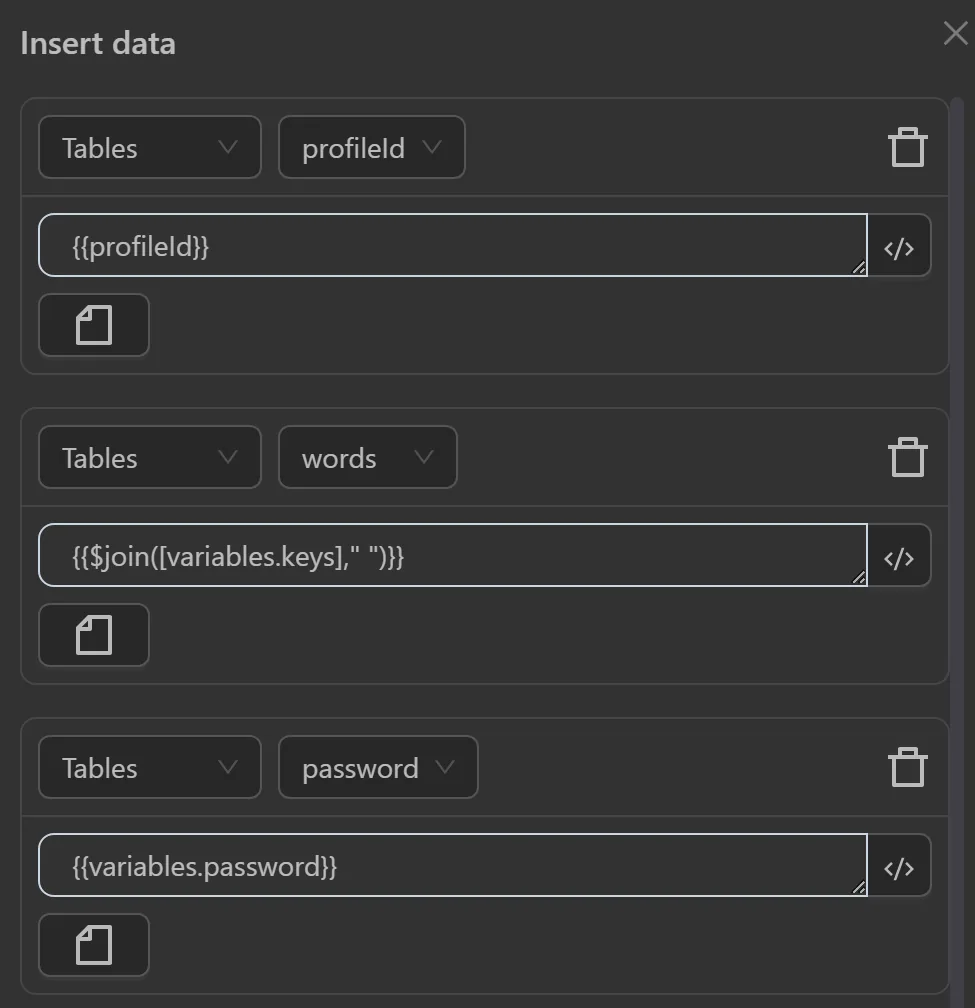
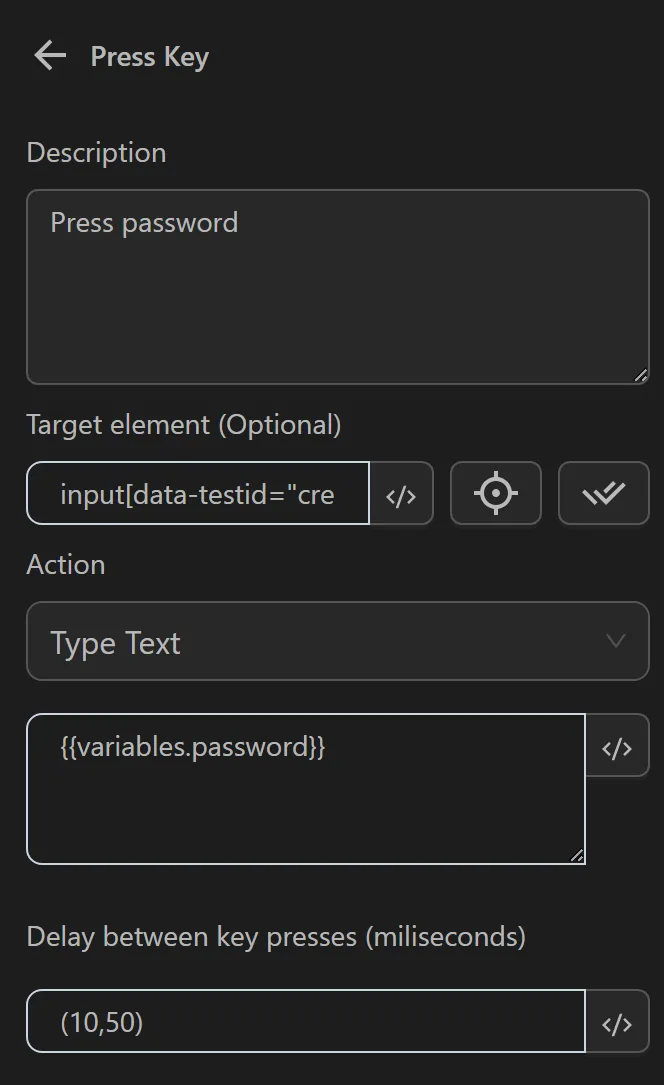
After inserting the password into the table, you use a Key Press node to input the password into the password field. For more details on retrieving table data syntax, see Expressions.
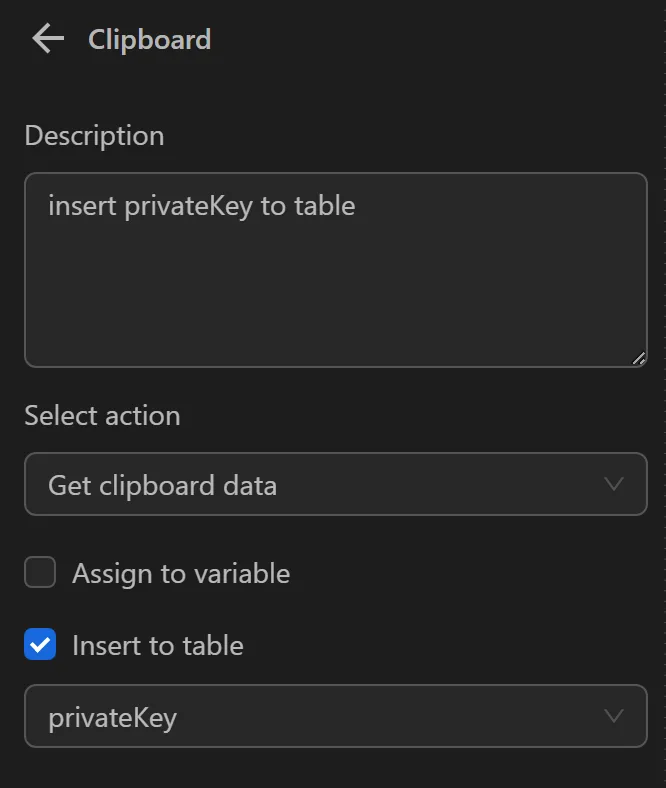
Additionally, for data stored in Clipboard, you can use the Clipboard node to save it into a table column. For instance, in the image below, you insert data from Clipboard into the privateKey column:
Memorize and Enter 12 Recovery Words
Beyond basic nodes like Click element, Key Press, and Switch Tab, this process requires addressing the challenge of entering the 12 secret recovery words into empty fields.
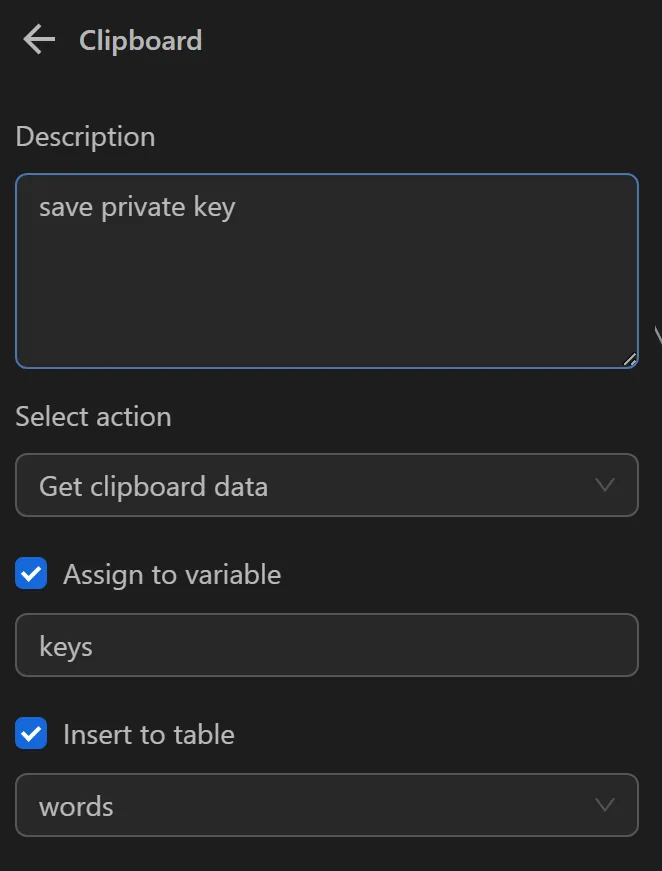
First, you click the copy icon to save the secret words to Clipboard:

Then, you use the Clipboard node to insert the saved data into a variable keys and the words column:
After storing the 12-word string in a variable, you use a JavaScript Code node to convert the string into an array of individual words:
const keys = omniloginRefData('variables', 'keys');
const words = keys.split(' ');
omniloginSetVariable('words', words);
With the 12-word array, you use another JavaScript Code node to map the word order to variables:
const cum_12_ky_tu = omniloginRefData('variables', 'words');

const thu_tu_trong = Array.from(document.querySelectorAll('.chip__input')).map(elem =>
    elem.getAttribute('data-testid').split('-').slice(-1)[0]
  );
omniloginSetVariable('tu_can_dien', thu_tu_trong.map(t => cum_12_ky_tu[t]));
Next, you use a Data Loop node to iterate over the empty fields, selecting them with the appropriate selector:
Finally, you use a Key Press node to fill in the missing words:
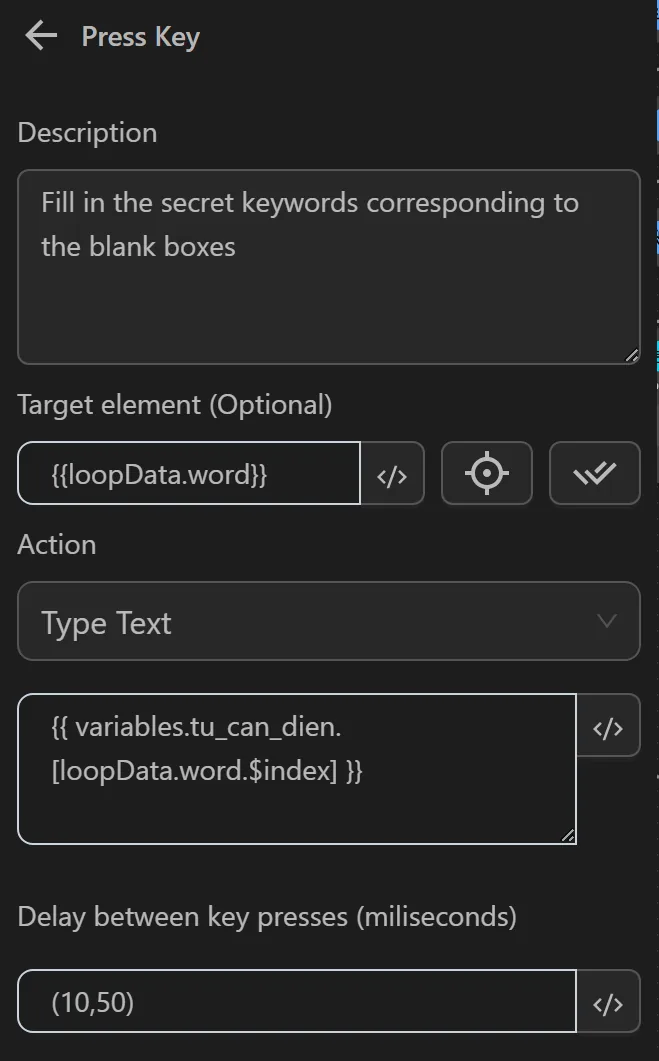
These are the key steps in the MetaMask wallet creation process. If you encounter difficulties with the remaining steps, you can refer to the tutorial videos in the Automation playlist on the Omnilogin YouTube channel.