Workflows
The Workflows section is where you create, edit, delete, back up, and import your automation workflows.
Local
Contains user-created workflows. Data is stored locally; logging into another device shows only workflow names without data. Use the Backup feature to transfer data to another device or back it up.
Guide to Creating a Workflow
To create a workflow:
- Click
Create New Workflow, enter a group name and description, then clickAdd.
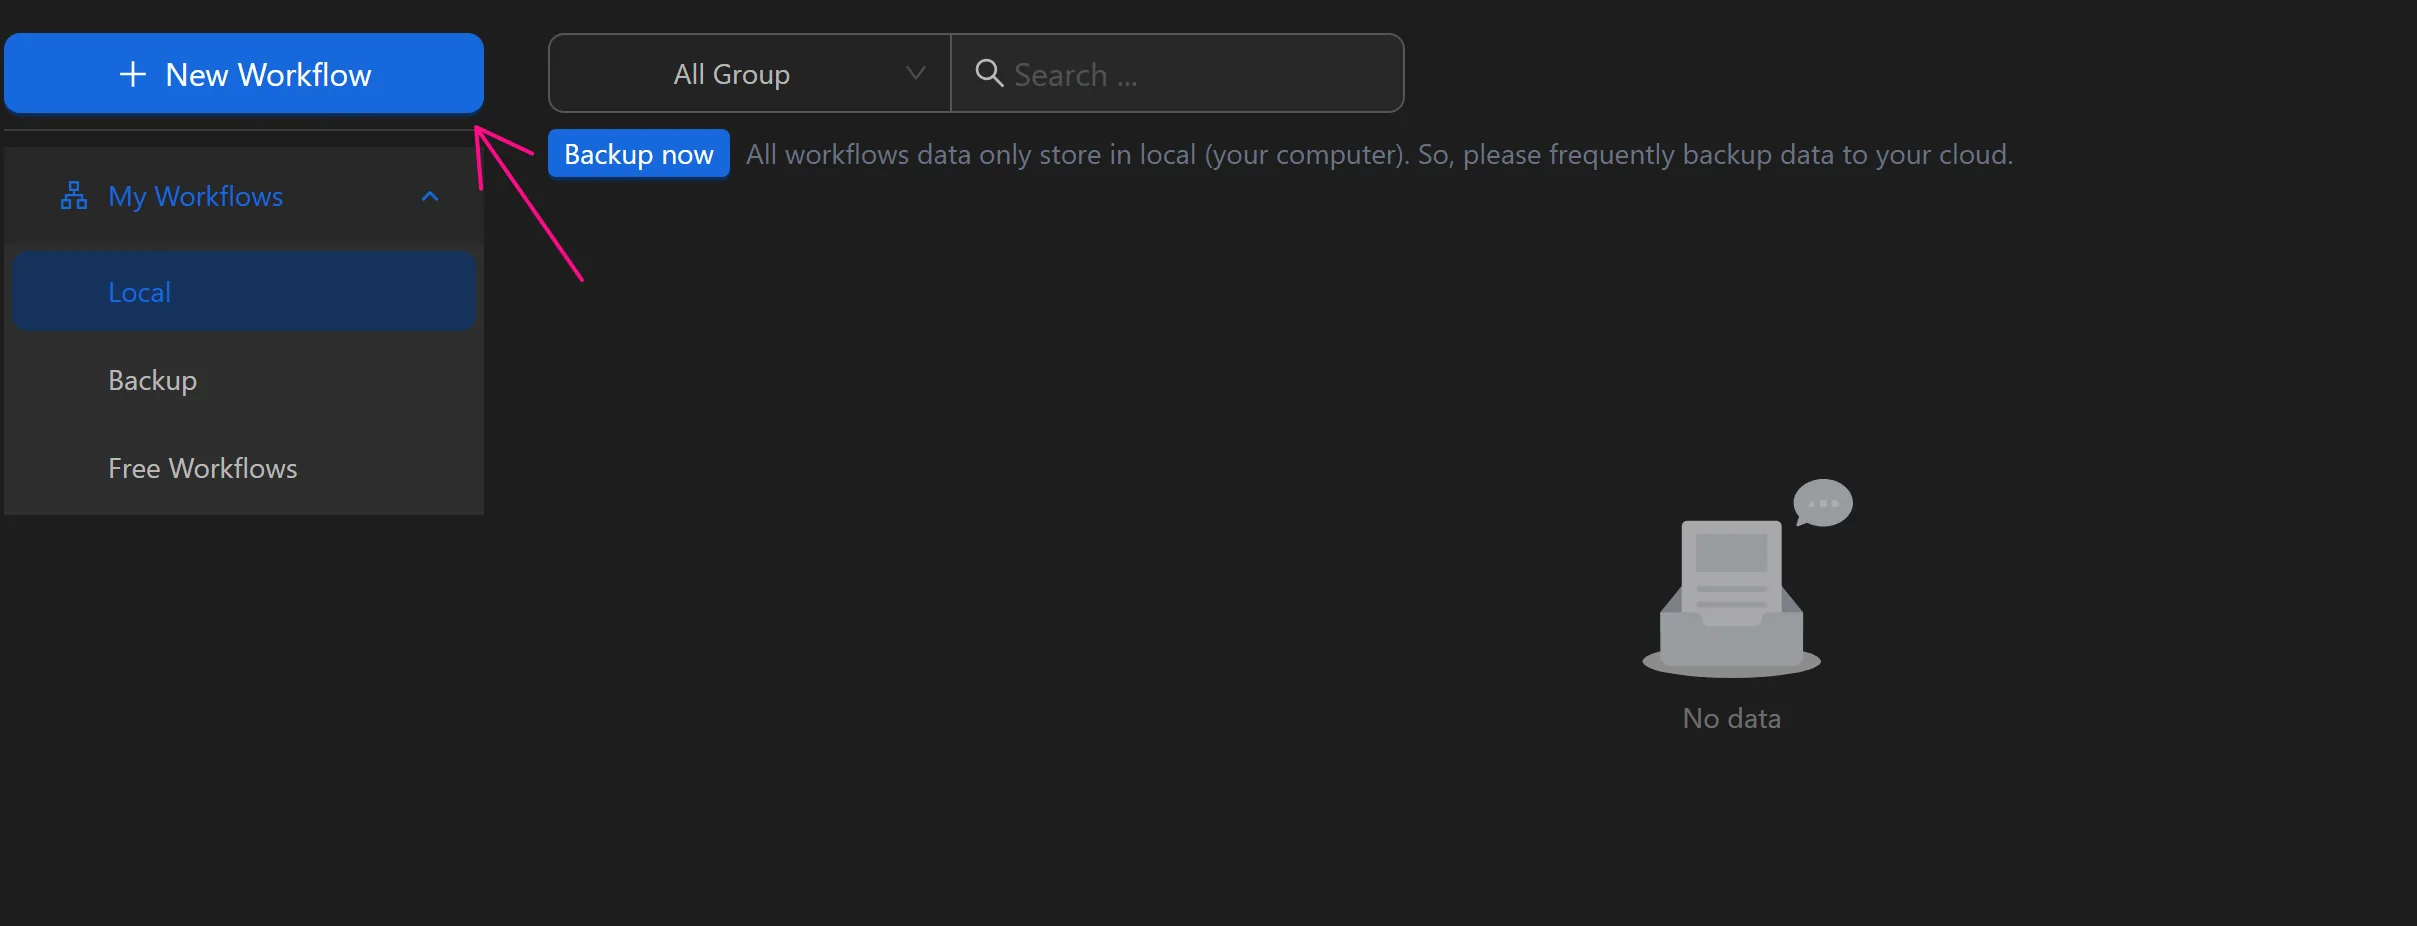
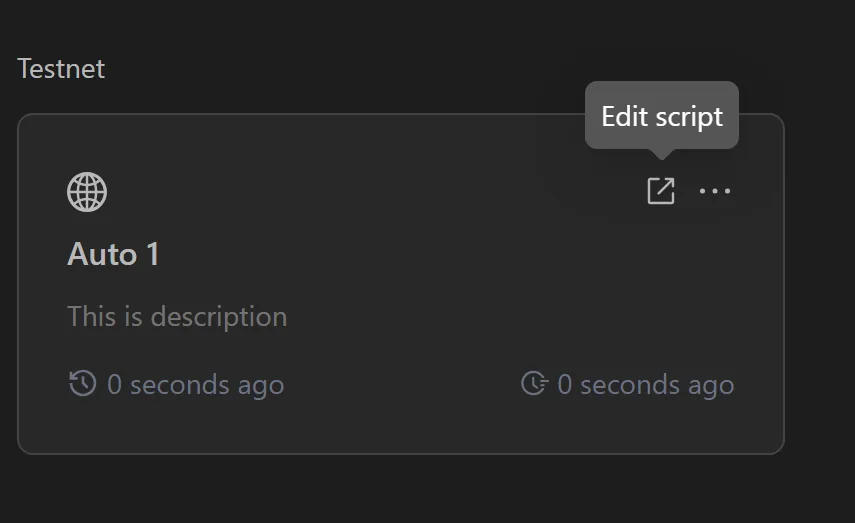
- Hover over the workflow, click the diagonal arrow icon to access and add nodes.
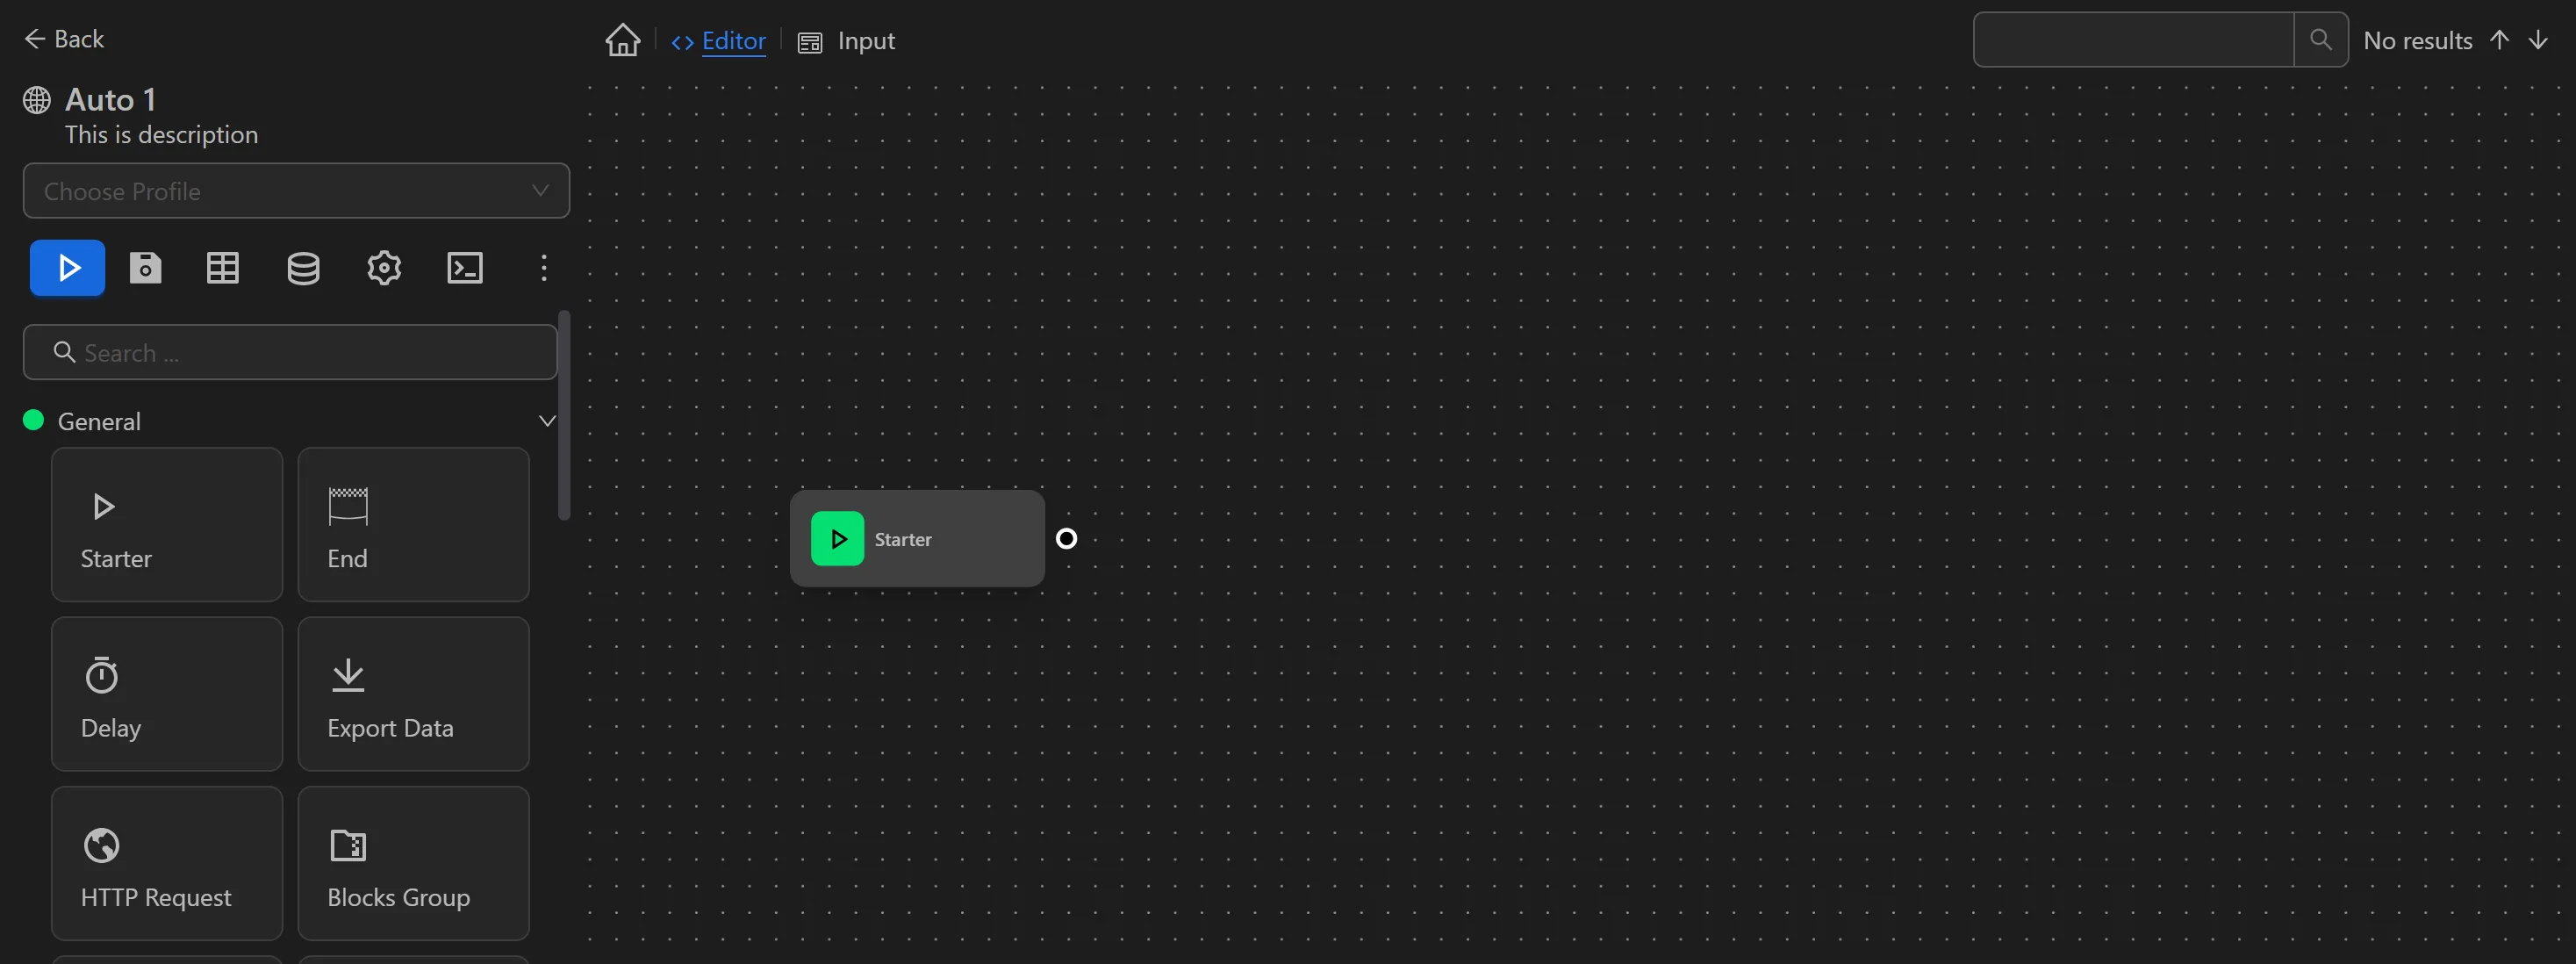
The Start node is the first required node. It initiates the workflow, followed by connected nodes. Drag and drop nodes to use. Learn node interactions in Blocks.
Guide to Deleting a Workflow
Delete a workflow in two ways:
Delete a Single Workflow
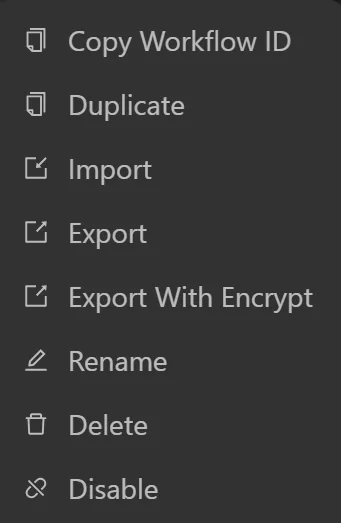
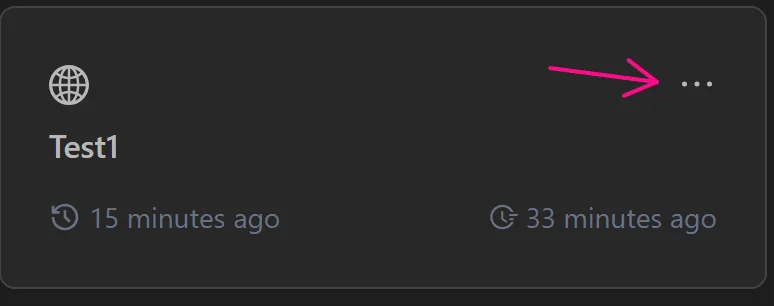
Hover over the workflow, click the three-dot icon.
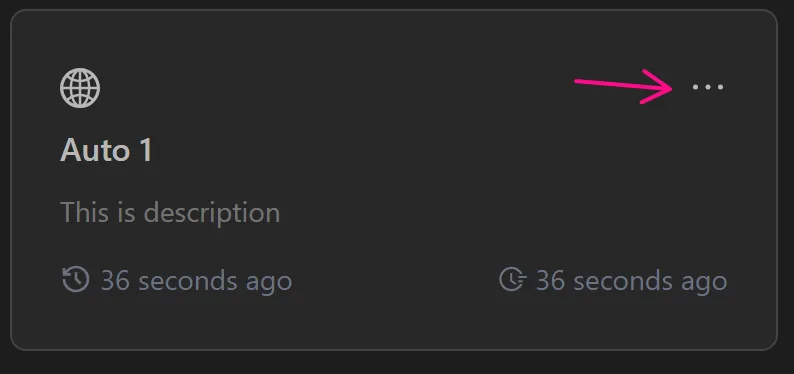
A window appears; select Delete to remove it.
Delete Multiple Workflows
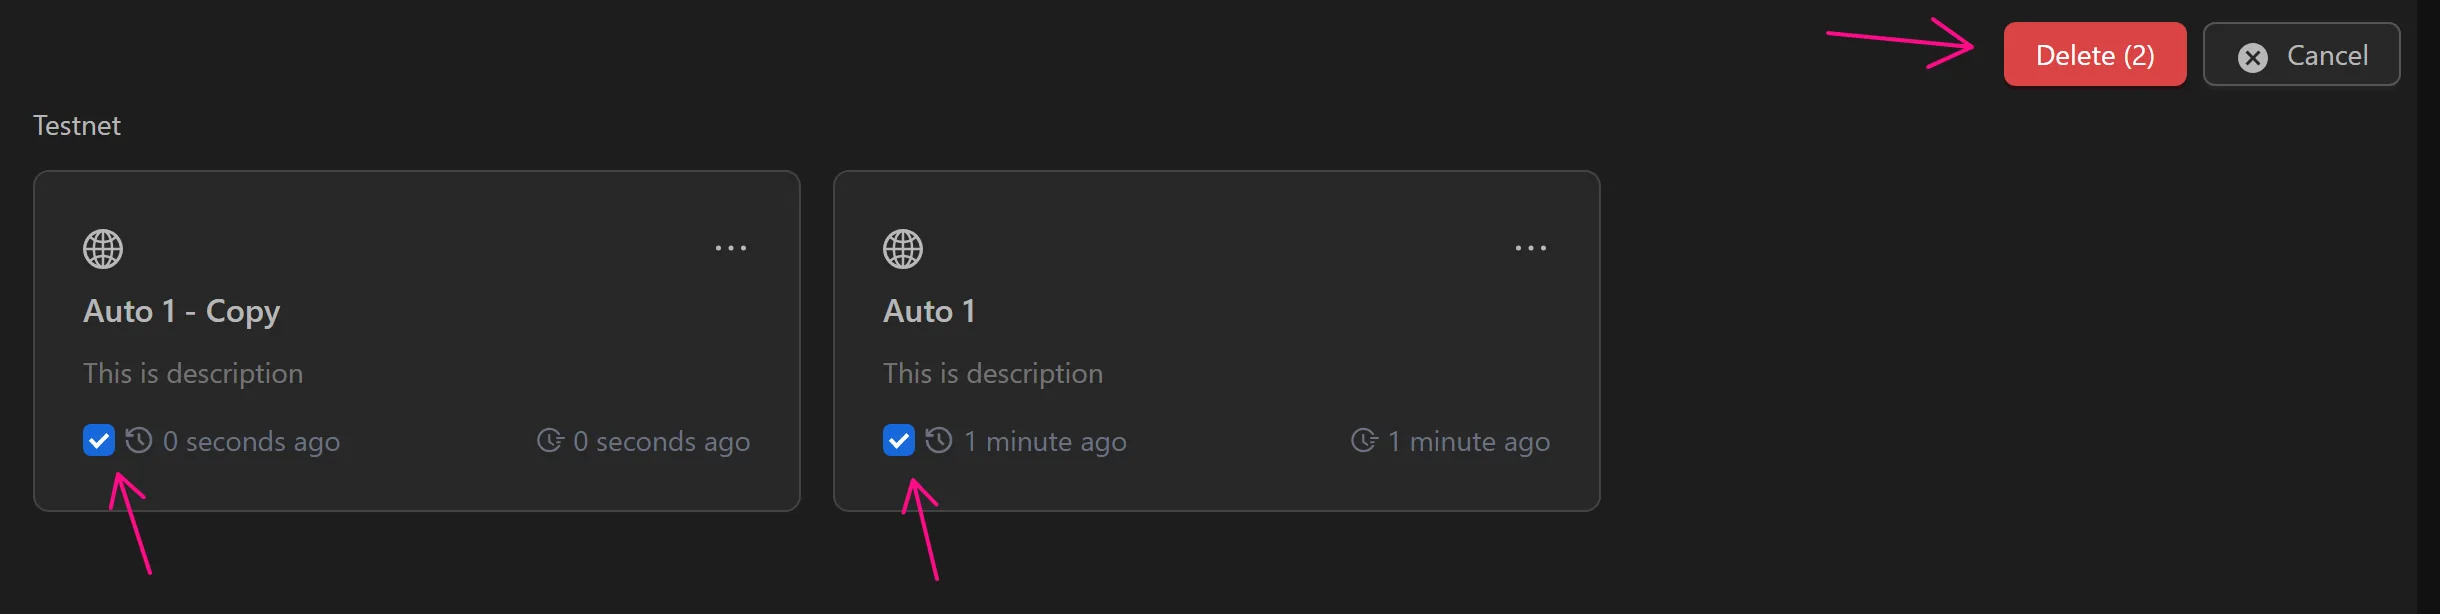
Click the Select button in the top-right corner of the workflow list.

Check boxes for workflows to delete (e.g., the first three). A Delete button with a count appears; click it.
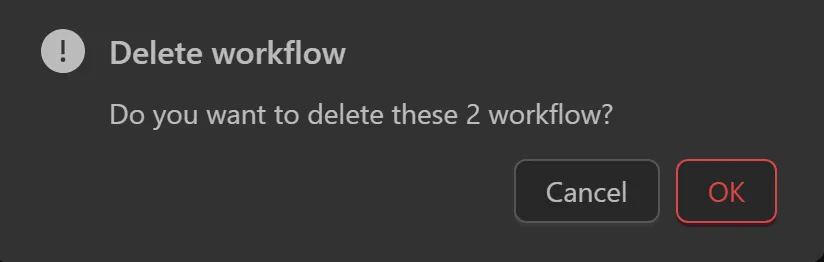
A confirmation window appears. Click OK to delete, or Cancel to adjust selection.
Guide to Adding a Workflow to a Group
Add workflows to groups during creation or afterward.
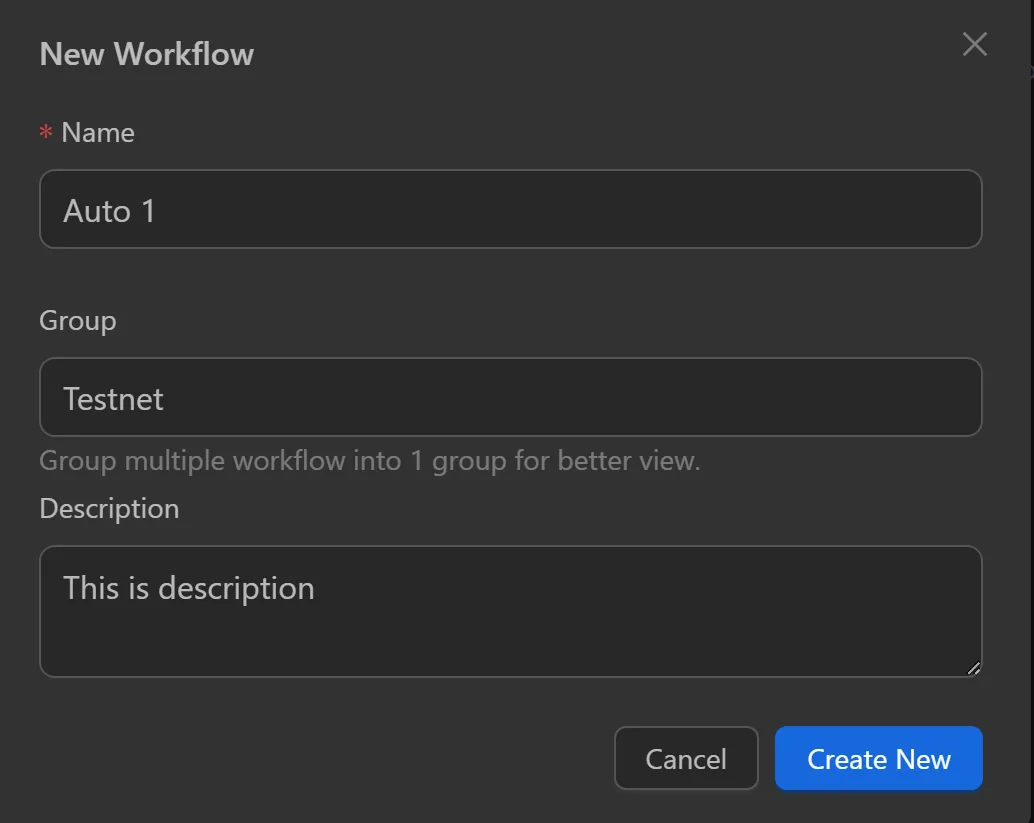
New Workflow
After clicking Create New Workflow or Save to Local, a form appears.
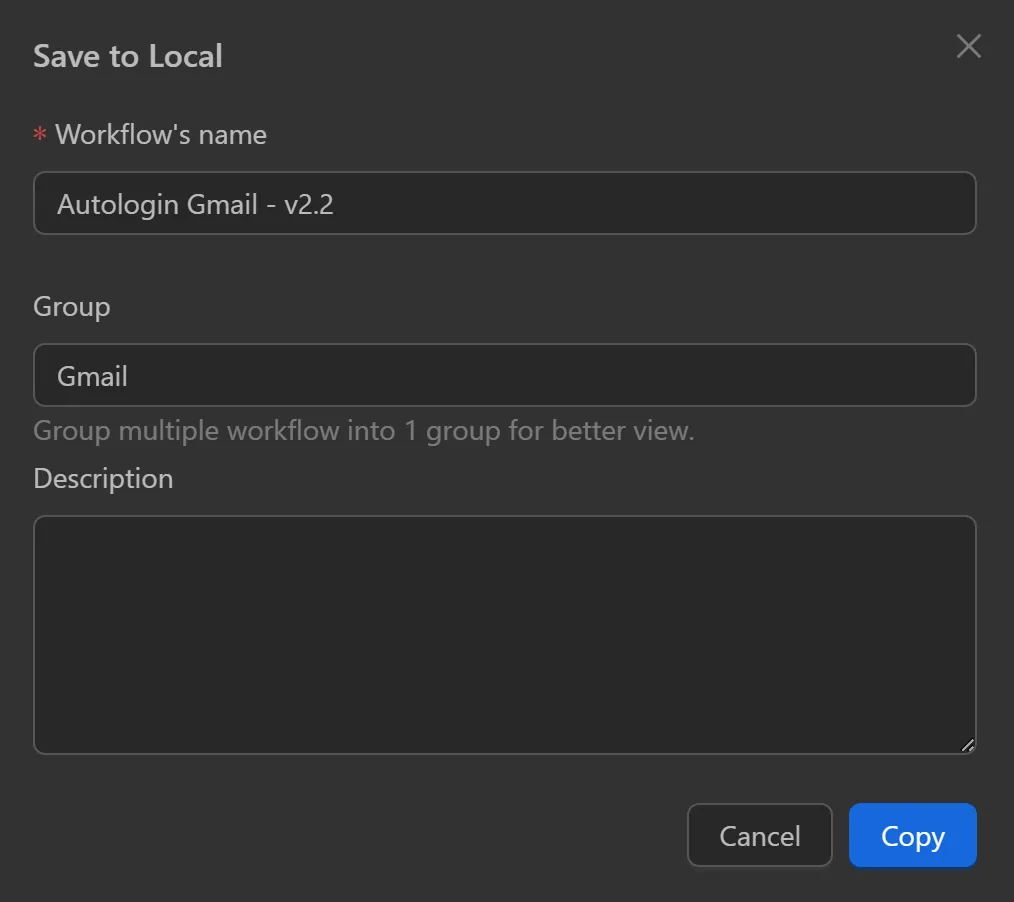
Enter a group name, then create or copy.
Select All Groups to view and choose groups.
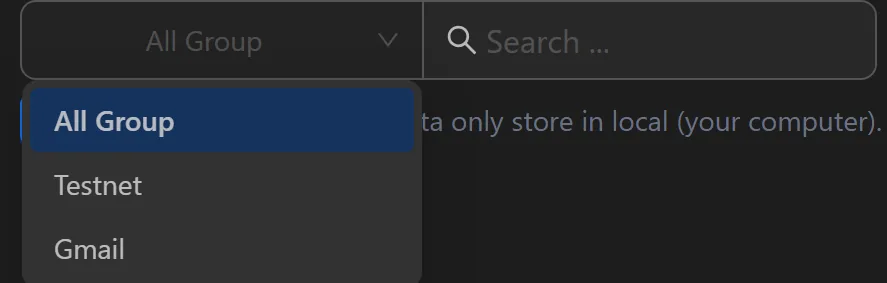
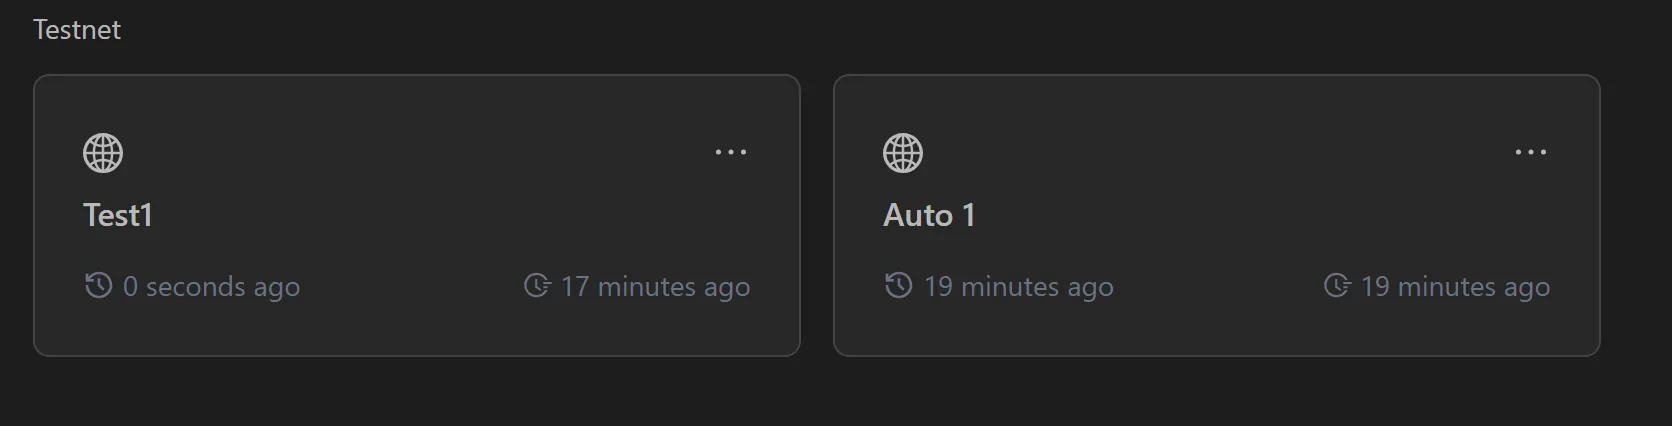
Matching groups display, showing workflows within the selected group.
Existing Workflow
For an existing workflow, click the three-dot icon.
Select Rename from the menu.
Enter a group name in the form. A new group is created if it doesn't exist.
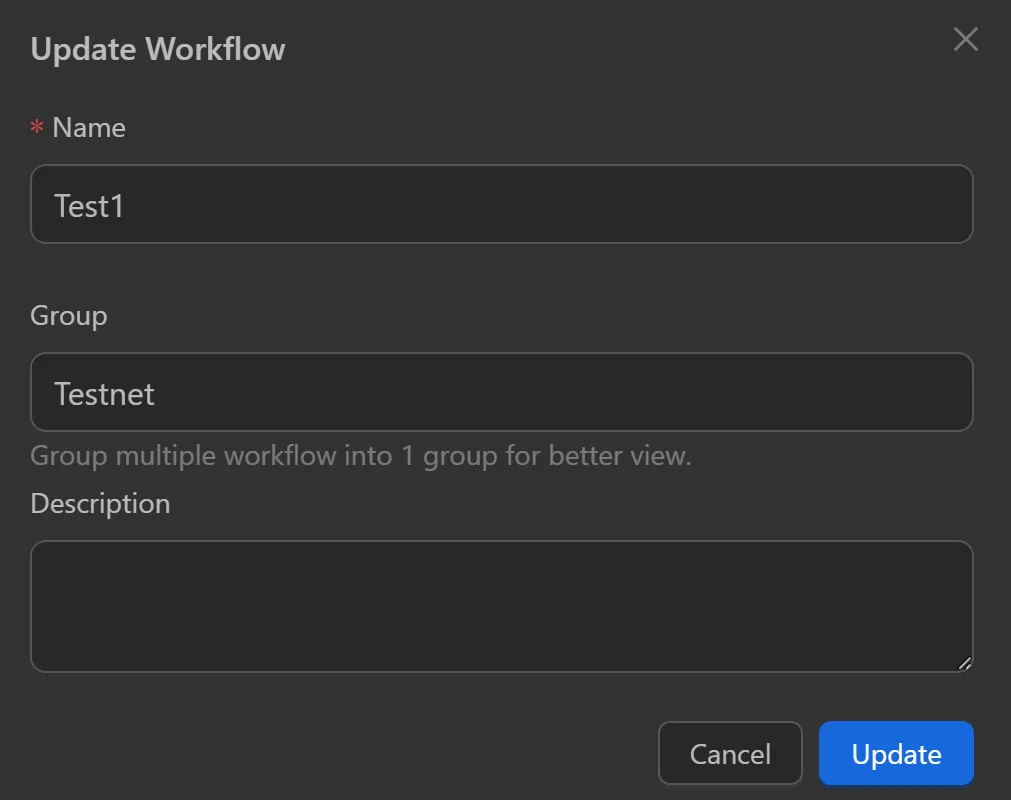
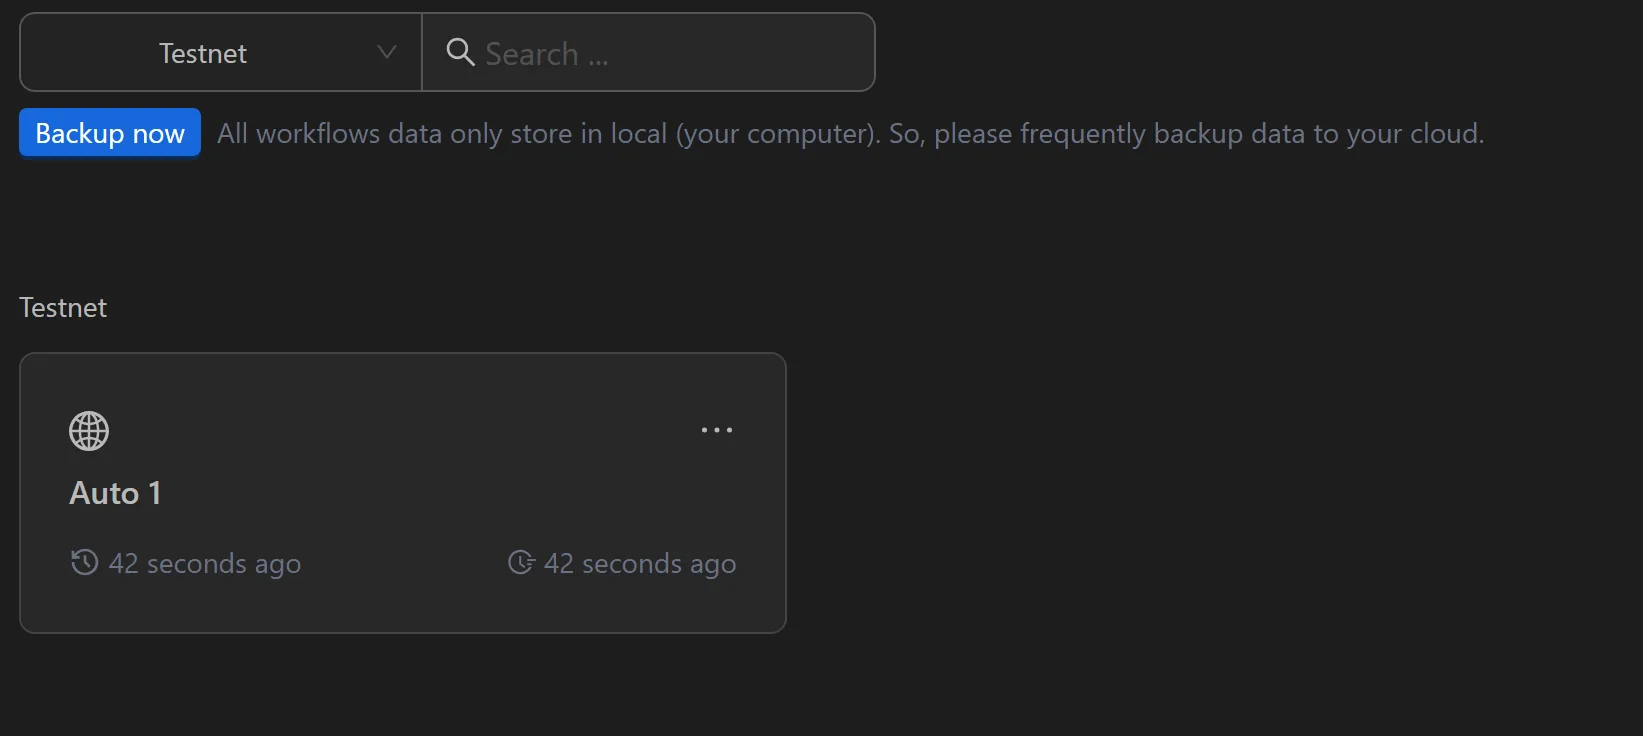
Click Update; the workflow joins the Testnet group.
Backup
Back up workflow data for use on other devices or to prevent data loss.
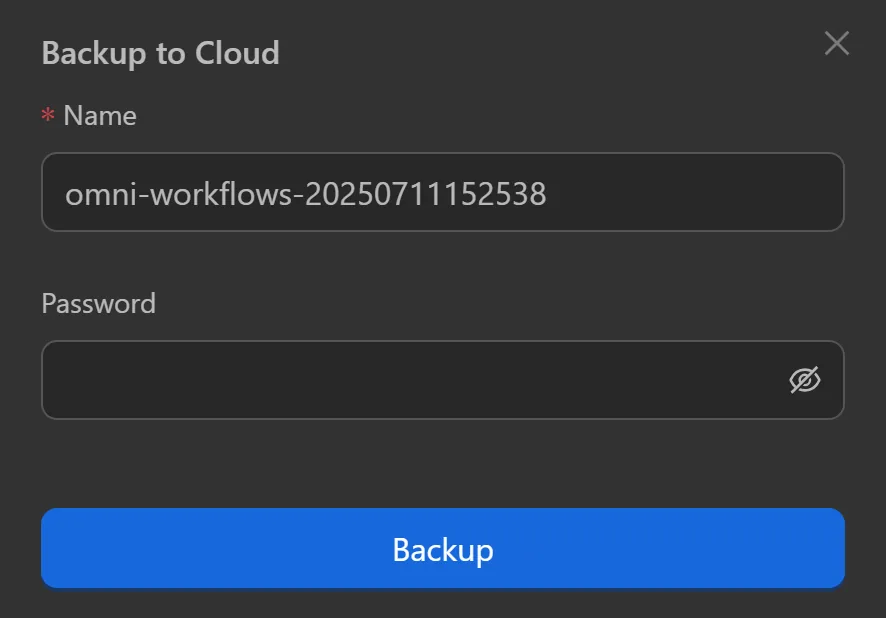
Click Backup, name the folder, add a password (optional), and click Backup. Workflows are saved to the cloud.
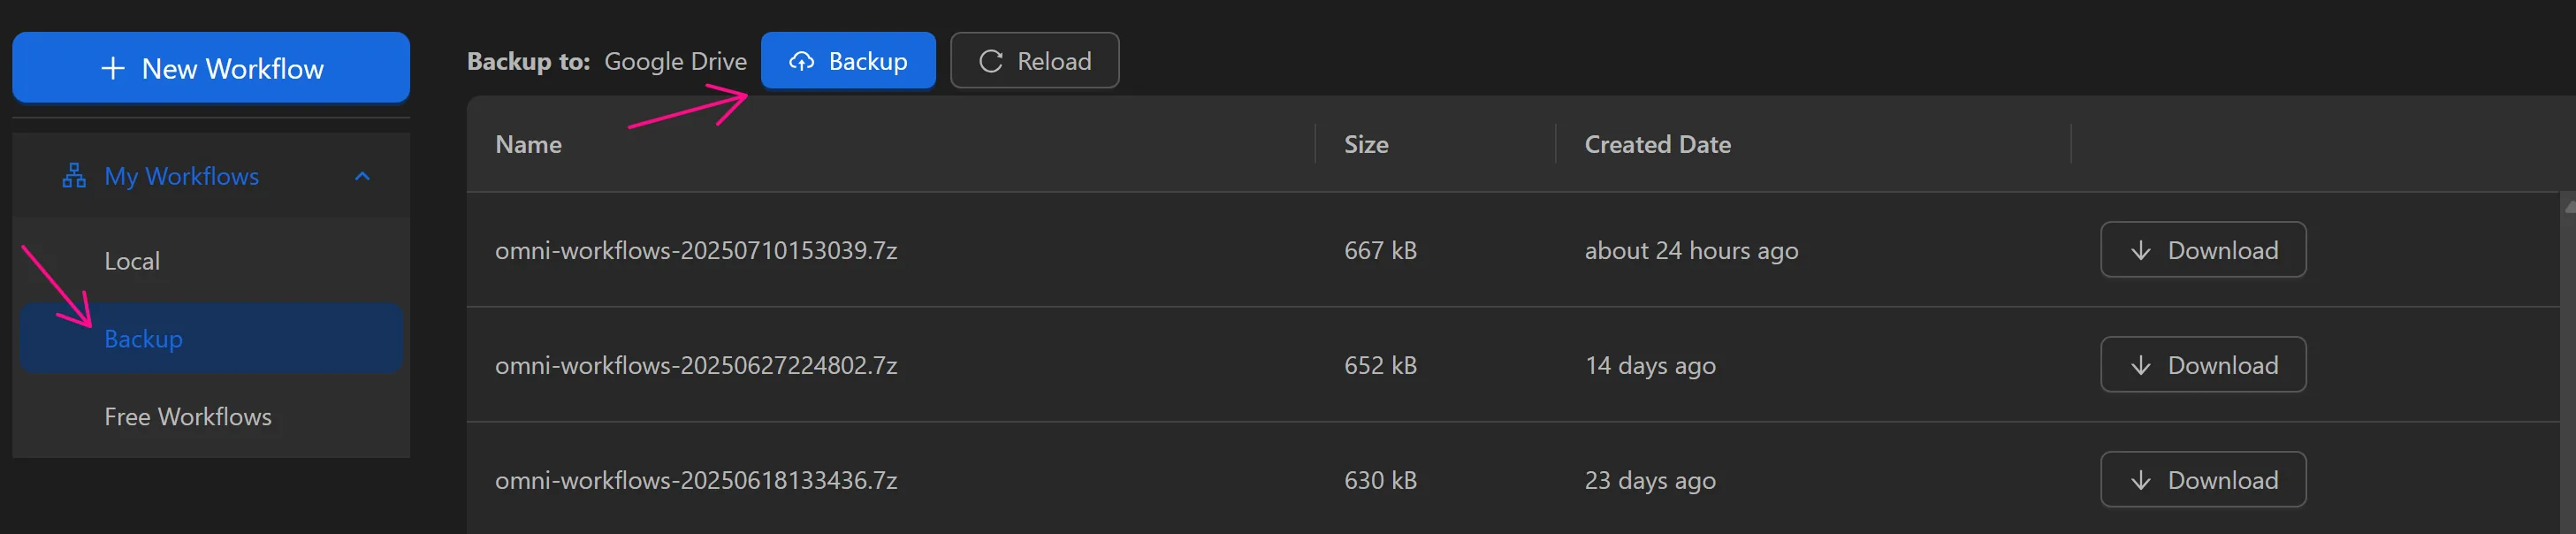
Download backups using the Download button.

Note
Log in via Data Sync to use this feature.
Free Workflows
Free workflows created by the Omnilogin team to handle basic tasks.
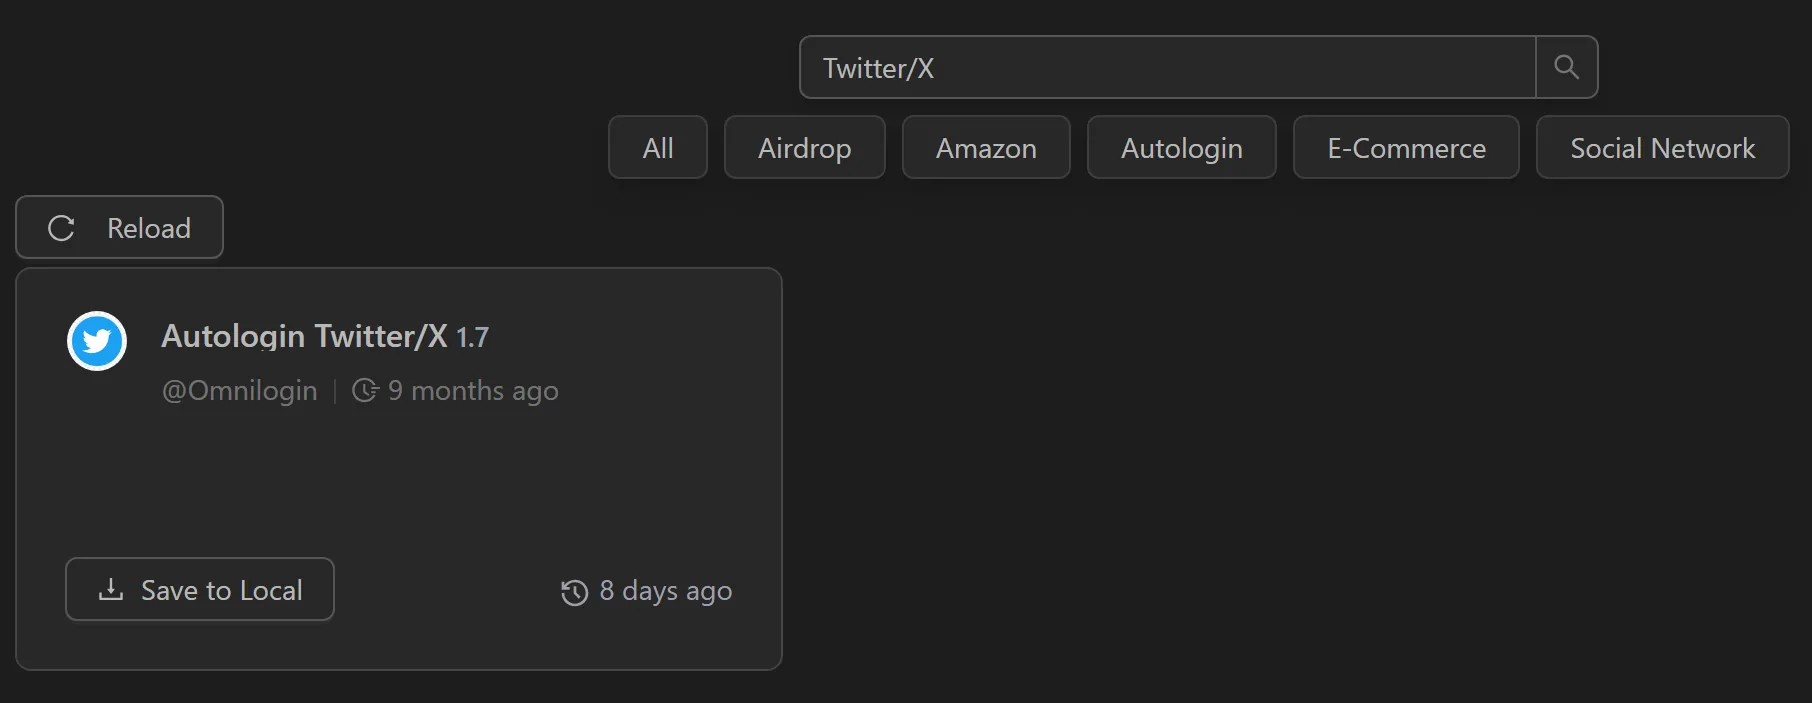
Search Workflows
Search for workflows by typing the name in the search bar and pressing Enter.

Matching workflows display.
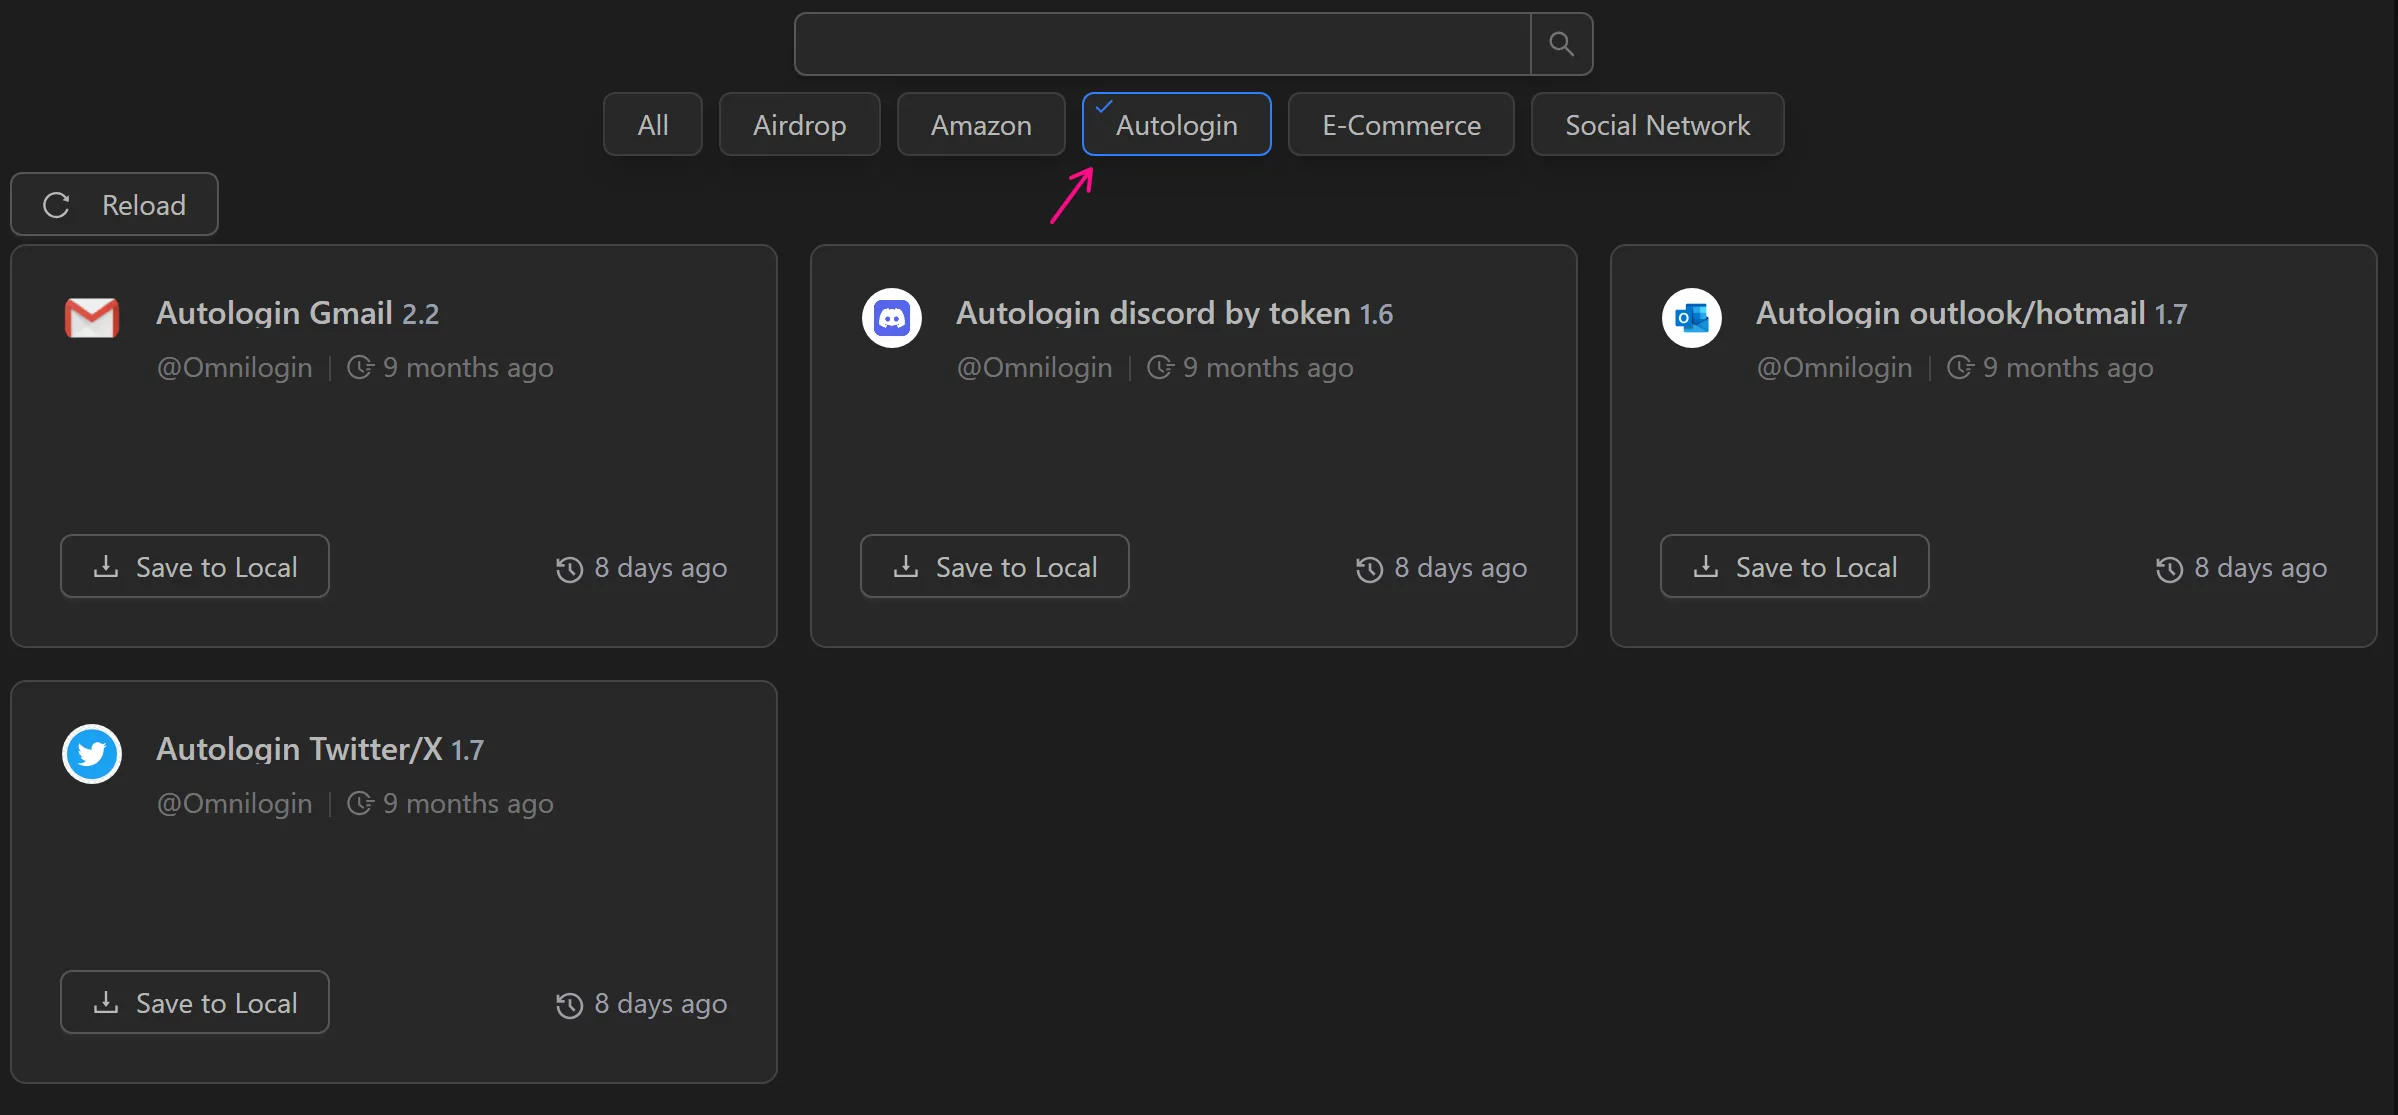
Or click category tags to view related workflows.
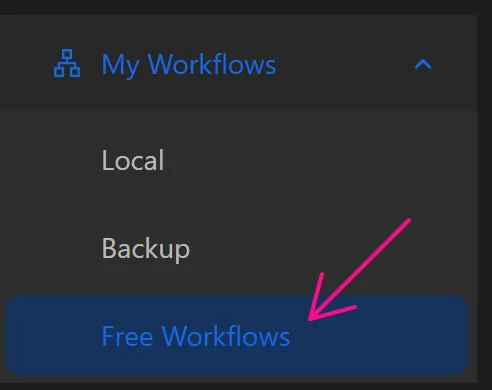
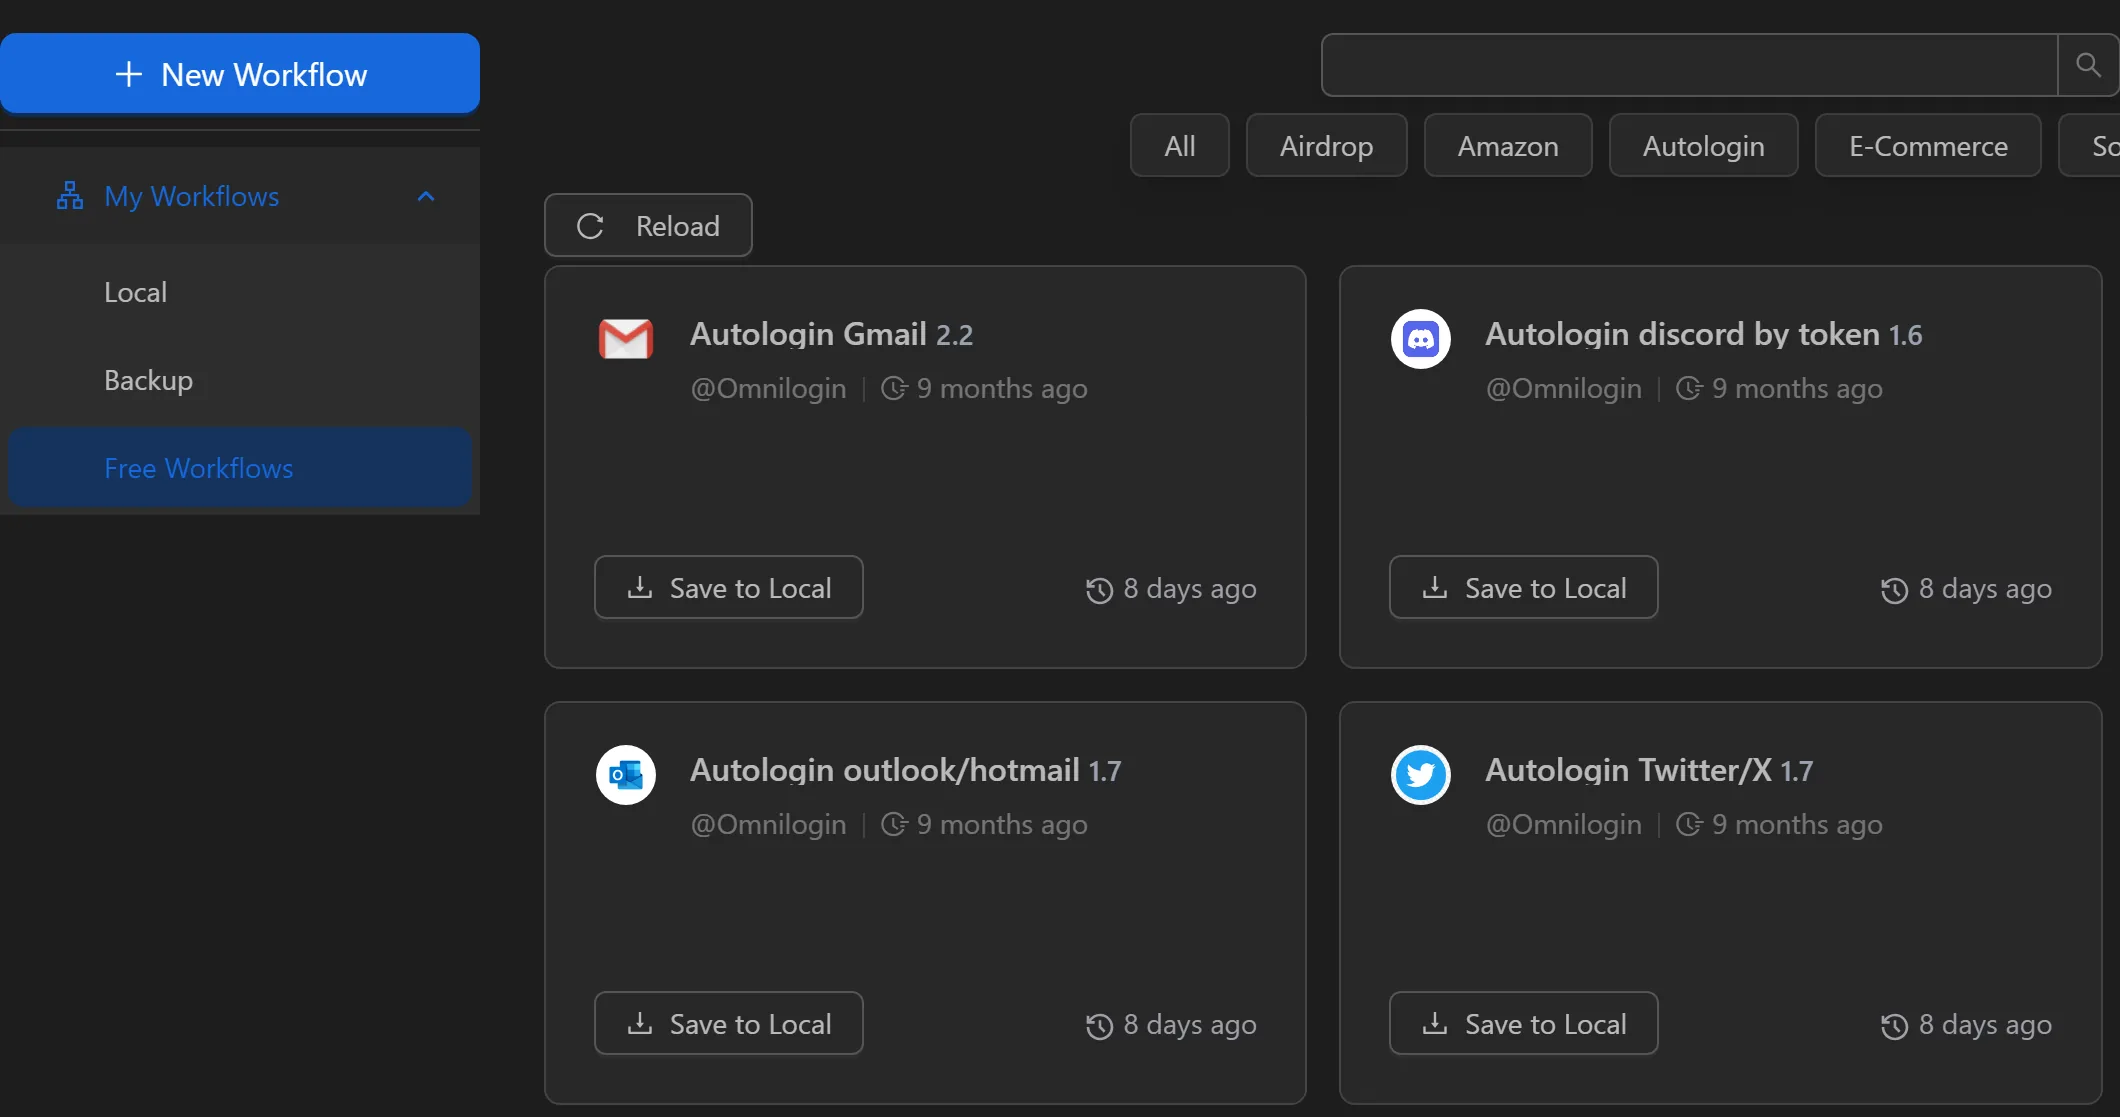
Guide to Downloading a Workflow
- Select
Free Workflowsto see the list.
- Choose a workflow and click
Save to Local.
- Edit name, group, and description, then click
Copy.
After downloading, configure and run the workflow.