Quick Start Guide
This guide walks you through creating your first automation workflow in Omnilogin using the drag-and-drop workflow editor.
Guide to Creating a Workflow
To create a process
- First, the user clicks on the robot icon on the left sidebar of the application then select
Process

Next, click on the New Workflow button. Here the user can create a new flow by the following ways
From Scratch: initialize a completely new flow
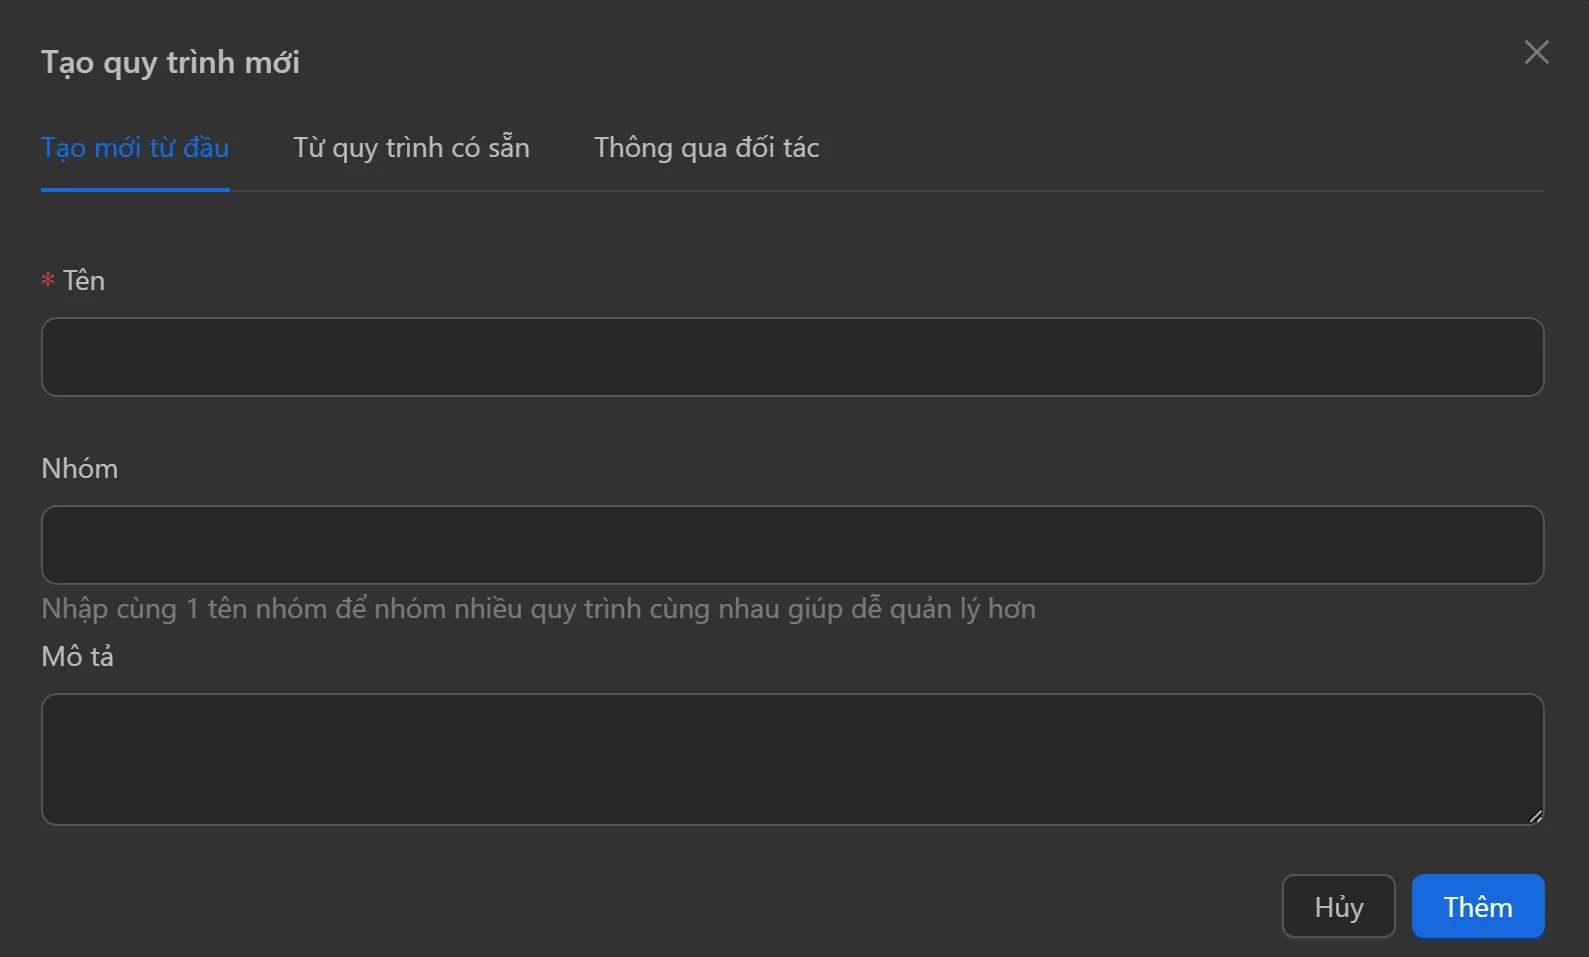
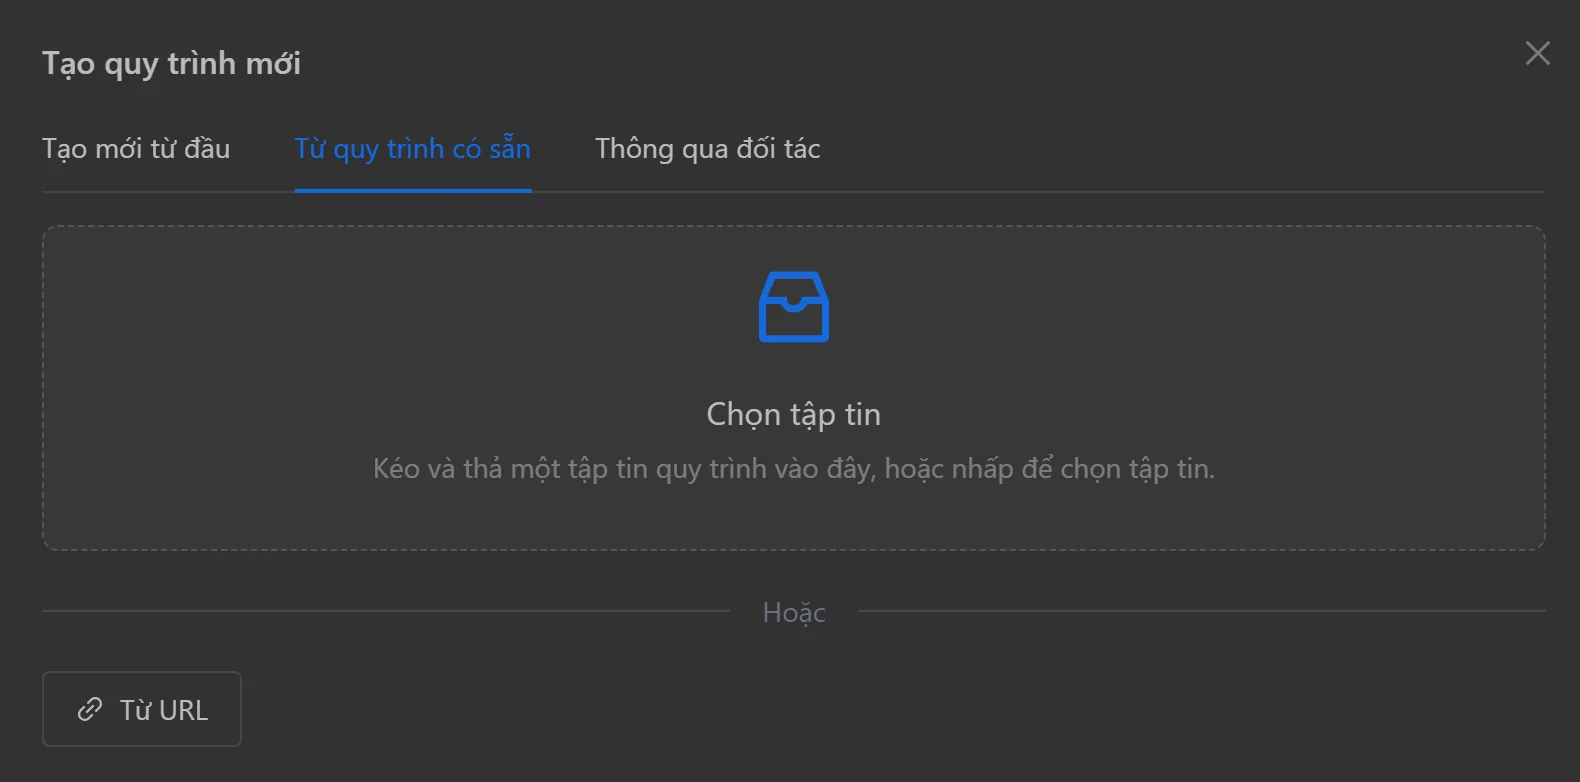
From Existing: import an already created flow that is exported from the app
then press the Add button
Guide to Downloading a Workflow
To download an existing process on Omnilogin, follow these steps:
- First, click on the robot icon in the left sidebar of the application.
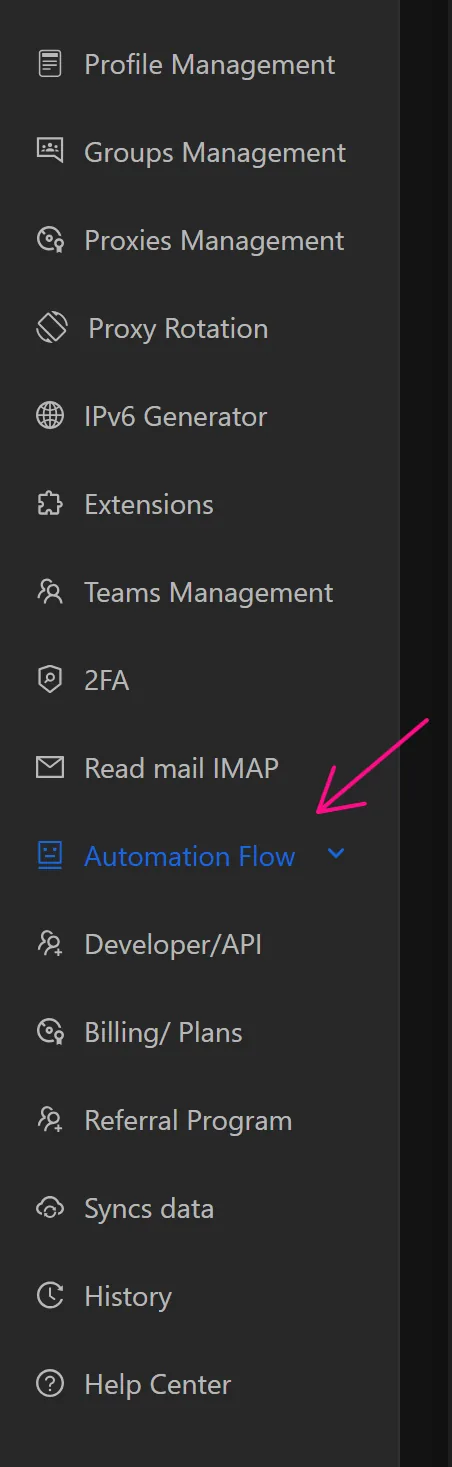
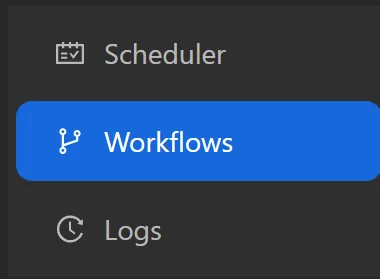
Then select Workflows.
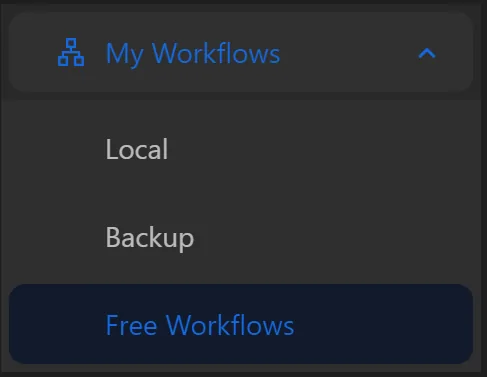
- Then select
Free Workflows, and a list of free processes will appear.
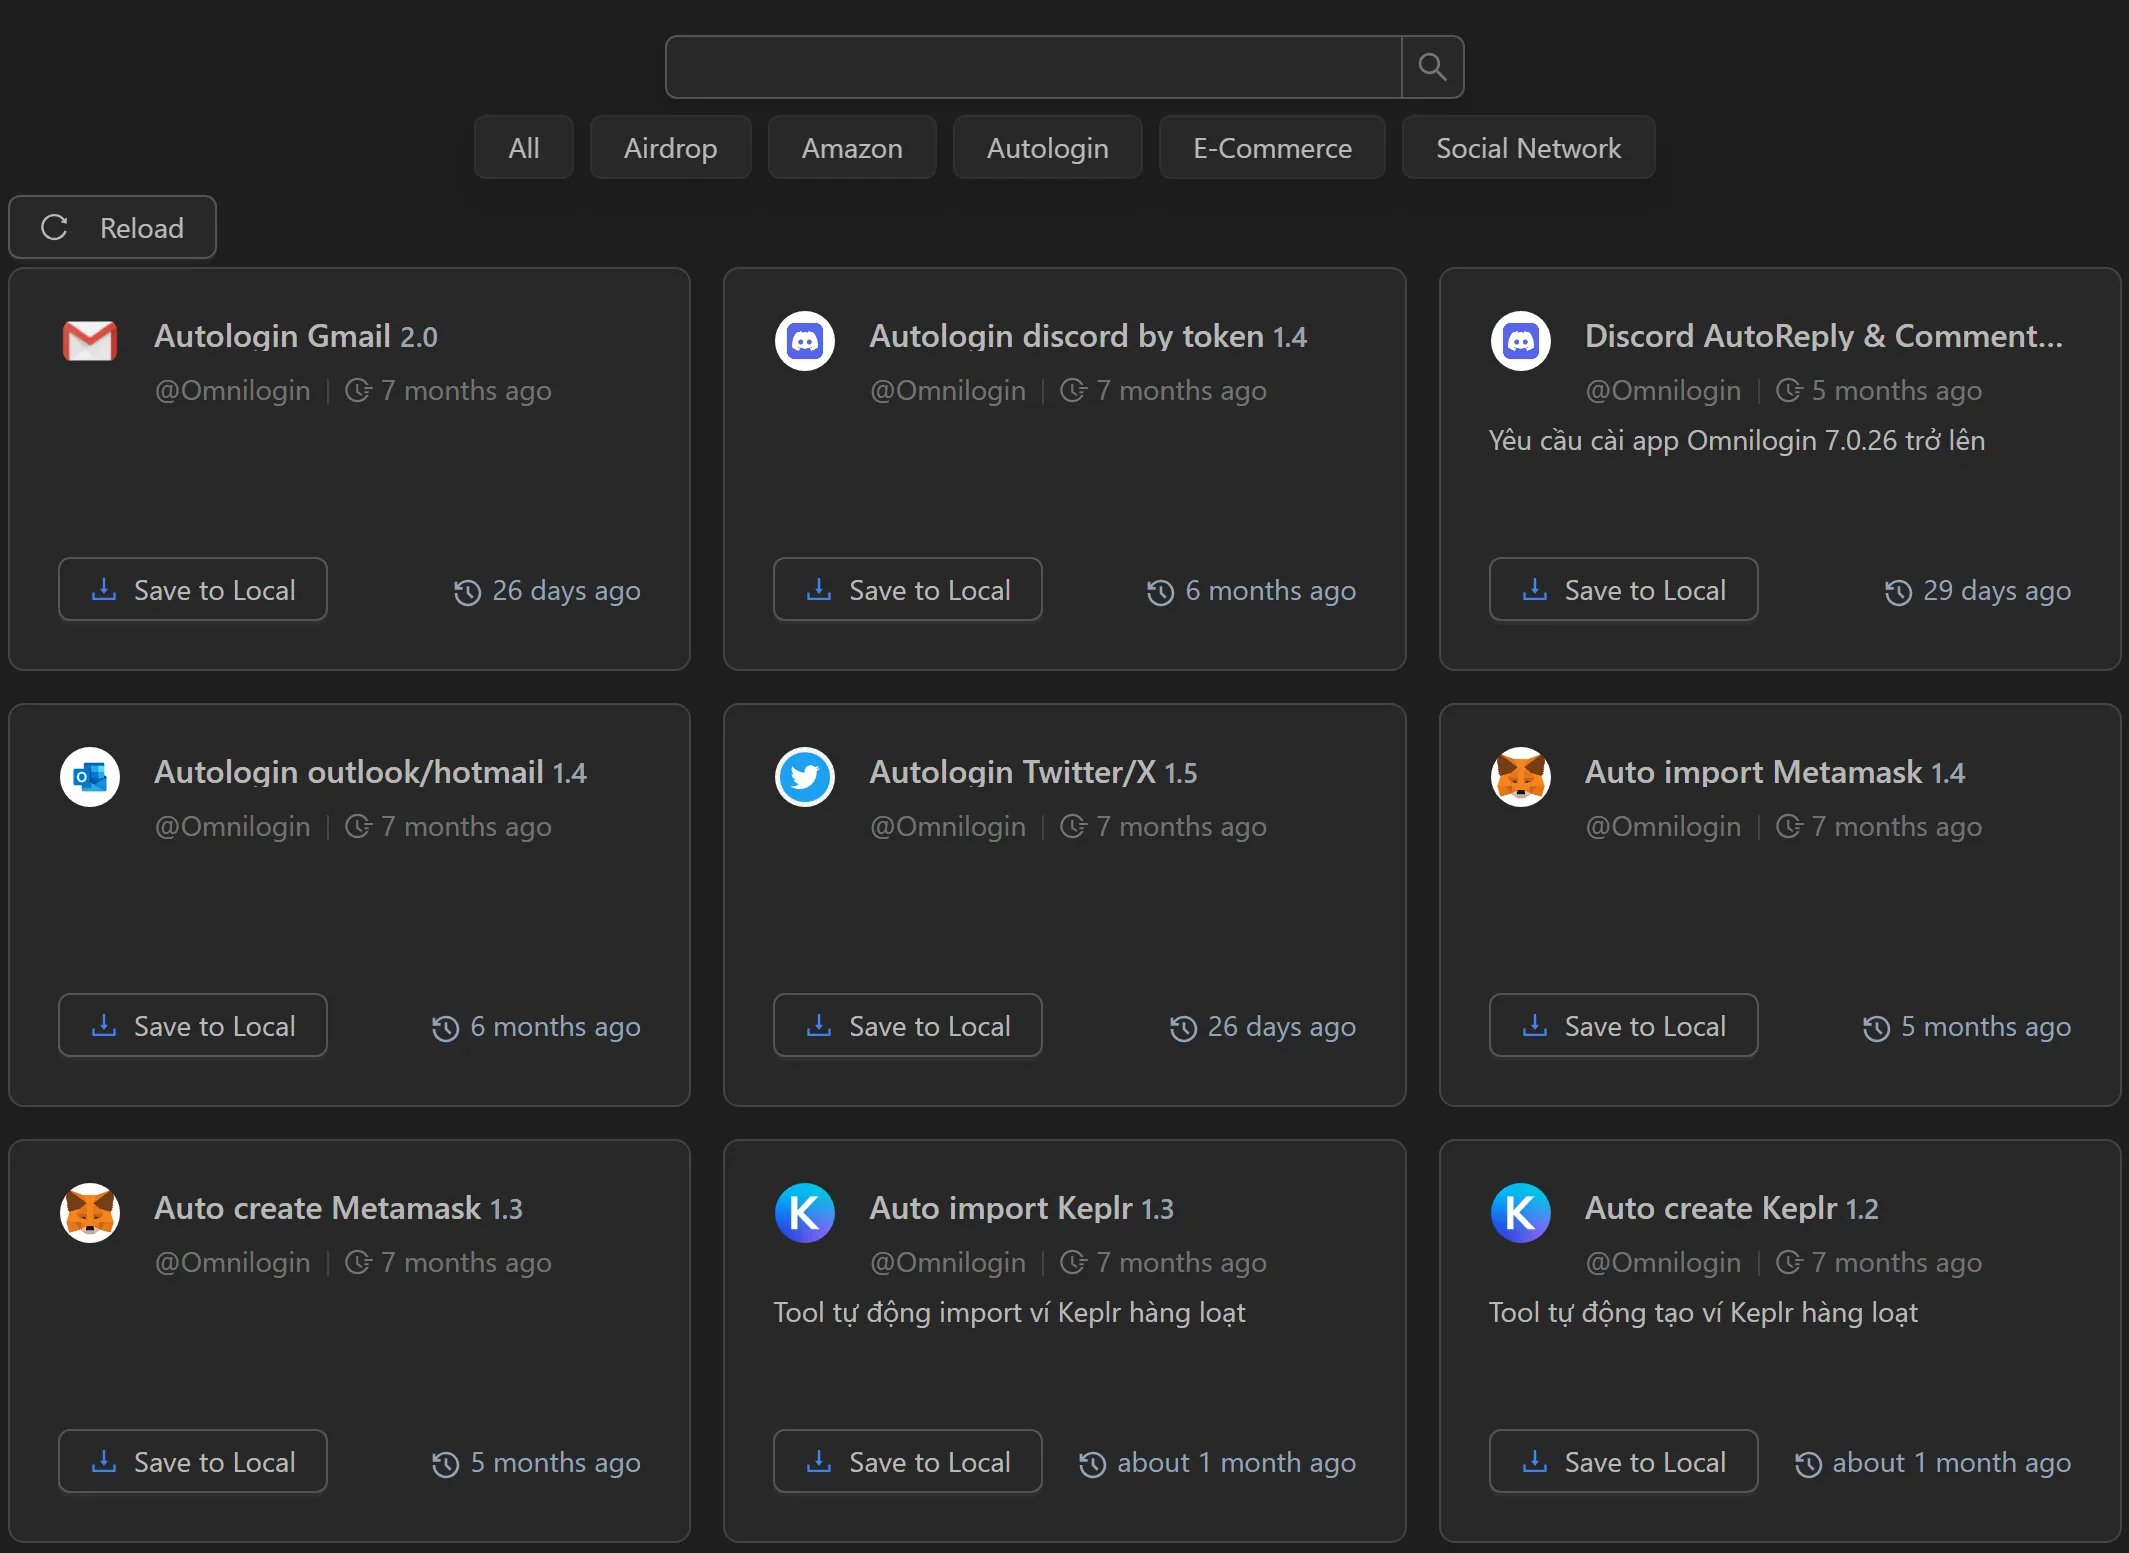
- Choose the process you want to download, then select
Save to Local.
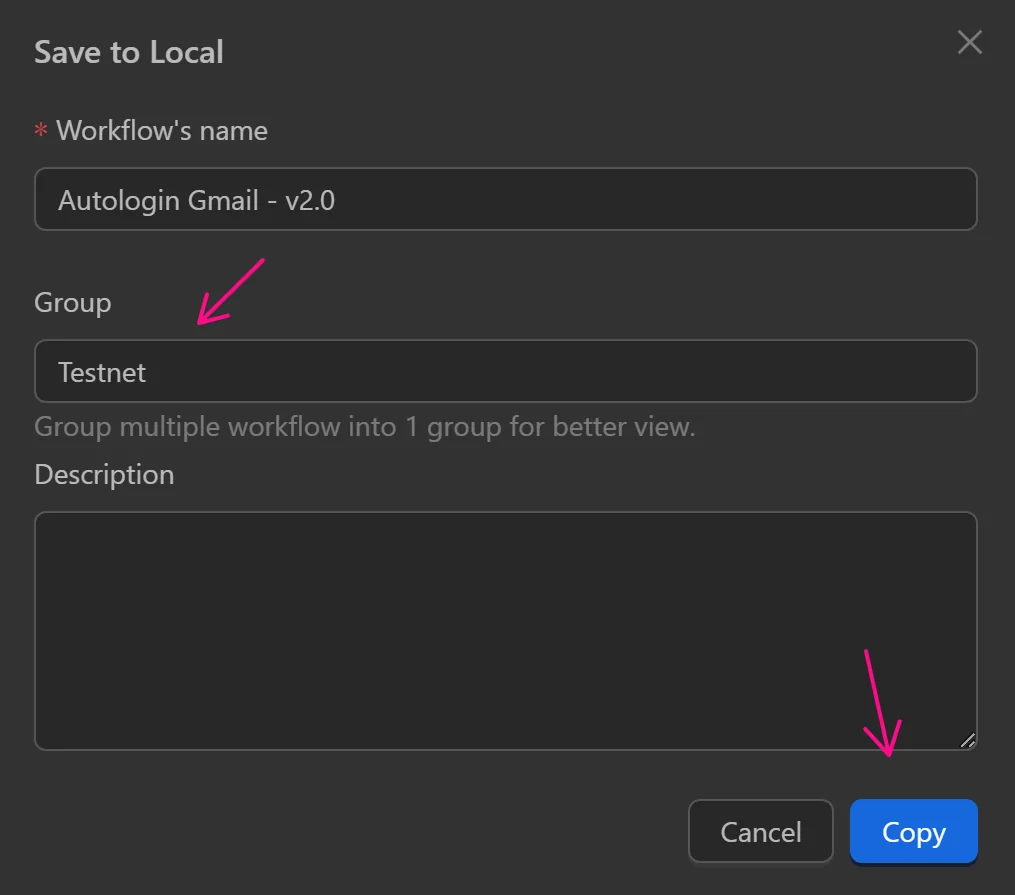
- Modify the name, group, and description for the process, then select
Copy.
After downloading, you can configure and run the process.
Guide to Deleting a Workflow
To delete a process, you can follow one of these two methods:
Deleting a Single Workflow
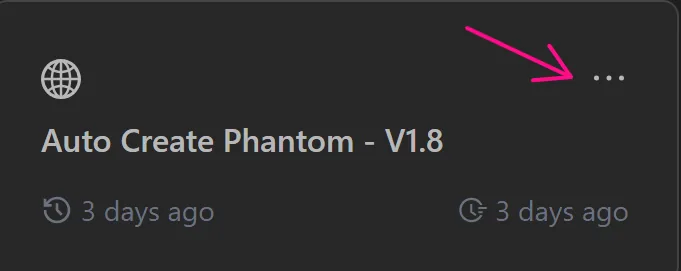
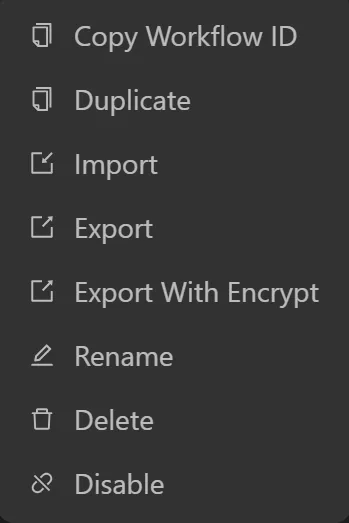
To delete a single process, navigate to the process in the process list, then click the three-dot icon for that process.
A window will pop up. Select the Delete option, and the process will be deleted.
Deleting Multiple Processes
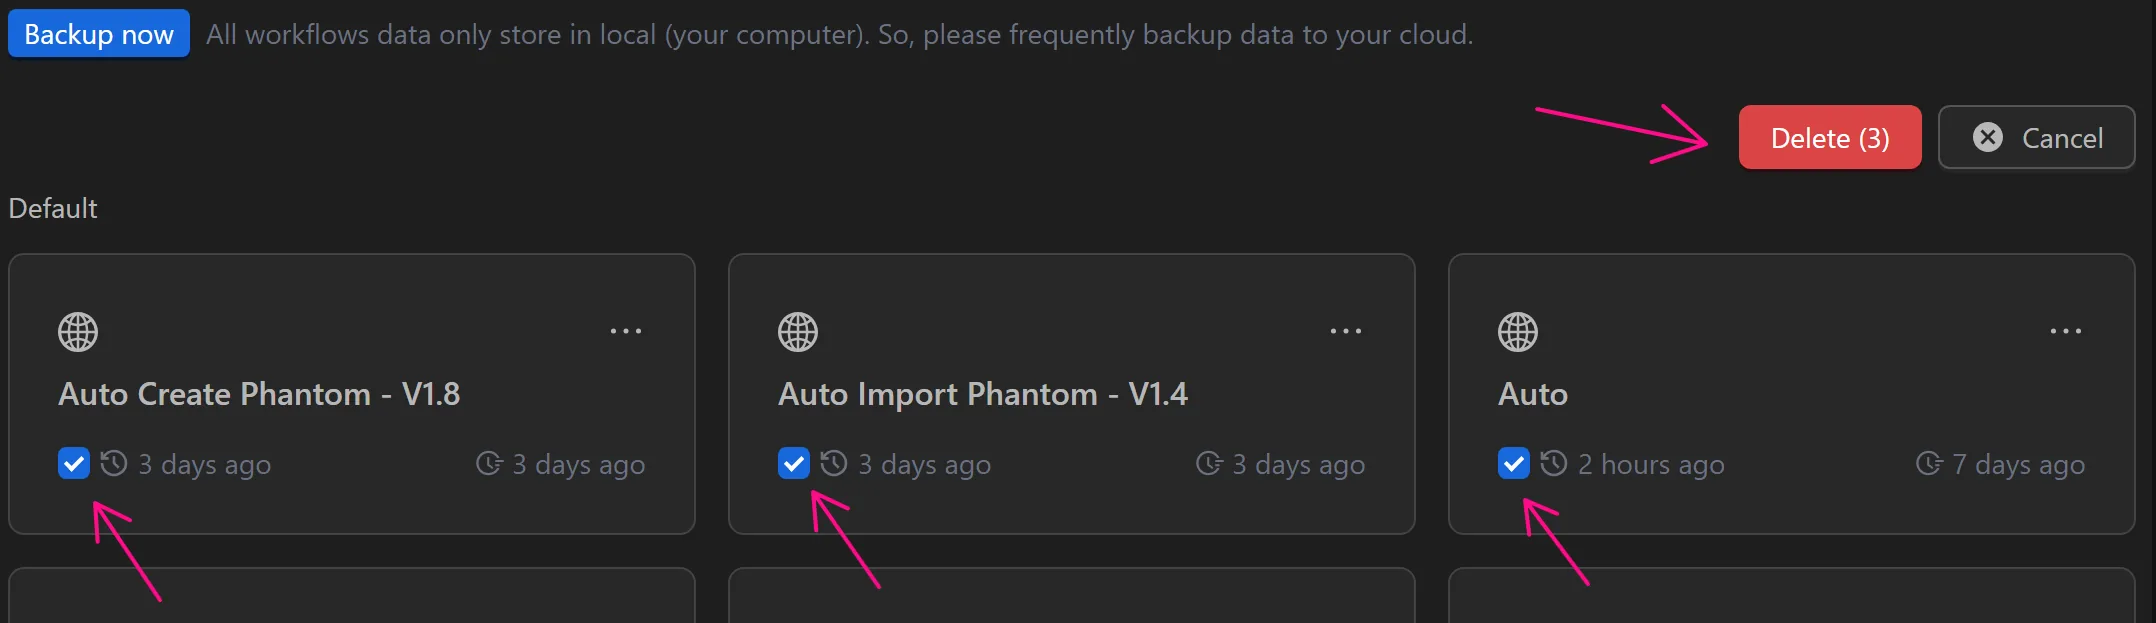
To delete multiple processes, go to the top-right corner of the process list and click the Choose button.

A checkbox will appear next to each process. Check the boxes for the processes, you want to delete. For example, to delete the first three processes, check their boxes. A Delete button with the number of selected processes will appear. Click the Delete button.
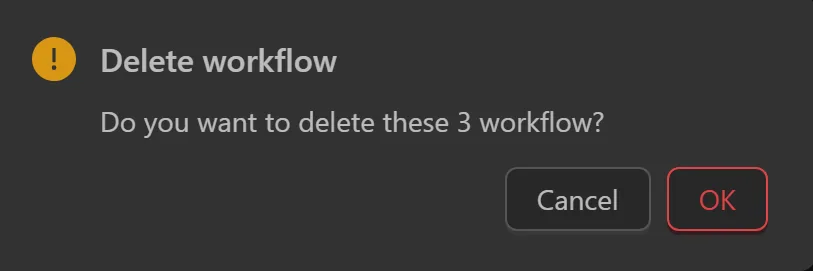
A confirmation window will appear. If you are sure about deleting, click Ok. If you want to cancel or adjust the processes to delete, click Cancel.
Guide to Adding a Workflow to a Group
You can add a process to a group either when creating a new process or for an existing process.
New Workflow
After clicking the Create New Workflow button or selecting Save Locally, a form will appear.
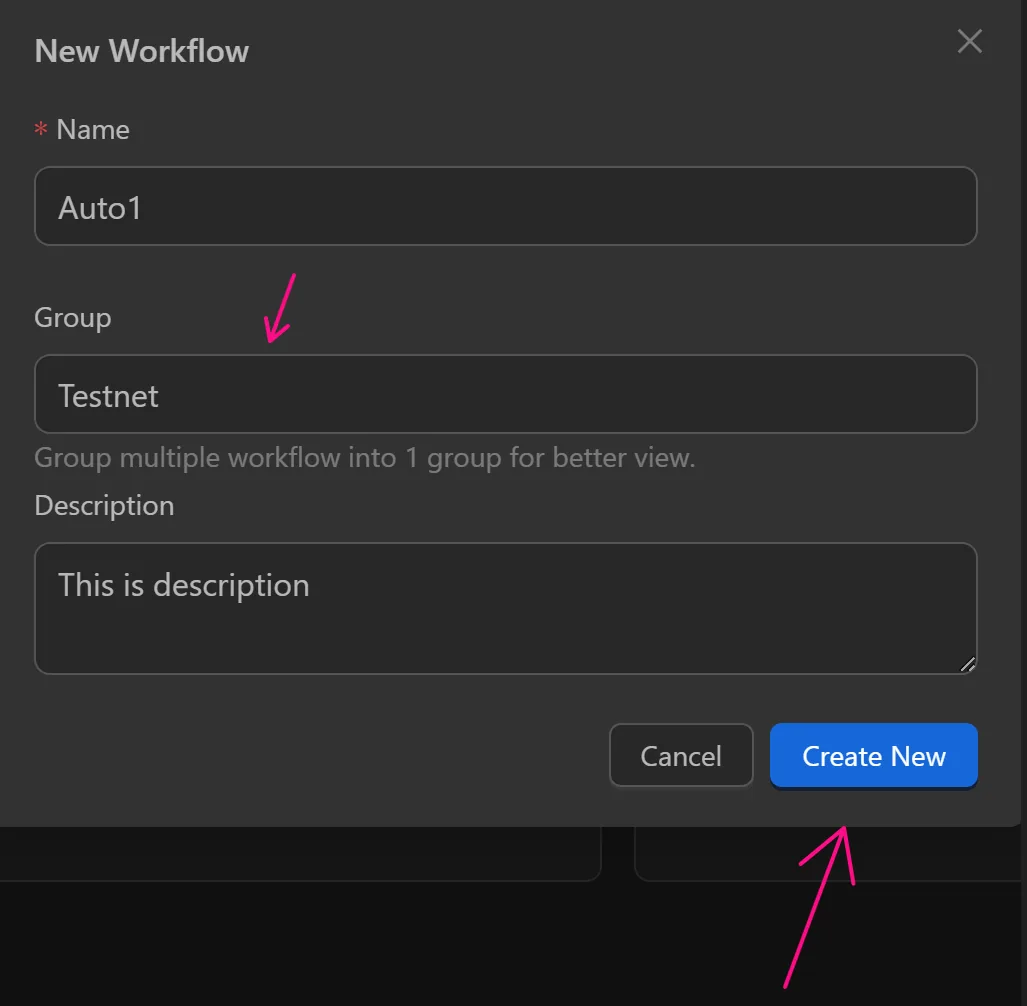
Enter the name of the group, you want to add the process to, then create or copy the process.
Next, select the All Groups option.

The groups you've added processes to will be displayed. Select a group, and the processes in that group will be shown.
Existing Workflow
If you have an existing process and want to add it to a group, follow these steps:
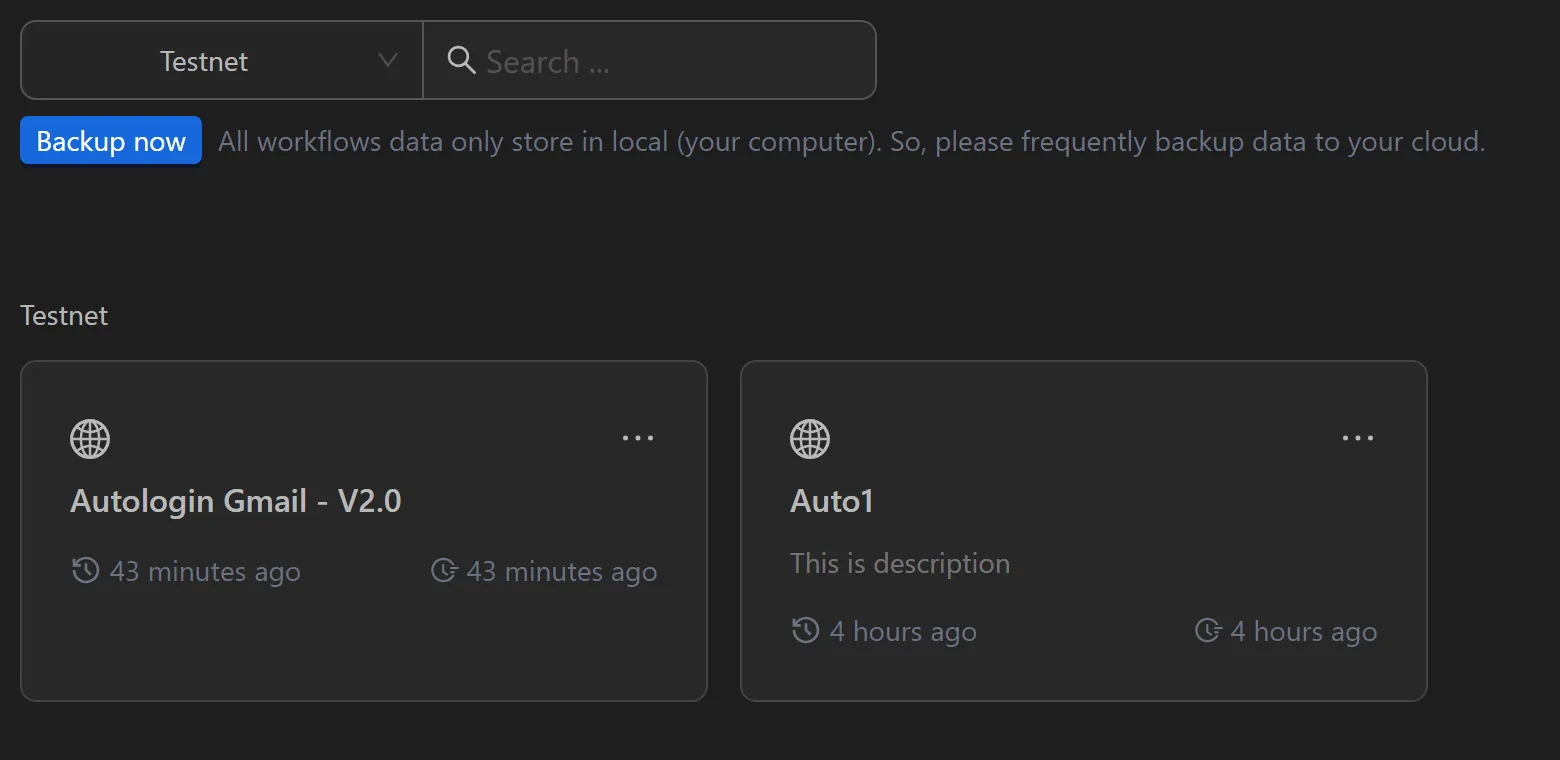
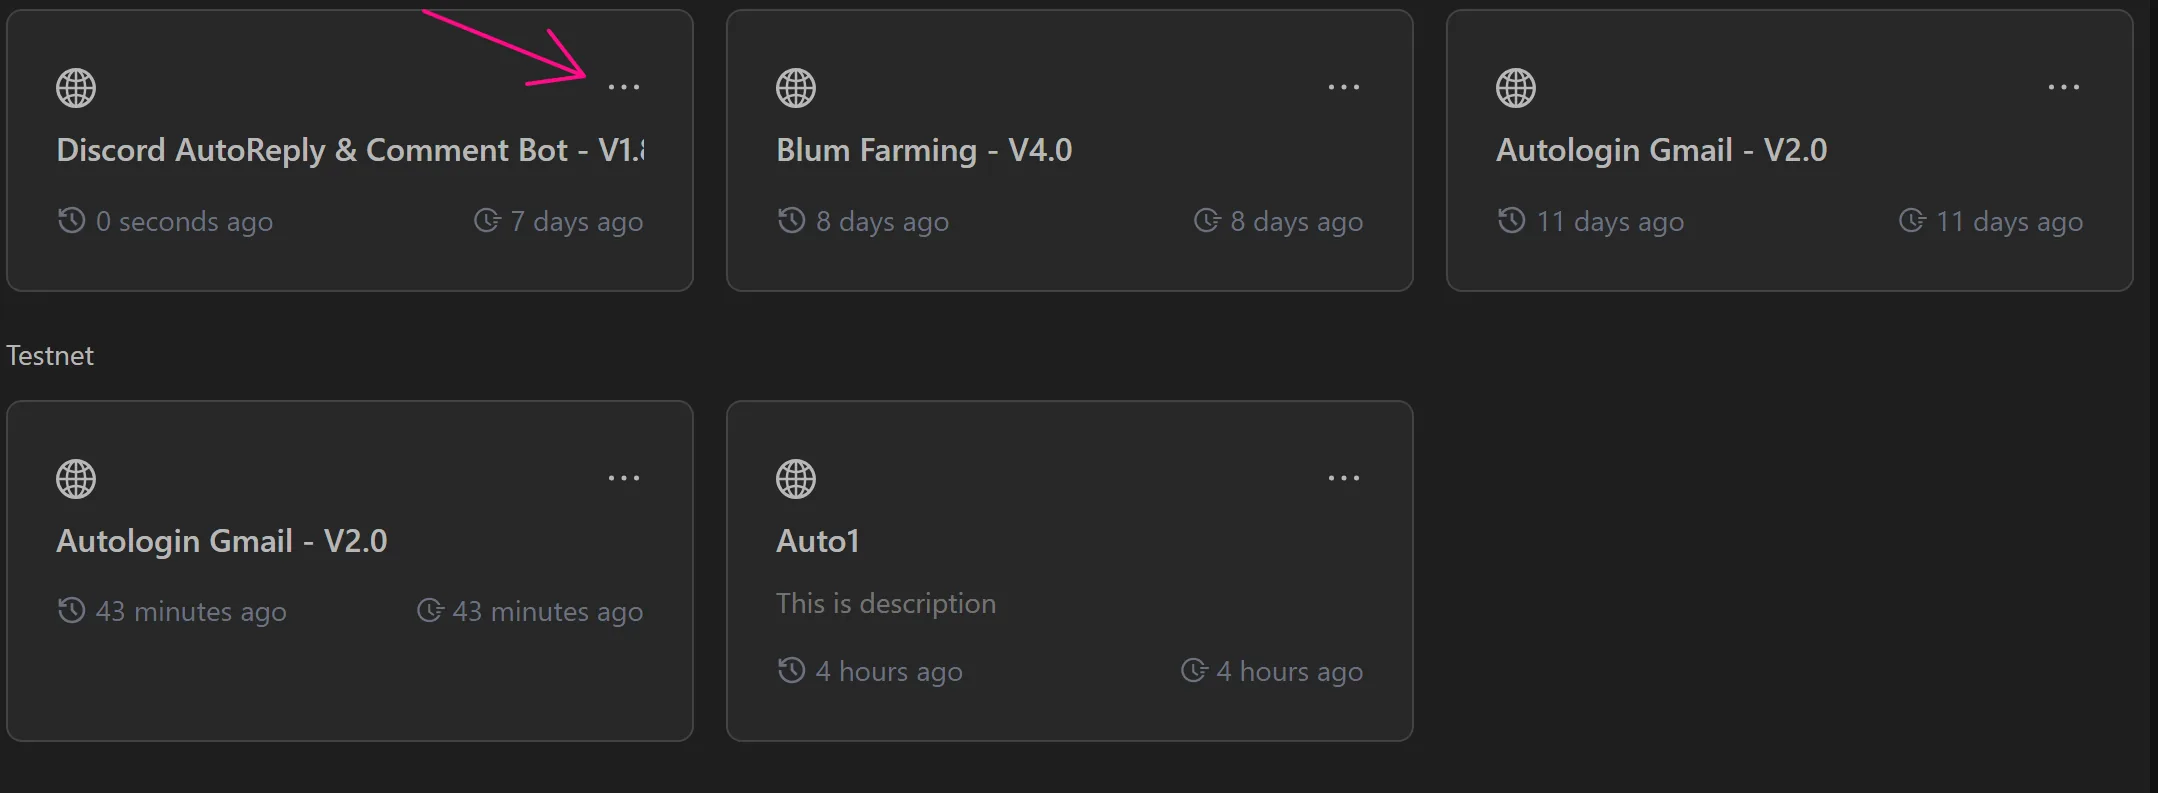
For example, to add the process Discord AutoReply & Comment Bot - v1.8 to a group from your process list
First, click the three-dot icon for that process.
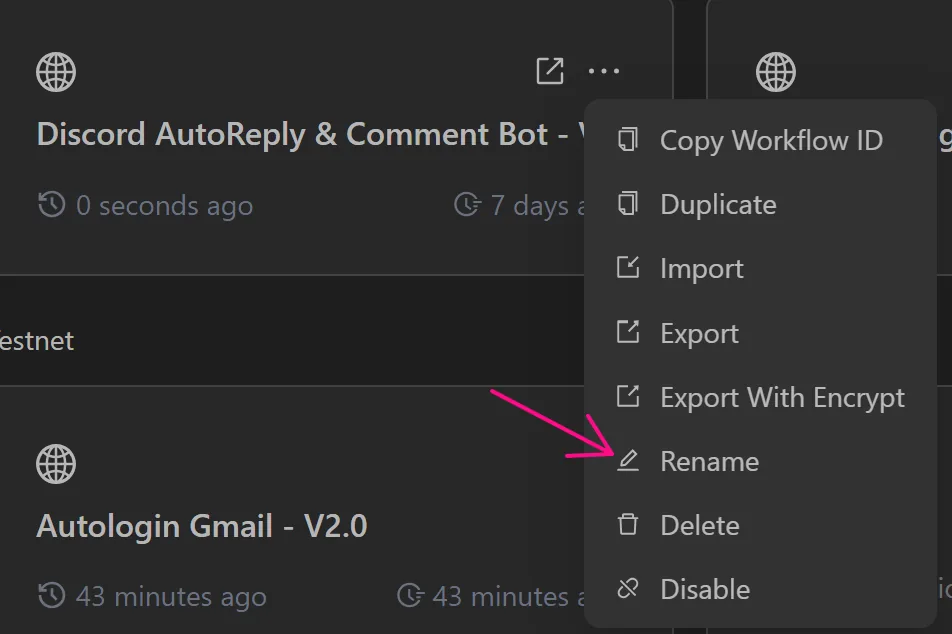
A window with process actions will appear. Select Rename.
A form will appear where you can enter the name of the group, you want to add the process to. If the group doesn't exist, it will be created after adding the process. For example, here we'll name the group discord.
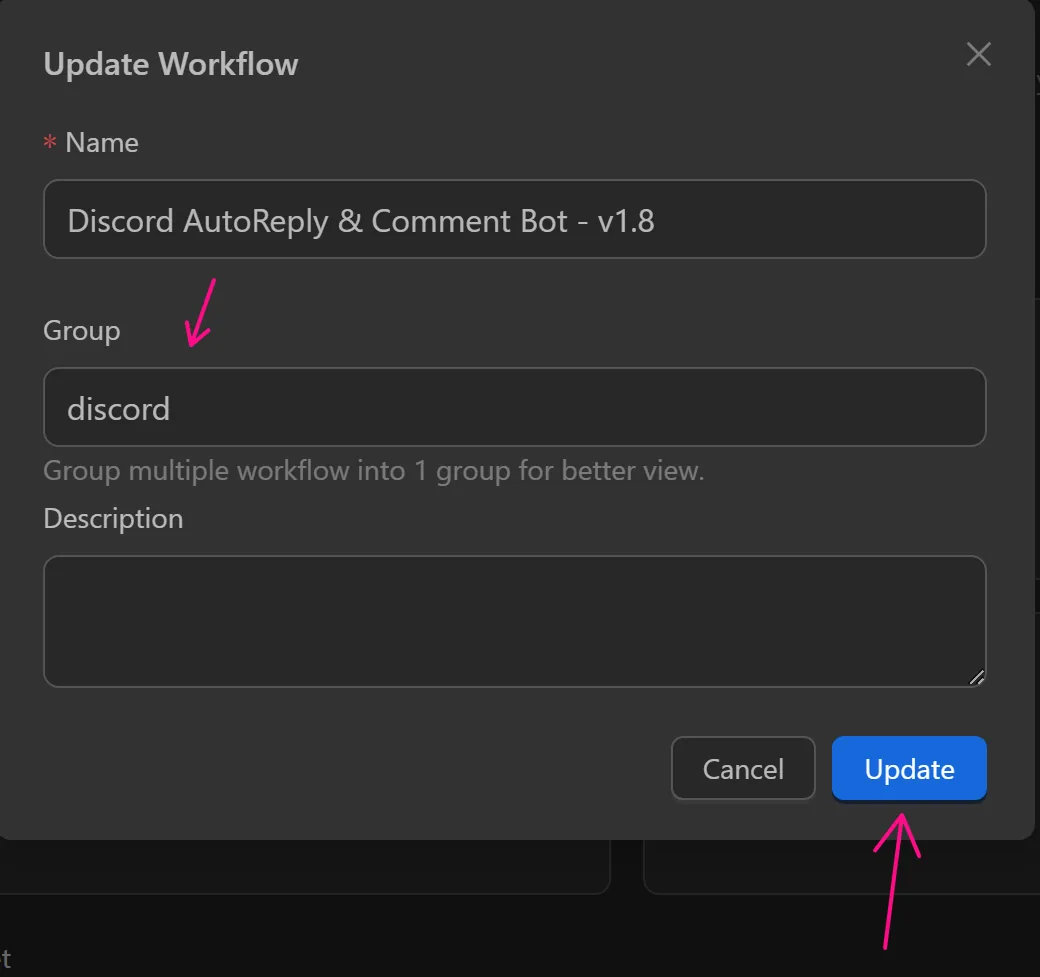
After clicking Update, the process will be added to the discord group and displayed as follows.
